Introduction
A coping saw is a small tool that does delicate work: cutting curves, coping the inside corners of trim, and trimming shapes that a larger saw cannot follow. Its handle matters more than its size suggests, because coping cuts are controlled by the hand, not by power. A handle that is too small, too smooth, or cracked from years of use makes fine control harder, and fine control is the whole point of the tool.
Many coping saws come with simple turned-wood handles that split, loosen, or go missing. Replacements exist, but they rarely match the frame you own, and they rarely match your hand. A 3D printed handle solves both problems at once: you model it around your saw’s frame fitting, shape it to the grip you actually use, and print it in an evening.
This guide covers designing, printing, and fitting a replacement handle for a coping saw. Like other tool handles in this series, it is a grip for a hand tool, not a structural or load-bearing part, and it should be tested on scrap before it is used on a finished piece of trim.
What You Need
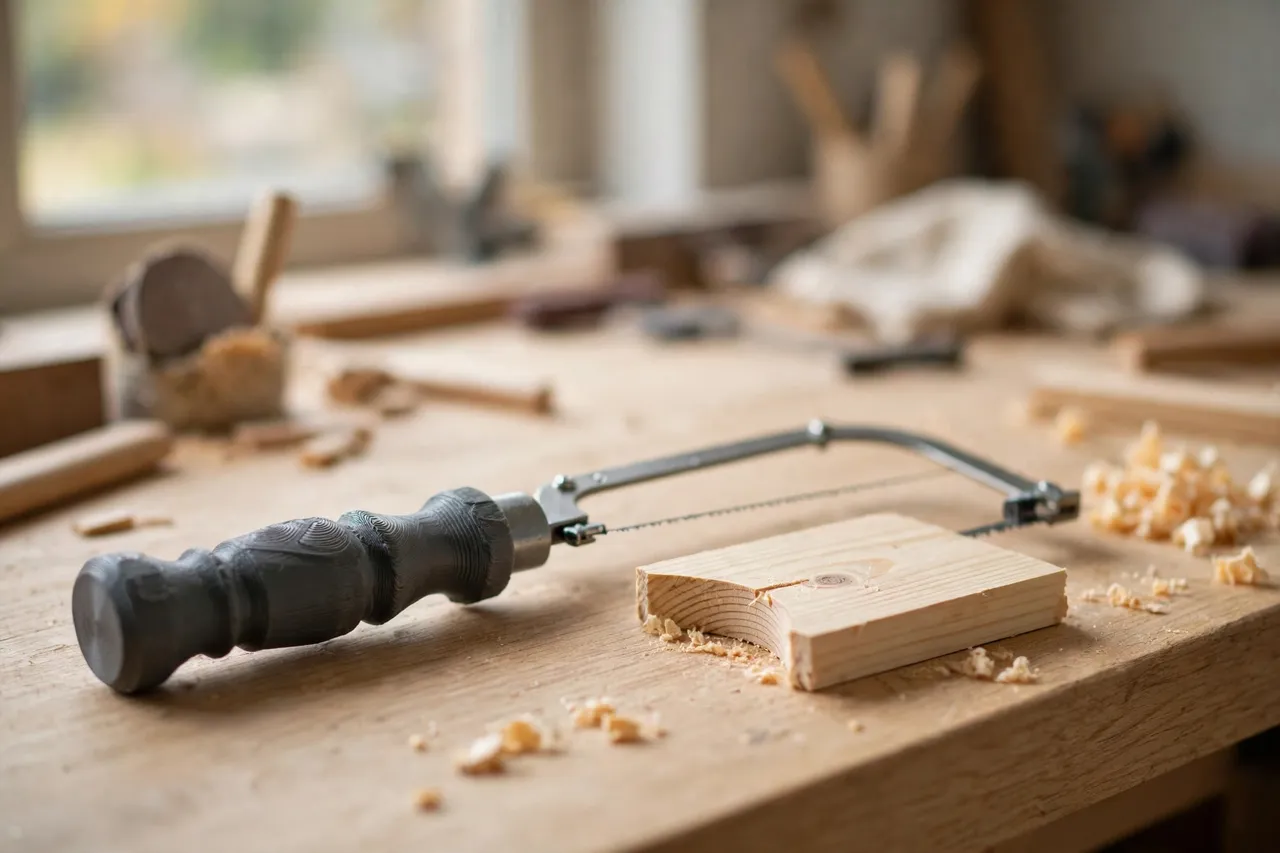
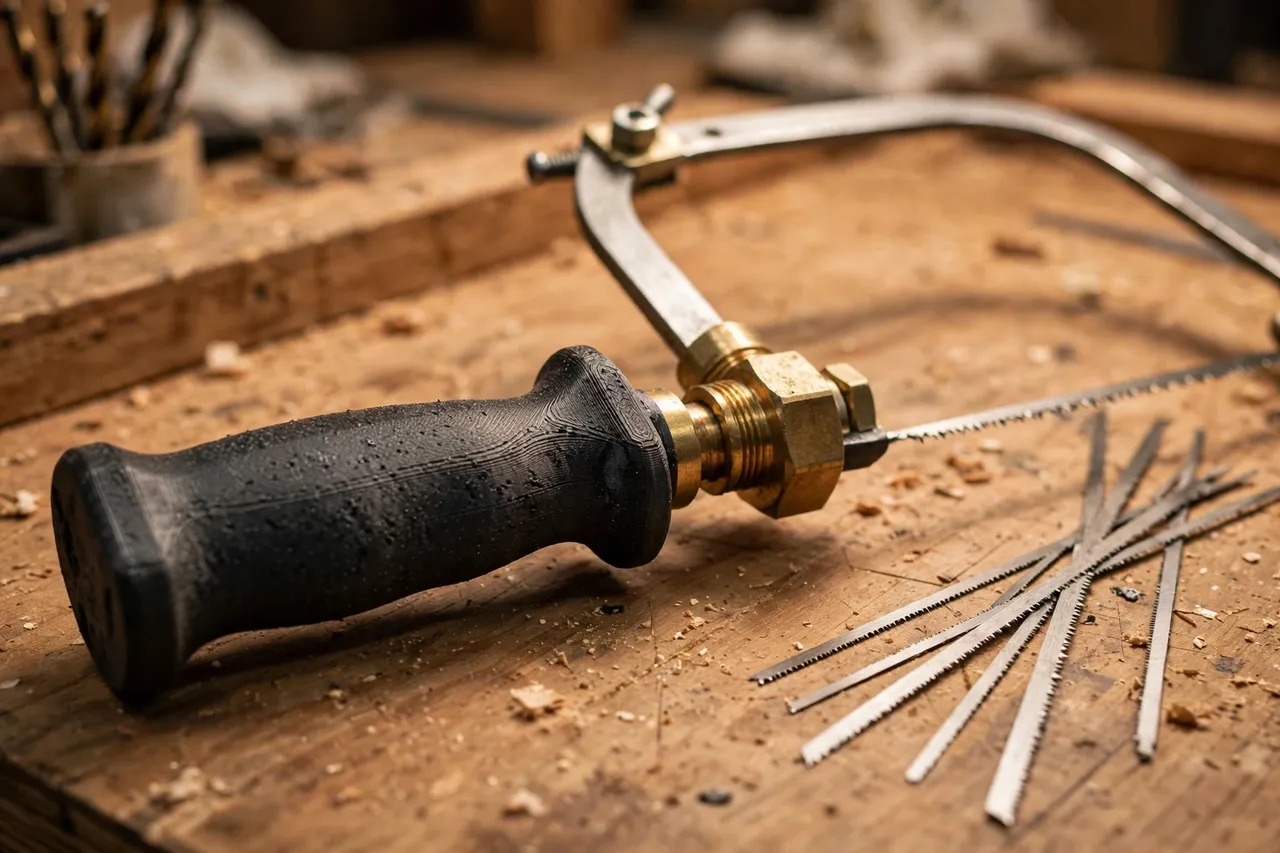
Coping saw handles are usually a rounded, barrel-shaped grip that screws or presses onto a threaded stud or a tang at the back of the saw frame. Some frames use a simple screw fitting, others a bayonet or a clamp. Measure your frame before you model anything.
Materials and tools
- A home 3D printer with a modest build area
- PETG filament for a tougher handle, or PLA for a first test version
- The coping saw frame, with its old handle removed and its fitting measured
- Calipers or a ruler, a pencil, and sandpaper
- A drill and small bits, a screwdriver, and a nut, bolt, or threaded insert to suit your frame fitting
- Optional: a thin rubber or cork sleeve for extra grip
PETG is the better keeper for a coping saw handle. It handles the twisting force of blade tensioning better than PLA, and it resists cracking if the saw is dropped. Print a test in PLA first if you want to check the shape cheaply.
Suggested print settings
- Layer height: 0.20 mm for general parts; 0.16 mm if you want a smoother grip surface.
- Walls: 4 to 5 perimeters, since the handle takes twisting force when the blade is tensioned.
- Infill: 40 to 60 percent, gyroid or grid, for a solid feel without excessive weight.
- Top and bottom layers: 4 or more.
- Orientation: Print the handle upright, along its long axis, or in two halves, depending on your design and your frame fitting.
- Supports: Only for overhanging grip shapes, if your design includes them.
If your frame uses a threaded stud, consider a metal threaded insert pressed into the printed handle rather than a printed thread. Printed threads work for light use, but a metal insert lasts much longer under repeated tensioning.
Design Considerations
A coping saw handle is small, but it has to balance comfort, control, and the mechanics of blade tensioning.
1. Measure the frame fitting
This is the most important step. Measure the stud diameter and thread pitch if it is threaded, or the tang size and shape if it is a press fit. Note how the blade tension is applied: some coping saws tension the blade by rotating the handle, others by a separate lever or cam. If your saw tensions by rotating the handle, the handle must grip the stud firmly and rotate with it, without slipping. Design a snug fit, and use a metal insert or a locking nut where the design allows.
2. Shape the grip for fine control
Coping cuts are made with the fingers as much as the palm. A barrel-shaped grip, slightly fatter in the middle and tapered at both ends, gives good control without cramping the hand. Keep the grip short enough to manoeuvre in tight spaces — a coping saw handle that is too long gets in the way when you are cutting a curve close to a wall or another board. A flattened side or a shallow finger groove can help you feel the blade orientation without looking, which matters when you are following a curved line.
3. Texture that does not catch
Coping work involves frequent repositioning of the hand, so the grip surface should be grippy but not sticky. Shallow ribs or a light knurled texture work well. Avoid deep patterns that catch on skin or gloves during repositioning. If you like a softer feel, design a shallow recess for a glued-on cork or rubber sleeve rather than printing a deeply textured surface.
4. Weight and balance
A coping saw is light, and a heavy handle unbalances it. Keep the handle light and compact, with infill on the lower side of the range if the grip still feels solid. Test the balance by holding the assembled saw as if cutting: it should feel nimble, not nose-heavy or tail-heavy. A handle that is too heavy makes fine curves tiring and harder to control.
Step-by-Step: Printing and Fitting the Handle
- Remove the old handle. Unscrew or pull off the old grip carefully, and keep any fittings as a size reference.
- Measure the frame fitting. Record stud size, thread, or tang shape, and how blade tension is applied.
- Model the handle. Build a barrel-shaped grip around those measurements, with a socket or insert for the fitting.
- Print a test version. Check the fit on the frame and the feel in your hand before printing the keeper.
- Clean up the print. Sand the grip smooth, round sharp edges, and clear the fitting socket.
- Fit the insert if used. Press in a metal threaded insert, or fit a nut into a hexagonal recess.
- Test the grip and tensioning. Fit the handle, tension a blade, and check that the handle does not slip or rotate independently of the stud.
- Adjust and reprint if needed. Small changes to grip diameter or length make a noticeable difference in control.
- Assemble the keeper. Fit the handle firmly, check that it does not wobble, and tension a blade.
- Test on scrap. Cut a curve in scrap timber, checking comfort and control, before using the saw on finished trim.
If the handle slips when you tension the blade, the socket is too loose or the insert is not gripping. Tighten the fit and reprint rather than gluing a loose handle, since glue makes future blade changes and handle replacement harder.
Tips for Better Results
- Print two grip sizes. A slim grip for fine detail work and a fatter grip for longer coping sessions covers most needs.
- Round the ends. Sharp handle ends dig into the palm during long cuts.
- Add a hang hole. A small hole through the handle end lets you hang the saw where you can find it.
- Test with the blade tensioned. A handle that feels fine loose can feel different once the blade is under tension and the saw is in use.
- Keep spare blades with the saw. A coping saw without a sharp blade is just a frame, and a printed handle deserves a fresh blade.
- Mark the handle. If you print handles for several small saws, mark the saw type on the handle end.
Common Mistakes to Avoid
- Designing from a photo instead of your frame. Coping saw frames vary, and a handle modelled on a different frame will not fit yours.
- Using a printed thread where a metal insert is better. Printed threads wear quickly under repeated tensioning.
- Making the grip too long. A long handle gets in the way on tight curves and unbalances a light saw.
- Printing walls too thin. Twisting force at the fitting cracks thin-walled handles.
- Skipping the scrap test. A grip that feels fine in the hand can still change your blade control enough to wander off a curved line.
Care, Storage, and Alternatives
Wipe the handle clean after use, store the saw hung by its handle hole or in a tool roll, and keep it out of direct heat. Check the fitting occasionally, since repeated tensioning can loosen a handle over time. If a handle cracks at the fitting, reprint it with thicker walls around the socket rather than gluing a cracked grip.
Sometimes a manufactured handle is the better choice. If the saw is a high-quality frame you use professionally, a factory turned-wood handle may feel better and last longer. For a good frame with a broken grip, a saw you use for home repairs and trim coping, or a hand size that standard handles do not suit, a printed handle is a fast, cheap, and genuinely useful fix. It also sits well alongside other small-saw guides: for a larger saw with a similar problem, you may also enjoy our related guide, “3D Printed Hand Saw Handle Replacement: A New Handle for an Old Saw,” which covers the same fitting approach at panel-saw scale. And for cutting the miters that coping often complements, “3D Printed Miter Box for Hand Saws: Cut Clean Miters Without a Power Saw” is a natural next read.
FAQ
Will a printed handle fit any coping saw?
Not automatically. Handles are sized to a specific frame fitting, so you need to measure the saw you own. Once you have a model for one frame, adapting it to a similar frame is usually a small edit.
Is PLA strong enough for a coping saw handle?
For testing the shape, yes. For a keeper that will see regular tensioning and use, PETG is the better choice because it flexes instead of cracking. A metal threaded insert at the fitting makes either material last longer.
Can I print a coping saw handle in one piece?
Yes, if the fitting allows it. An upright print along the handle axis usually works well. If your design needs a socket for a nut or insert, printing in two halves makes fitting the hardware easier.
Why does my handle slip when I tension the blade?
The socket is too loose, or the fitting is not gripping the stud. Check the fit, add a metal insert or a locking nut if your design allows, and reprint with a tighter socket if needed. A slipping handle will not hold blade tension reliably.
Conclusion
A coping saw is a precision hand tool, and its handle should match that precision. Printing your own gives you a grip shaped to your hand, fitted to your frame, and ready for the curved and detailed cuts that make trim work look finished.
Measure the fitting, print a test, adjust the shape, and keep the keeper with your trim tools. The next time an inside corner needs coping, the saw will feel like it was made for your hand — because, in a small but real way, it was.