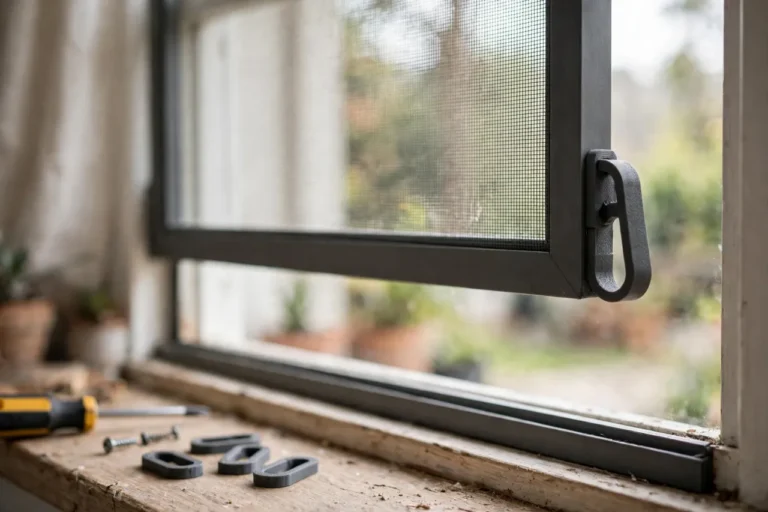
Introduction
Weatherstrip works well along straight runs. It compresses against the door, seals the gap, and keeps drafts out. But at corners, straight weatherstrip has to turn, join, or butt against another run — and that is exactly where seals fail. Foam bunches, rubber kinks, and V-strip folds over itself, leaving a small triangular gap at the corner that leaks air all winter. You can feel it with your hand on a cold day: the middle of the door is sealed, the corner whistles.
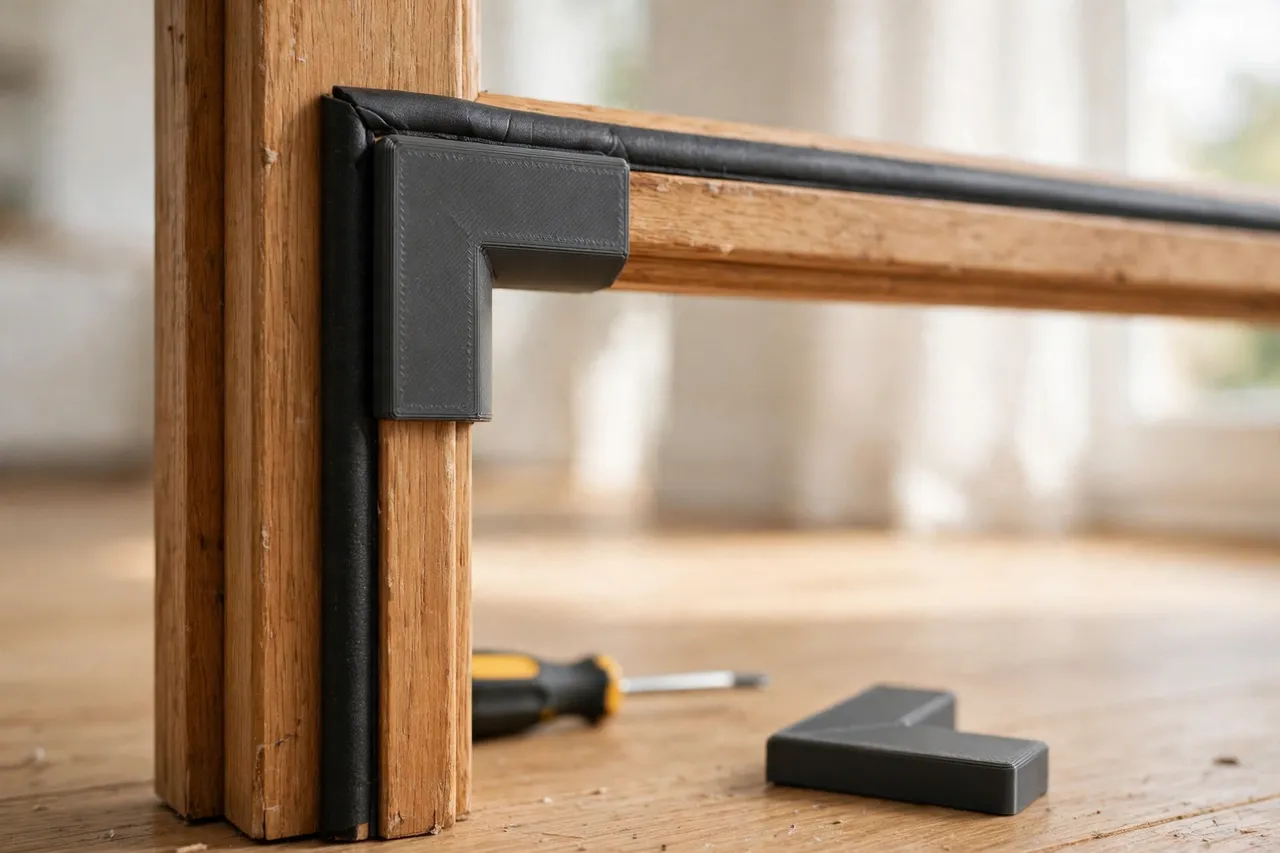
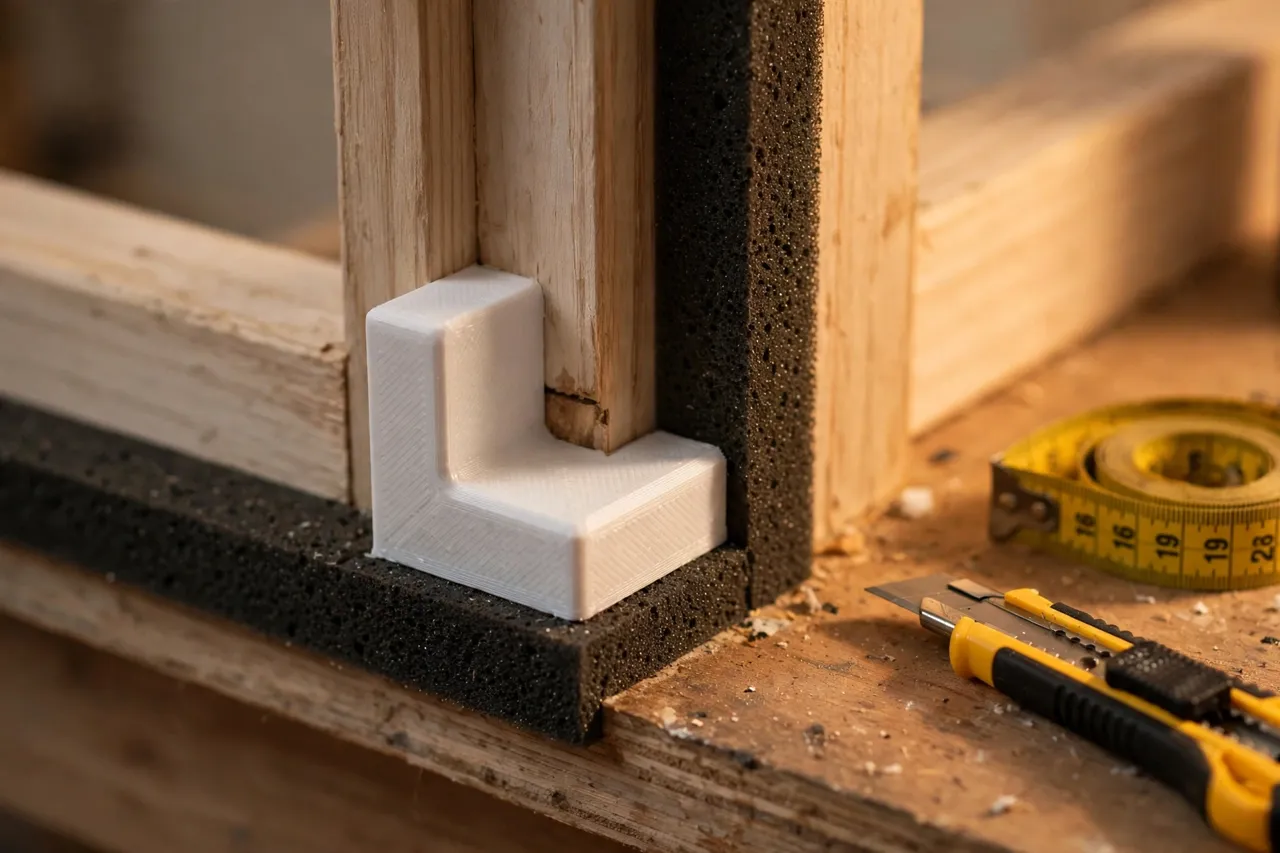
A 3D printed corner pad fills that gap. It is a small shaped pad that sits in the corner behind or between the weatherstrip ends, supporting them so they meet cleanly instead of bunching or gapping. It does not replace weatherstrip; it makes the weatherstrip you already have seal properly at the hardest point in the frame.
These are light-duty sealing aids, not structural parts. If the door frame is warped, the door is badly out of square, or the weatherstrip itself is flattened and dead, fix that problem first — a corner pad cannot compensate for a door that does not fit its frame.
What You Need
Corner pads are among the smallest home-improvement prints you can make. The work is in measuring the corner gap, not in printing.
Materials and tools
- A home 3D printer with a small build area (pads are typically under 80 mm)
- TPU filament is ideal for pads that compress like weatherstrip; PETG works for rigid backing pads
- Your existing weatherstrip, accessible at the corner, plus calipers or a ruler
- A utility knife for trimming weatherstrip ends cleanly
- A screwdriver if the weatherstrip is screw-fixed, and adhesive or double-sided tape for fixing pads
- Sandpaper or a small file for fitting
TPU deserves a note: it prints more slowly and needs a direct-drive extruder or a well-tuned Bowden setup, but its flexibility is exactly what a corner pad wants — it compresses with the weatherstrip instead of creating a hard spot. If TPU is not practical on your printer, a PETG pad with a foam tape face achieves a similar result.
Suggested print settings
- Layer height: 0.20 mm for TPU or PETG.
- Walls: 3 to 4 perimeters.
- Infill: 20 to 40 percent for TPU (lower infill stays softer); 30 percent for PETG.
- Top and bottom layers: 4 or more.
- Orientation: Print flat, widest face down, for the cleanest pad shape.
- Supports: Usually none — keep the pad shape simple with chamfers rather than overhangs.
- TPU speed: Print slowly, around 20 to 30 mm per second, to avoid jamming and stringing.
Print one pad first and test it in the corner before printing a full set. Corners on the same door are often slightly different, so check each one.
Design Considerations
A corner pad has to match the corner, support the weatherstrip, and compress without creating a new gap somewhere else.
1. Corner shape and size
Door frame corners are usually 90 degrees, but older frames settle out of square, so measure the actual angle. A pad shaped as a right-angle wedge or an L-shaped block fits a standard corner; an adjustable design with two angled faces suits out-of-square frames. Size the pad to fill the gap behind the weatherstrip ends without pushing them outward — typically 30 to 60 mm per leg and 10 to 20 mm thick, but measure your gap rather than trusting those numbers.
2. Flexible versus rigid
A TPU pad compresses with the weatherstrip and conforms to small irregularities, which makes it the best choice for the sealing face itself. A rigid PETG pad works better as a backing block that supports the weatherstrip from behind and stops it collapsing into the corner void. A two-part design — rigid backing plus a TPU face — gives you both benefits, and it is easy to print as two small parts. Choose based on your weatherstrip type: soft foam and bulb seals pair well with a flexible pad; rigid V-strip and metal weatherstrip need a rigid backing.
3. How the pad stays put
Pads must not migrate when the door closes. Options include a friction fit wedged between the weatherstrip ends, a small adhesive foam tape backing, a screw through a mounting hole into the frame, or a lip that hooks behind the weatherstrip channel. Adhesive tape is simplest and works for most interior and sheltered exterior doors; a screw is more secure for a heavily used front door. Avoid relying on the weatherstrip itself to hold the pad — the pad’s job is to support the weatherstrip, not the other way around.
4. Matching the weatherstrip run
Trim the weatherstrip ends cleanly at the corner before fitting pads. Ragged, overlapping ends bunch no matter what pad sits behind them. Cut each run square, butt the ends against the pad, and check that the door closes without the pad pushing the weatherstrip out of its channel. The pad should be invisible when the door is closed — if you can see it, it is probably too large. This same attention to clean ends matters for related door-finishing parts such as 3D Printed Door Sweep End Caps: Caps That Finish Door Sweeps.
Step-by-Step: Printing and Assembly
- Inspect the corners. Find where drafts leak — usually the top corners — and note the weatherstrip type at each one.
- Measure the gap. With the door closed, note the corner void size; with it open, measure the frame angle and the weatherstrip profile.
- Trim the weatherstrip ends. Cut ragged ends square with a utility knife so they butt cleanly.
- Model the pad. An L-shaped or wedge pad sized to the measured gap, with a mounting hole or tape face as chosen.
- Print one test pad. Fit it in the corner, close the door, and check for drafts and for any new binding.
- Adjust thickness or angle. Too thick and the door binds; too thin and the draft remains. Adjust by 1 to 2 mm at a time.
- Print the remaining pads. Test each corner, since corners differ.
- Fix the pads in place. Tape, screw, or wedge them, then refit the weatherstrip ends against them.
Step-by-Step: Using It
- Close the door and check the seal. Feel around each corner for drafts, and look for daylight gaps.
- Open and close several times. The pad should stay put and the door should latch normally, without extra force.
- Check the weatherstrip compression. The strip should compress evenly along its run and at the corner — no flat spots, no bulges.
- Re-check after a week. Weatherstrip settles and pads can shift slightly; a quick push back into place is normal.
- Re-check seasonally. Doors swell and shrink with humidity and temperature; a pad that sealed in summer may need adjusting in winter.
- Replace pads with the weatherstrip. When weatherstrip is eventually replaced, print fresh pads matched to the new strip rather than reusing old ones.
A sealed corner is easy to verify: hold a hand near it on a windy day, or watch a thin tissue held near the gap — still air means the seal works.
Tips for Better Results
- Print pads in a color close to the frame. A matching pad disappears; a bright one shows every time the door opens.
- Make pads slightly compressible. A pad that gives 1 to 2 mm under the closed door seals better than a perfectly rigid one that holds the door off its latch.
- Label pads by corner. Top-left and top-right corners often differ slightly; a small embossed mark avoids mix-ups.
- Combine with a full weatherstrip check. Pads fix corners, but a flattened run elsewhere still leaks — inspect the whole frame while you are at it.
Common Mistakes to Avoid
- Making the pad too thick. An oversized pad holds the door off its seal or stops it latching. Thinner, tested pads beat one thick guess.
- Leaving ragged weatherstrip ends. A pad cannot fix bunched, overlapping strip ends. Trim them square first.
- Using a rigid pad with soft foam strip. A hard pad creates a hard spot that the foam cannot conform around, leaving gaps on either side. Match flexibility to the strip.
- Forgetting the bottom corners. Drafts leak at all four corners, not just the top two. Check the bottom corners too, where the sweep meets the side weatherstrip.
- Expecting pads to fix a warped door. If the door does not fit its frame, no pad will seal it. Address fit first, then fine-tune with pads.
Care, Storage, and When to Choose an Alternative
Check pads seasonally and push any that have shifted back into place. Keep spares labeled by door and corner. If a TPU pad goes permanently flat, reprint it — compression set is normal over time for flexible parts.
Choose a different solution if the weatherstrip itself is worn out: replace the strip first, since pads only help good strip seal at corners. Likewise, if the frame is significantly out of square, a carpenter’s adjustment or a new door may be the real fix. For a sound door with leaky corners, though, printed pads are a cheap, effective upgrade, and they pair naturally with other small sealing improvements such as 3D Printed Storm Door Closer Brackets: Brackets for Storm Door Closers for doors that need both sealing and hardware help.

FAQ
Will corner pads work with any weatherstrip type?
They work with most common types — foam tape, bulb seals, and V-strip — as long as the pad is matched to the strip’s flexibility and profile. Metal spring weatherstrip needs a rigid backing pad rather than a flexible one.
Do I need TPU, or will PETG work?
PETG works well as a rigid backing pad. TPU is better when the pad itself must compress and conform to the corner. If you can only print one material, PETG with a foam tape face is a good compromise.
My door is hard to close after fitting pads. What is wrong?
The pads are too thick, or the weatherstrip ends are bunching against them. Thin the pads by 1 to 2 mm, trim the strip ends square, and retest. The door should latch with normal force.
How long do printed corner pads last?
TPU pads typically last a few years before compression set flattens them; PETG backing pads last longer. Inspect them seasonally and reprint when they stop sealing — they are small, cheap prints.
Conclusion
Weatherstrip corners are where good seals go to fail, and corner pads are the small, targeted fix. They fill the void, support the strip ends, and turn a whistling corner into a sealed one — for the cost of a few grams of filament and a few minutes of fitting.
Measure your corners, print a test pad, and fit it before committing to a full set. It is a modest print that pays off every cold, windy day, in a warmer room and a door that finally seals all the way around.