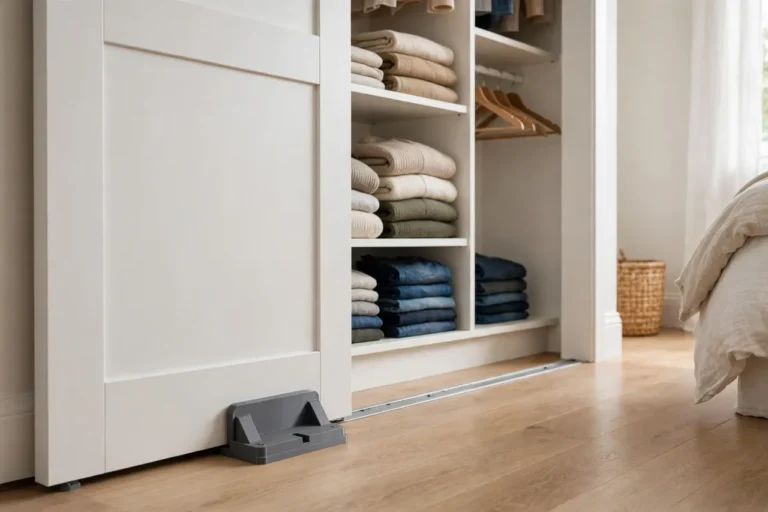
Introduction
A sliding patio door that sticks, rattles, or scrapes does not always need new rollers. Often the problem is simpler: the small covers that shield the roller assemblies are cracked, missing, or warped, letting dust, grit, and pet hair work straight into the mechanism. Once that debris builds up, the door drags, the rollers wear faster, and the whole door starts to feel tired.
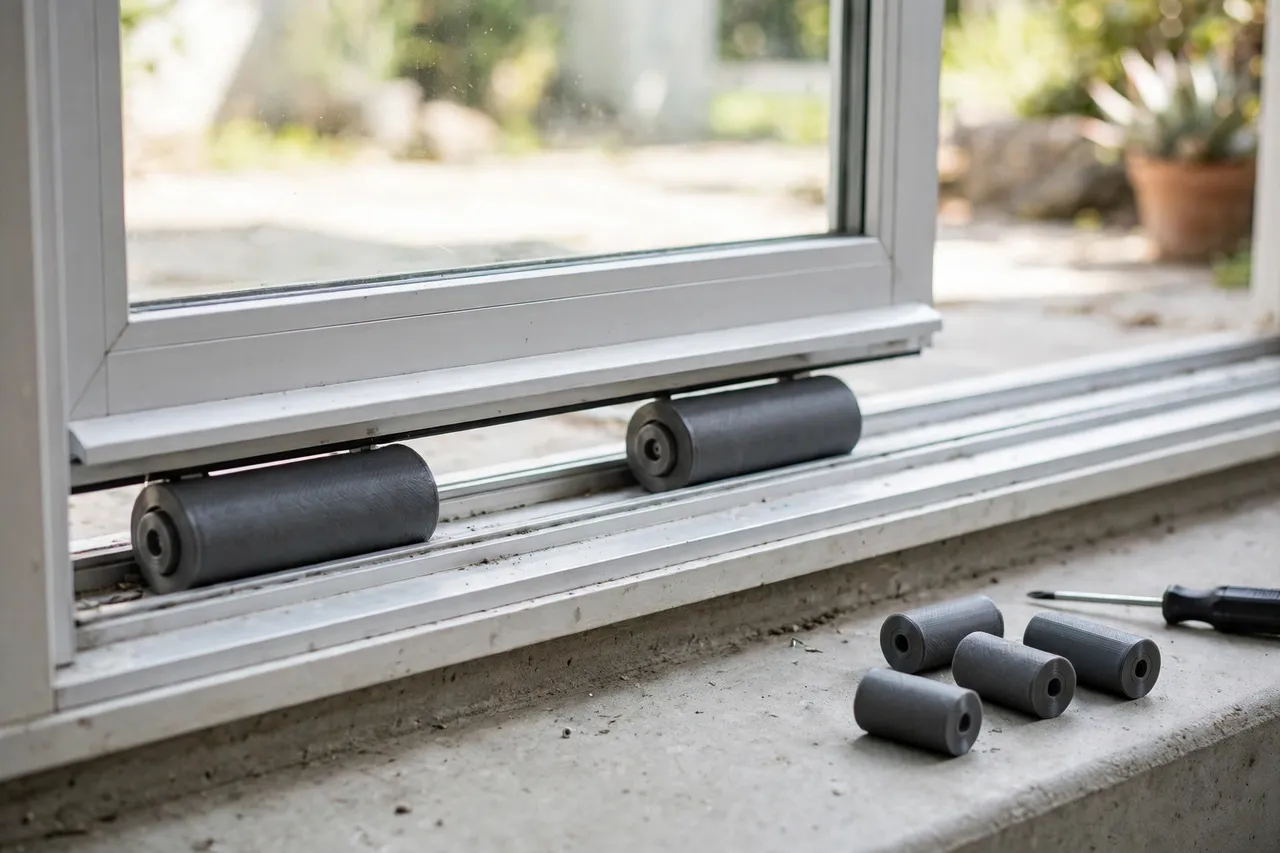
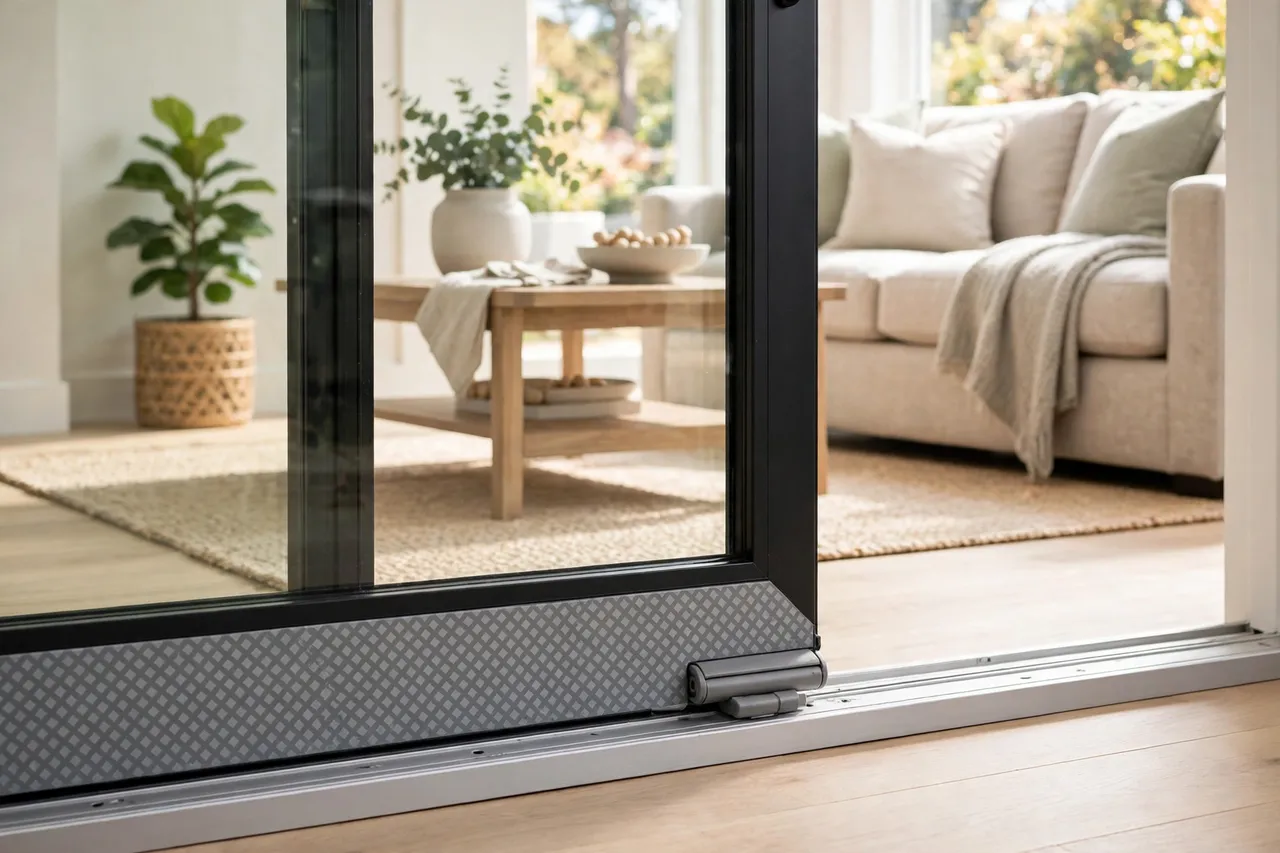
A 3D printed roller cover is a small, satisfying fix. It is a light-duty cosmetic and dust-shielding part — it does not carry the door’s weight and it does not replace a worn roller bearing. What it does is hide an ugly, rust-stained roller housing, keep loose debris out of the wheel area, and give the bottom of the door a finished look again. If your rollers themselves are seized, wobbly, or flat-spotted, replace those with the manufacturer’s parts first; a cover will not rescue a dead roller.
This guide walks through measuring your existing rollers, designing a simple snap or screw-on cover, printing it in a weather-tolerant material, and fitting it without taking the whole door apart more than necessary. Expect an afternoon project, most of it spent measuring carefully and printing a test fit.
What You Need
The cover is a small part, so this is a good first project for a modest home printer. The measuring matters far more than the printing.
Materials and tools
- A home 3D printer with a build area of roughly 120 mm in at least one direction
- PETG or ASA filament for outdoor and sun-exposed doors; PLA is acceptable for a sheltered indoor sliding door only
- The existing roller assembly, or at least one removed cover, for measuring
- Calipers or a ruler accurate to half a millimetre, plus a pencil and notebook
- A screwdriver set, a small brush, and a vacuum or cloth for cleaning the track
- Fine sandpaper or a small file, and a utility knife for trimming stringing
PETG is the sensible default: it resists moisture and warm sun better than PLA and is easy to print. ASA is tougher outdoors but needs good ventilation and a printer that handles it well. Keep PLA away from doors that bake in direct sun, where it can soften and warp.
Suggested print settings
- Layer height: 0.20 mm for a good balance of speed and smooth outer walls.
- Walls: 3 to 4 perimeters, so the cover’s snap edges and screw tabs hold up to handling.
- Infill: 30 to 40 percent, grid or gyroid, for a cover that feels solid rather than hollow.
- Top and bottom layers: 4 or more, for a clean visible face.
- Orientation: Print the cover with its visible outer face up, or on its side if the shape has an overhanging lip — choose whichever needs the least support.
- Supports: Only if your design has a deep lip; a simple cap shape usually needs none.
Print one cover first and test it before printing a full set. Sliding doors typically have two to four roller assemblies, and small measurement errors multiply across all of them.
Design Considerations
A roller cover is essentially a small cap or shroud that sits over the roller housing at the bottom of the door. Keep the design simple and let the measurements do the work.
1. Measure the housing, not the door
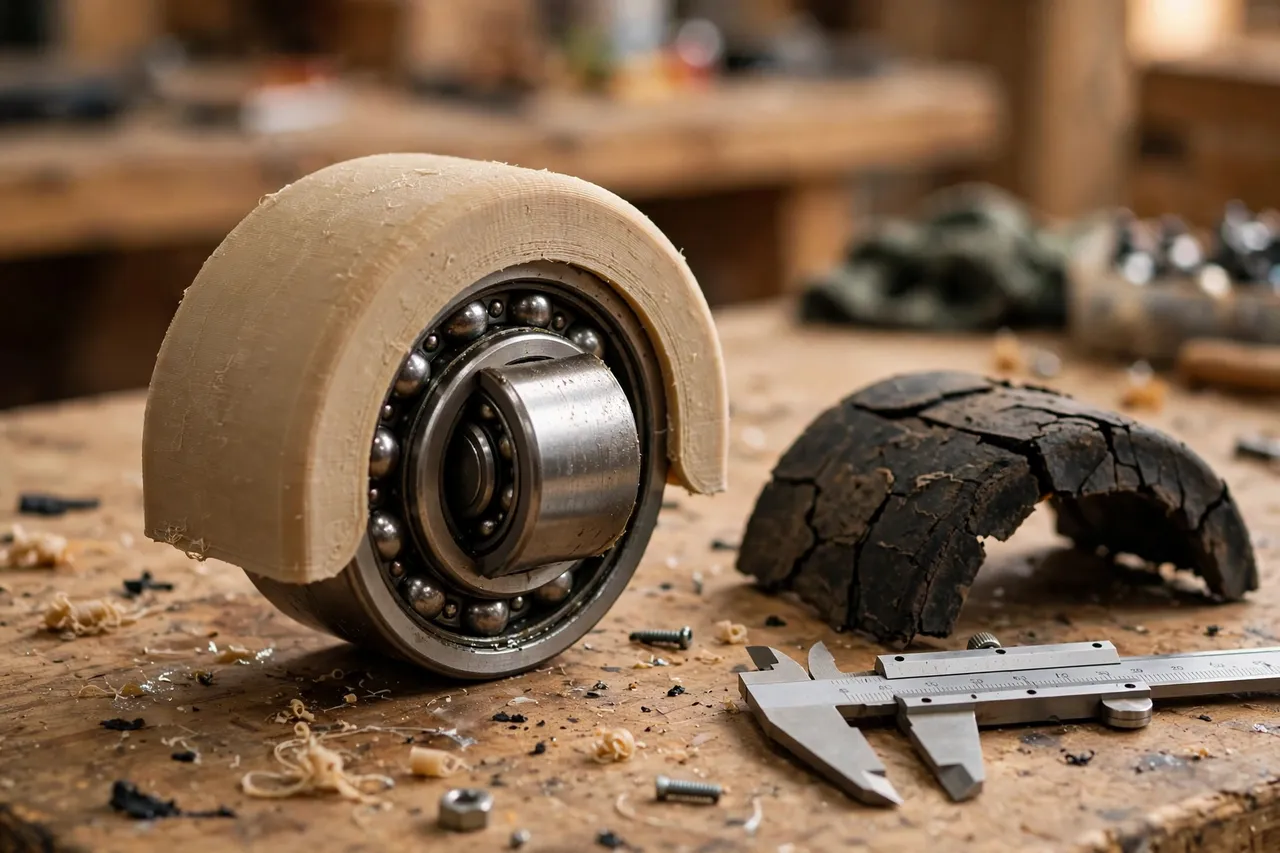
Remove one old cover, or look closely at the exposed roller housing, and measure its length, width, and height, plus the position of any screw holes or tabs. Measure twice, in two places, because old housings are rarely perfectly square. Add 0.4 to 0.6 mm of clearance around the housing so the cover slides on without forcing, but not so much that it rattles.
2. Leave the wheel free
The roller wheel itself must spin freely and touch the track. Your cover should shield the sides and top of the housing while leaving a clear opening at the bottom for the wheel. If the cover rubs the wheel or the track, it will drag and wear quickly. Check this by spinning the wheel by hand after fitting, before you slide the door back into place.
3. Choose a fixing method
Two approaches work well. A snap-fit cover uses small flexible lips that grip the housing edges and can be pulled off for cleaning — ideal if you want easy access. A screw-on cover uses the housing’s existing screw holes and stays put better on doors that get heavy daily use. If you choose screws, reuse the original screws where possible and do not overtighten into plastic; snug is enough, and a cracked tab helps nobody.
4. Mind the track clearance
The finished cover must clear the track by at least a millimetre or two along its whole length. A cover that is too tall will scrape, and one that is too wide can catch on the track’s guide rail. Slide the door slowly by hand after fitting and listen for scraping before you call the job done. If you hear it, trim or reprint rather than forcing the door.
Step-by-Step: Printing the Covers
- Clean the track and rollers. Brush out grit, vacuum the track, and wipe the roller housings. Fitting new covers over a filthy track just traps the dirt inside.
- Remove one roller cover or expose one housing and measure length, width, height, and screw positions.
- Model a simple cap in any basic CAD tool: an open-bottomed box with a wheel slot, plus snap lips or screw tabs to match your measurements.
- Print a single test cover and check it against the real housing.
- Refine the fit. Too tight? Add 0.2 mm of clearance and reprint. Too loose? Reduce clearance or deepen the snap lips slightly.
- Print the full set once the test cover fits, spins freely, and clears the track.
- Clean up the prints. Remove stringing, lightly sand any rough edges that could catch, and check the wheel opening is fully clear.
Step-by-Step: Fitting the Covers
- Lift or tilt the door out of the track only as far as your door’s design requires, and get a second pair of hands for a heavy glass door. Never work under a door balanced on one edge.
- Inspect the rollers. Spin each wheel. If one is seized, cracked, or wobbles on its axle, replace that roller with a manufacturer part before fitting covers.
- Clean the housings with a brush and a damp cloth, then dry them fully.
- Fit the first cover by snapping or screwing it into place, then spin the wheel to confirm it turns freely.
- Repeat for the remaining rollers, checking each wheel as you go.
- Set the door back in the track and slide it slowly from end to end, listening for scraping or catching.
- Adjust the roller height using the door’s own adjustment screws if the door now sits slightly differently, following the manufacturer’s instructions for your door.
Tips for Better Results
- Label your test print. Mark which roller position it fits, because front and rear rollers on the same door are not always identical.
- Print a spare. Covers are small and cheap to print; a spare in a drawer saves a future print session when one gets knocked off.
- Clean the track first, every time. A cover keeps new dirt out, but it cannot fix dirt already packed around the wheel.
- Keep the wheel opening generous. A slightly larger opening is far better than one that rubs the wheel.
Common Mistakes to Avoid
- Covering a failed roller. If the wheel does not spin smoothly on its own, a cover only hides the problem while the door keeps dragging.
- Designing from memory. Guessing dimensions from a photo or a rough guess almost always means a reprint. Measure the actual housing.
- Making the cover too tall. Even a millimetre of extra height can scrape the track and undo the whole job.
- Overtightening screws into plastic. Snug is enough; cracked tabs are the most common way a good cover fails early.
- Forgetting the wheel slot. A fully enclosed cover looks tidy in the slicer and fails on the door, because the wheel cannot reach the track.
Care, Storage, and When to Choose an Alternative
Wipe the covers when you clean the track, and brush out any grit that collects around the wheel opening. PETG and ASA covers should last for years on a sheltered door; PLA covers on a sun-baked door may need replacing sooner, which is a cheap and easy swap.
Choose a manufactured part instead when the roller assembly itself is damaged, when the door is very heavy glass and the housing is a structural part of the roller unit, or when the original cover also served as a retainer holding the roller in place. In those cases the printed cover is a cosmetic extra at best, and the real fix is the correct replacement hardware. A printed cover is a light-duty helper for a sound door, not a repair for a failing one.
FAQ
Will a printed cover make my door slide more smoothly?
It can help indirectly, by keeping grit out of the roller area and prompting a proper track clean during fitting. But if the rollers or track are worn, the cover alone will not transform the slide — clean, sound rollers do that.
Is PLA good enough for an outdoor sliding door?
For a sheltered door that does not get hot sun, PLA can work for a season or two. For a door in direct sun or exposed weather, PETG or ASA is the better choice, because PLA can soften and warp in heat.
Do I need to remove the whole door to fit covers?
Often you only need to lift the door slightly or tilt it out at the bottom, depending on the design. For a heavy glass door, get help and follow the manufacturer’s removal guidance rather than wrestling it alone.
My cover keeps popping off. What went wrong?
Usually the snap lips are too shallow, the clearance is too generous, or the housing is tapered and the cover only grips at one end. Deepen the lips slightly, reduce clearance by 0.2 mm, or switch to a screw-on version using the existing holes.
Conclusion
A sticking sliding door is annoying out of all proportion to its size, and a missing or cracked roller cover is one of its most common small causes. Measuring carefully, printing a simple cap that leaves the wheel free, and fitting it onto clean, sound rollers is a short project with a daily payoff every time the door glides instead of grinds.
If you enjoy this kind of small door hardware fix, you may also like Sliding Door and Window Track Guides: 3D Print Replacement Guides and Stops, and Door Stops That Work: 3D Print Hinge-Pin and Floor Door Stops for Every Room, which cover the neighbouring parts of the same doors. Keep a spare cover printed, keep the track clean, and the door will stay quiet for a long time.