Introduction
Bi-fold doors are wonderful until one pivot gives up. Then the door sags at one corner, scrapes the floor, pops out of its track, or refuses to fold flat. More often than not, the culprit is a small plastic pivot bracket that has cracked, worn oval, or lost its grip on the pivot pin — a part that costs little but is surprisingly awkward to find in exactly the right size for an older door.
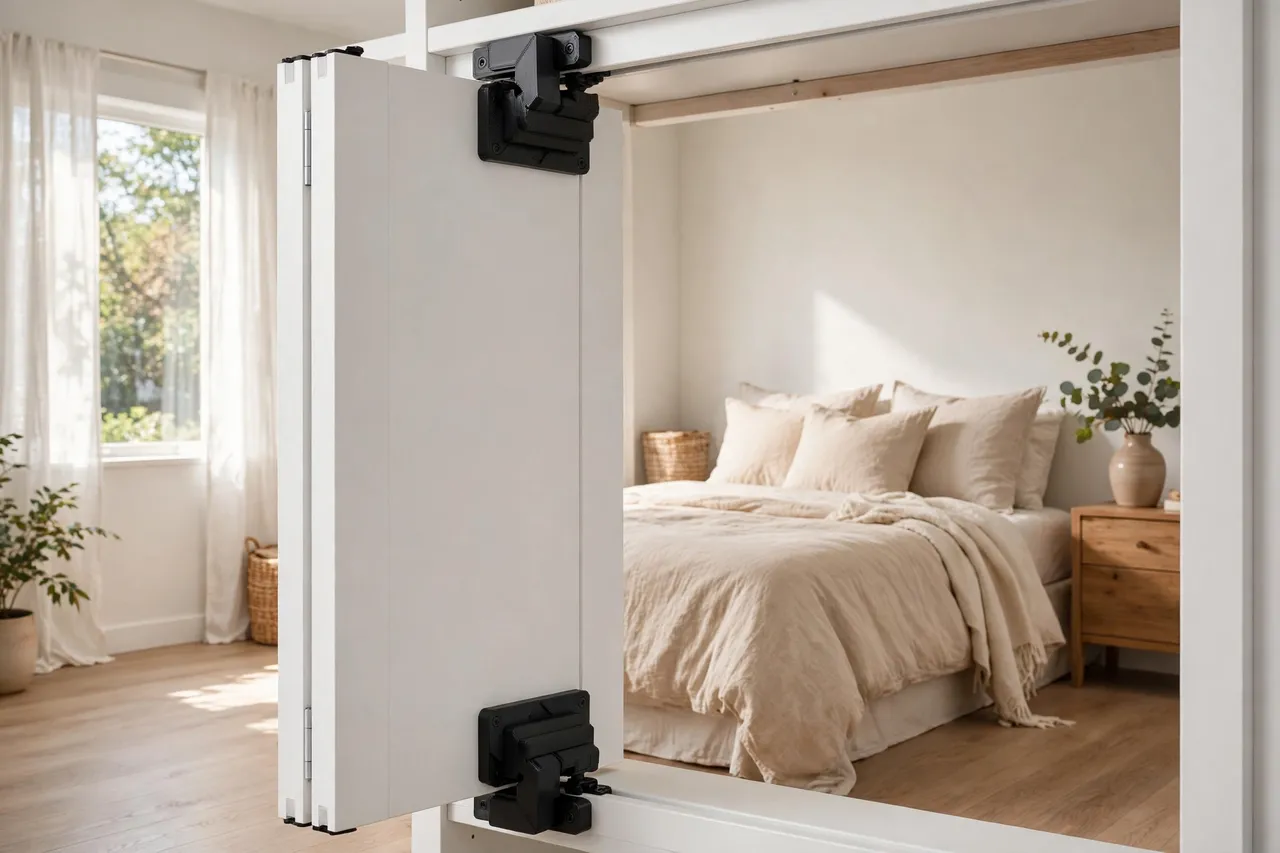
A 3D printed pivot bracket is a practical stand-in for that small, light-duty fitting. It is important to be honest about its limits: it guides and steadies the pivot pin; it does not carry the full weight of a heavy solid door on its own, and it is not a substitute for a sound track, sound hinges, and a door that is square. If your door is a heavy solid-core unit, or the track itself is bent, choose a manufactured metal bracket and fix the track first. For a standard hollow-core or light panel closet door with a cracked plastic bracket, a printed replacement can restore smooth folding for years.
This guide covers identifying your pivot type, measuring it, printing a sturdy bracket, and fitting it so the door folds true again.
What You Need
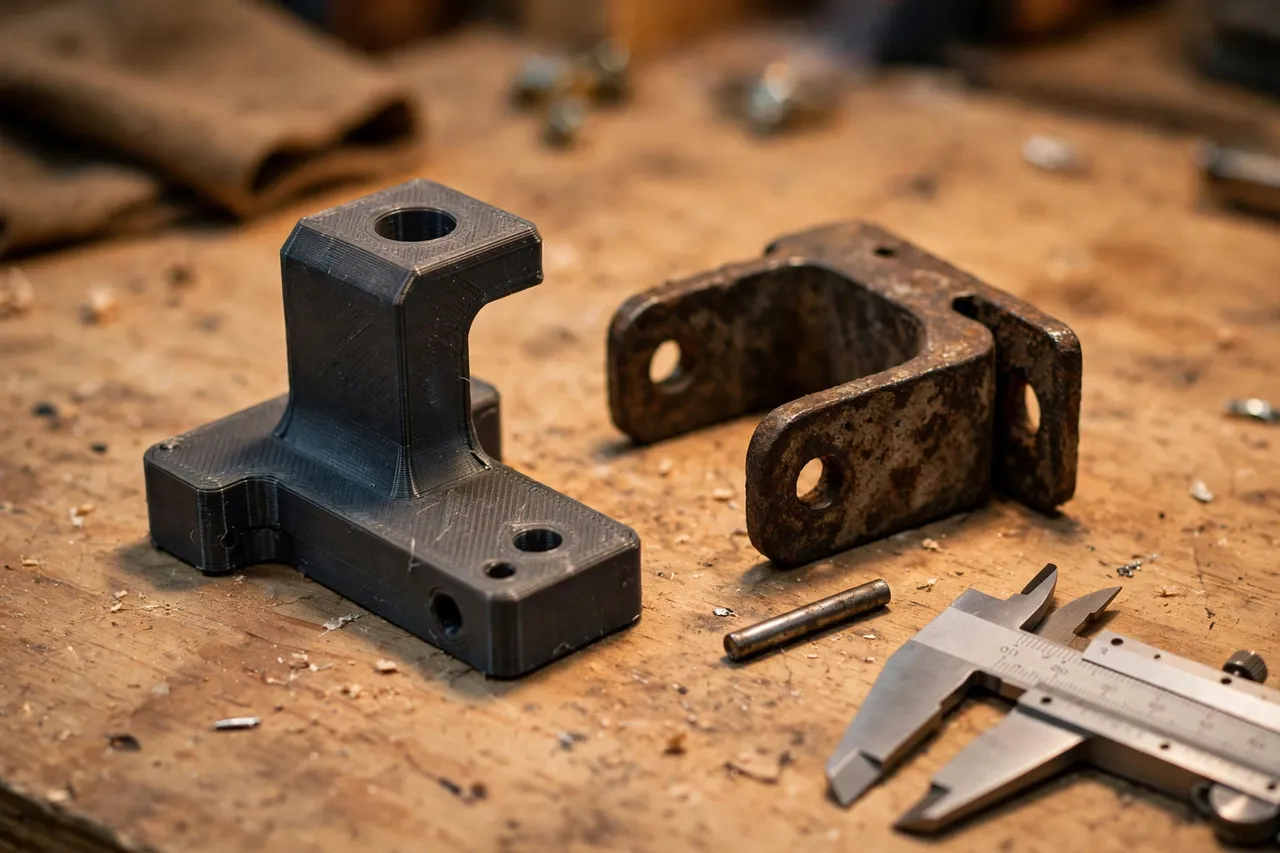
The bracket is small, but it works hard, so print it well and measure the original carefully — or, if the original is missing, measure the pin and the mounting surface it sat on.
Materials and tools
- A home 3D printer with a build area of roughly 120 mm in at least one direction
- PETG for a tougher bracket, or PLA for a light hollow-core door in a cool, dry room
- The original bracket, if any survives, plus the pivot pin it held
- Calipers or a ruler, a pencil, and a notepad for measurements
- A screwdriver set, short wood screws, and a drill with a small pilot bit
- Fine sandpaper or a small file, and a spirit level for checking the door
PETG is the better choice here: it flexes slightly instead of cracking under the repeated small movements of folding, and it copes better with a warm room. PLA will work for a light door that is opened gently, but it is more likely to crack if the door gets yanked.
Suggested print settings
- Layer height: 0.20 mm, or 0.16 mm if the pin socket needs a smooth bore.
- Walls: 4 to 5 perimeters — the socket walls and screw flanges are the parts under load.
- Infill: 50 to 60 percent, grid or gyroid, because this is a working bracket, not a decorative cap.
- Top and bottom layers: 4 or more, for solid screw flanges.
- Orientation: Print with the socket axis vertical if your design allows, so the pin bore prints cleanly; otherwise print flat and ream the bore by hand.
- Supports: Only for an overhanging socket lip; keep the design as support-free as you can.
Print one bracket and test it with the real pin before printing a matching set. Top and bottom pivots are often different, so do not assume one design fits both ends.
Design Considerations
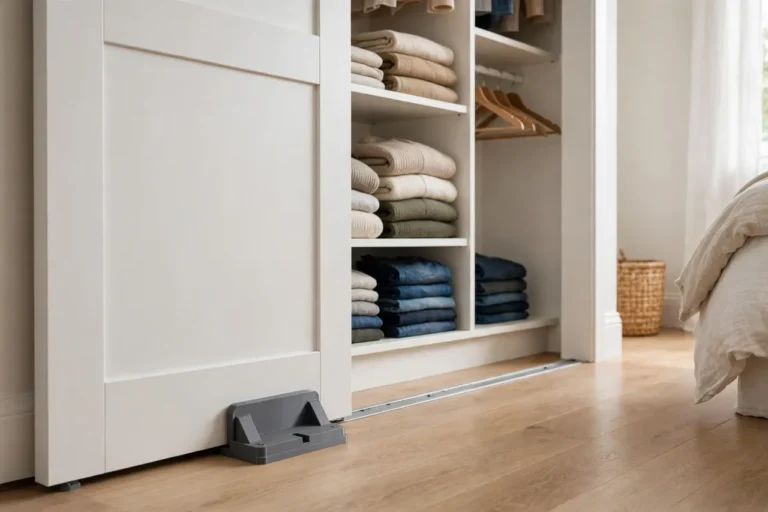
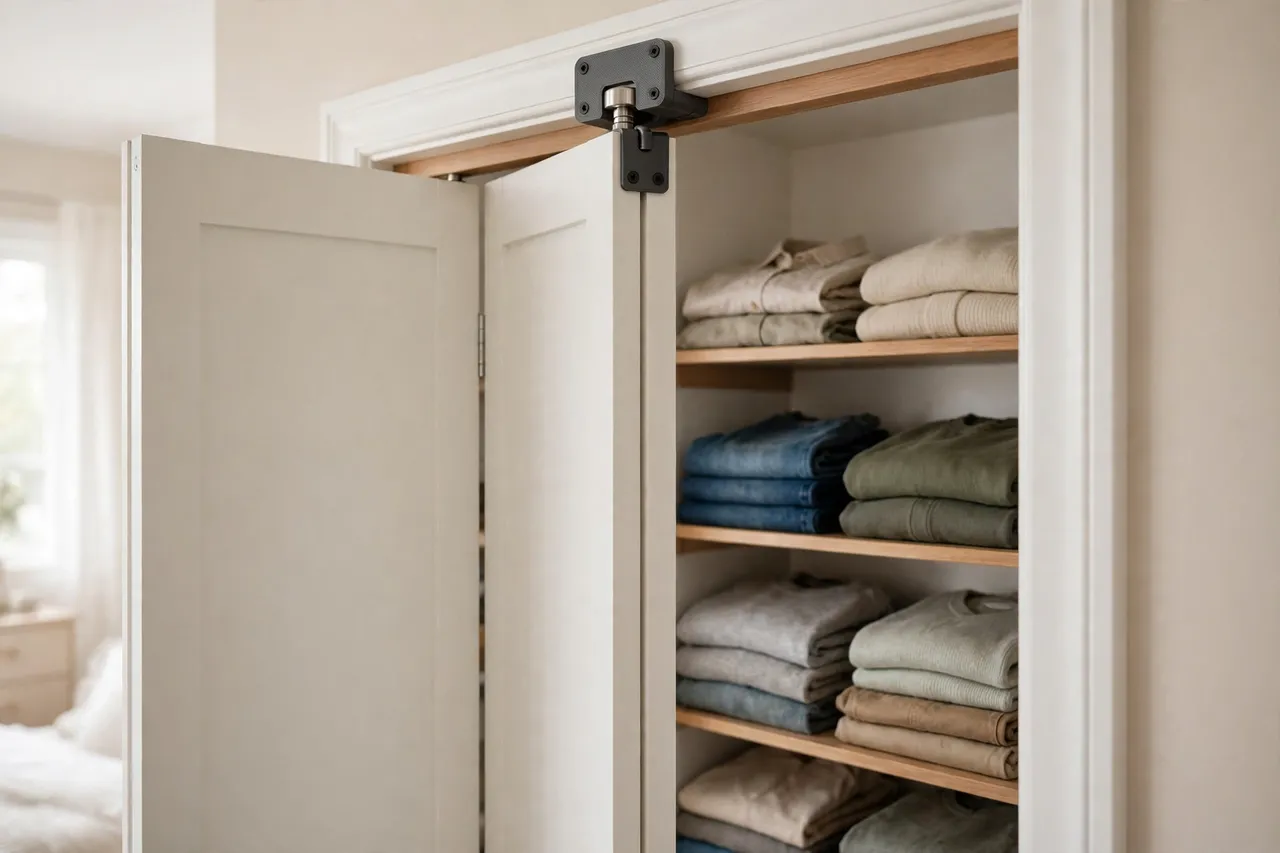
Bi-fold pivots come in several styles: a top pivot that sits in a track bracket, a bottom pivot that sits in a floor or jamb bracket, and spring-loaded pins that compress for removal. Identify yours before modelling anything.
1. Identify the pivot style
Look at where the pin sits. A top pivot usually has a pin that drops into a socket or a slotted bracket in the track. A bottom pivot often sits in a bracket screwed to the floor or jamb, sometimes with height adjustment. A spring pivot compresses so the door can be lifted out. Sketch the arrangement, note which parts move and which stay fixed, and design the bracket to replace only the broken piece, not the whole mechanism.
2. Size the pin socket precisely
The socket is the heart of the bracket. Measure the pin diameter and add 0.3 to 0.5 mm of clearance so the pin turns freely without wobbling. A socket that is too tight will bind and stress the bracket; one that is too loose lets the door sag and rattle. If the pin has a groove or a shoulder, include a matching lip or step in the socket so the pin stays located.
3. Give the screw flange real substance
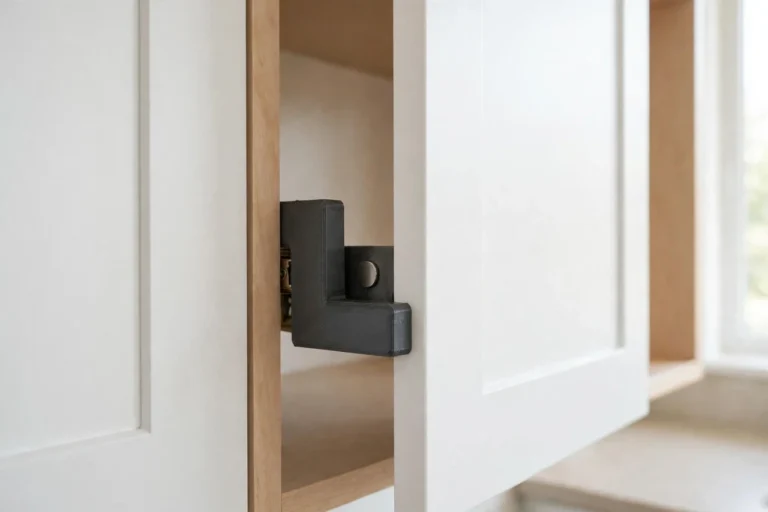
The flange is what holds the bracket to the door or frame, and it is where printed brackets most often fail. Make it at least 3 mm thick, with generous fillets where it meets the socket body, and position the screw holes so they land in solid timber, not in a previous stripped hole. If an old screw hole is stripped, fill it and let it cure fully, then drill a fresh pilot hole slightly offset.
4. Allow for adjustment
Doors settle and frames move. Where the original bracket allowed height or sideways adjustment, keep that feature if you can — a slot instead of a fixed hole, or a socket that lets the pin sit at slightly different heights. A bracket that only fits a perfectly square, perfectly level door will frustrate you the first time the seasons change.
Step-by-Step: Printing the Brackets
- Remove the door carefully with a helper if it is large, and lay it on a padded surface.
- Identify and measure the broken bracket, the pin, and the mounting surface. Photograph the arrangement before you take it apart.
- Model the replacement, starting from the pin socket and working outward to the flange and screw holes.
- Print a single test bracket and check the pin fit by hand.
- Refine the socket. Too tight? Open it by 0.2 mm. Too loose? Reduce clearance or add a small locating lip.
- Print the final bracket or matching pair once the test fits and the pin turns smoothly.
- Clean up stringing, clear the socket bore with a small round file or drill bit turned by hand, and lightly sand the flange face flat.
Step-by-Step: Fitting the Brackets
- Clean the track and pivot area. Brush out dust and check the track for bends or dents.
- Offer up the new bracket and mark the screw positions through its holes.
- Drill pilot holes in the door or frame, keeping the drill square to the surface.
- Screw the bracket in place, snug but not crushed, and check it sits flat with no rocking.
- Refit the door, starting with the bottom pivot, then the top, following the usual sequence for your door type.
- Test the fold. Open and close the door several times, watching the pivot end for lift, sag, or popping.
- Adjust as needed. Use the door’s own height adjustment, or shim the bracket slightly, until the door folds flat and clears the floor evenly.
Tips for Better Results
- Print top and bottom as separate designs if they differ at all; forcing one design to do both jobs usually compromises both.
- Keep a spare bracket printed. These parts are small, and a spare turns a future failure into a five-minute swap.
- Lubricate lightly. A tiny smear of silicone lubricant on the pin helps it turn smoothly and reduces wear on the socket.
- Check the whole door, not just the pivot. Tighten the panel hinges and check the track guide while the door is off; it is much easier with the door down.
- Mark the bracket’s orientation. A small arrow or dot on the visible face stops you fitting it upside down on the next door.
Common Mistakes to Avoid
- Printing in low infill. A 15 percent bracket looks fine and cracks within weeks under daily folding. Use the higher infill recommended above.
- Copying a broken bracket exactly. If the original cracked at a thin section, copy its shape but thicken that section and add a fillet.
- Ignoring the track. A bent track will keep popping the pin out no matter how good the bracket is.
- Overtightening into plastic. Snug screws hold; crushed flanges crack and the bracket rocks.
- Assuming both pivots match. Measure each end separately — manufacturers often use different brackets top and bottom.
Care, Storage, and When to Choose an Alternative
Check the brackets once a year, tighten any loose screws, and re-lubricate the pin lightly. If a bracket starts to whiten or crack around the socket, print a replacement before it fails completely — a door that drops suddenly can damage the track or the panels.
Choose a manufactured metal bracket when the door is heavy solid-core, when the pivot also carries a locking or latching function, or when the door is used very heavily, such as in a busy family hallway opened dozens of times a day. Metal also wins where the original bracket was load-bearing in a way a plastic part cannot honestly replicate. For a standard light closet door, a well-printed PETG bracket is a sensible, cheap, and satisfying repair.
FAQ
Why does my bi-fold door keep popping out of the track?
Usually a worn or cracked pivot bracket, a bent track, or a door that has sagged so the pin no longer seats deeply enough. Check all three, in that order, before replacing parts at random.
Can I print a bracket if the original is completely missing?
Yes, if you can measure the pin and the mounting surface it sat on. Photographs of an identical door, or the bracket from the opposite end, often give you the missing dimensions.
Is PETG really better than PLA for this part?
For a working pivot bracket, yes. PETG tolerates repeated flexing and warm rooms better, and it is less likely to crack suddenly at the socket. PLA is acceptable for a very light door that is opened gently.
My door still scrapes the floor after a new bracket. What next?
Check the door’s height adjustment and whether the panels are square to each other. A sagging centre hinge or a swollen bottom edge can both cause scraping that a pivot bracket cannot fix.
Conclusion
A bi-fold door that folds smoothly feels like a small luxury, and it often comes down to one small bracket doing its job. Measure the pin, print the socket with care, give the flange real substance, and fit it onto a clean track — and the door should fold flat and stay put.
For the rest of the closet, you may also enjoy Closet Rod Sockets and Flange Covers: 3D Print Replacement Closet Hardware That Fits and Sliding Door and Window Track Guides: 3D Print Replacement Guides and Stops, which cover the neighbouring hardware on the same doors. Keep a spare bracket in a drawer, and the next wobble will be a quick swap rather than a weekend project.