Introduction
Bathroom shelves have a hard life for such a small job. They sit in humidity, get splashed, hold bottles that are heavier than they look, and are often fixed to tiled walls where every screw hole feels like a commitment. When a bracket rusts, cracks, or simply does not match the shelf you want, the whole shelf sags or wobbles — and a wobbling bathroom shelf is only ever one bump away from a broken bottle.
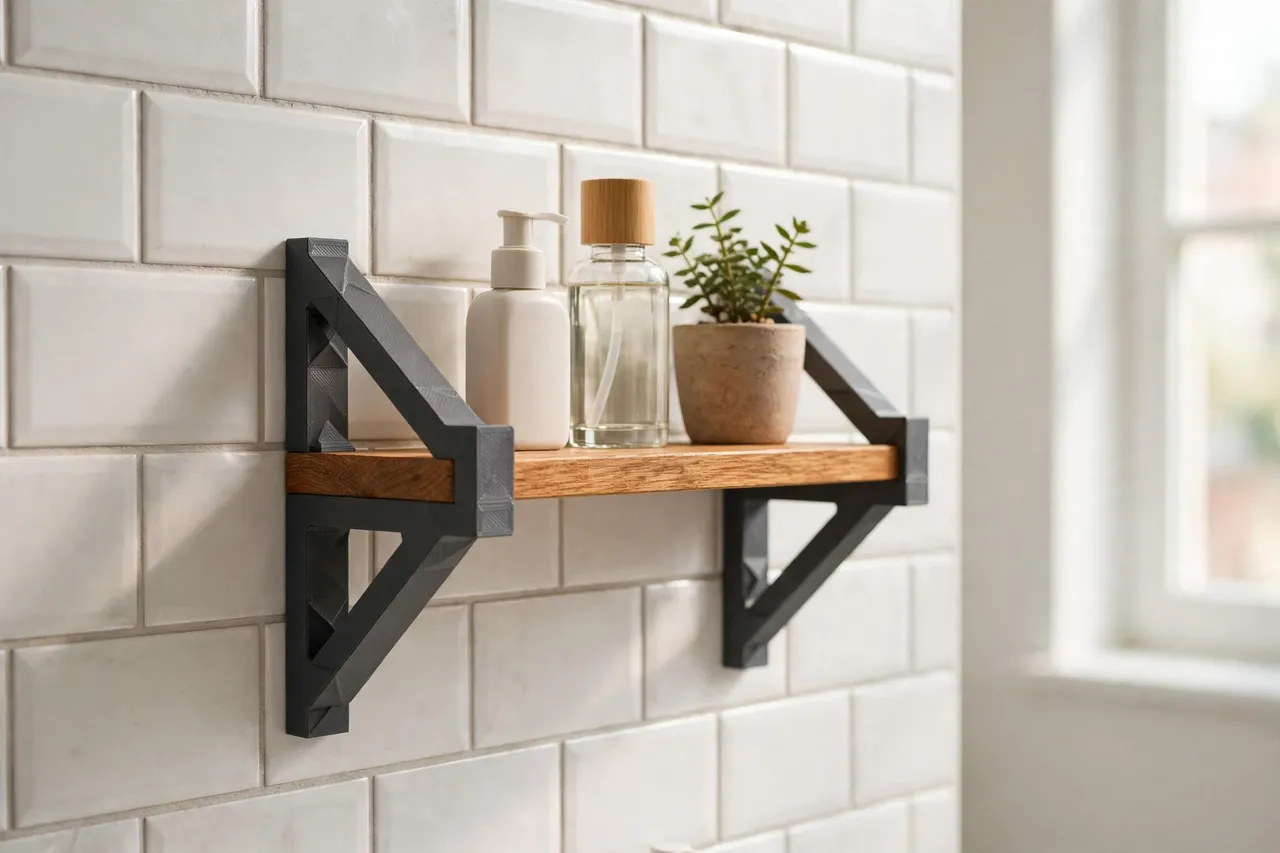
A 3D printed bathroom shelf bracket is a light-duty bracket for a light shelf: toiletries, a small plant, a rolled hand towel — not a heavy mirror, not a loaded cabinet, and not anything that must stay put for safety. That honest limit is the most important part of this guide. Printed brackets are wonderful for a small, light shelf in a bathroom, provided they are printed strongly, fixed into solid wall material with proper fixings, and loaded lightly. If you need to hold something heavy, large, or valuable, or if the fixing must be relied on in a wet area, use manufactured metal brackets with fixings rated for your wall type.
This guide covers designing a sturdy bracket for a light bathroom shelf, printing it in a humidity-tolerant material, fixing it to a tiled or plaster wall safely, and keeping the load sensible.
What You Need
Shelf brackets are larger than most parts in this series, so check your printer’s build area and print orientation carefully — a bracket printed in the wrong orientation will be far weaker than one printed well.
Materials and tools
- A home 3D printer with a build area of roughly 150 mm in at least one direction
- PETG for a bathroom bracket: it handles humidity and warm rooms far better than PLA, which can soften and weaken in a hot, steamy bathroom
- A shelf board, cut to size and finished, plus a tape measure, pencil, and spirit level
- A drill with masonry and tile bits as needed for your wall, wall plugs suited to your wall type, and screws
- A screwdriver set, painter’s tape for marking tile, and fine sandpaper
- A stud finder or a careful tapping test, if you hope to fix into studs behind a plaster wall
Suggested print settings
- Layer height: 0.20 mm, or 0.16 mm if the bracket has a visible face you want smooth.
- Walls: 5 to 6 perimeters — the bracket arms and wall plate are under real, if light, load.
- Infill: 50 to 60 percent, grid or gyroid, because this is a working bracket, not a decorative part.
- Top and bottom layers: 5 or more, for solid wall plates and shelf arms.
- Orientation: Print the bracket so the layer lines run along the arm, not across it at the bend — the bend is where brackets fail, and layers across the bend are its weakest point. This usually means printing the bracket on its side.
- Supports: Only if your design includes an overhanging lip or diagonal brace; keep the design as support-free as you can.
Print one bracket first and test it with the real shelf board and a realistic light load before printing a matching pair. Brackets must match in height, or the shelf will never sit level.
Design Considerations
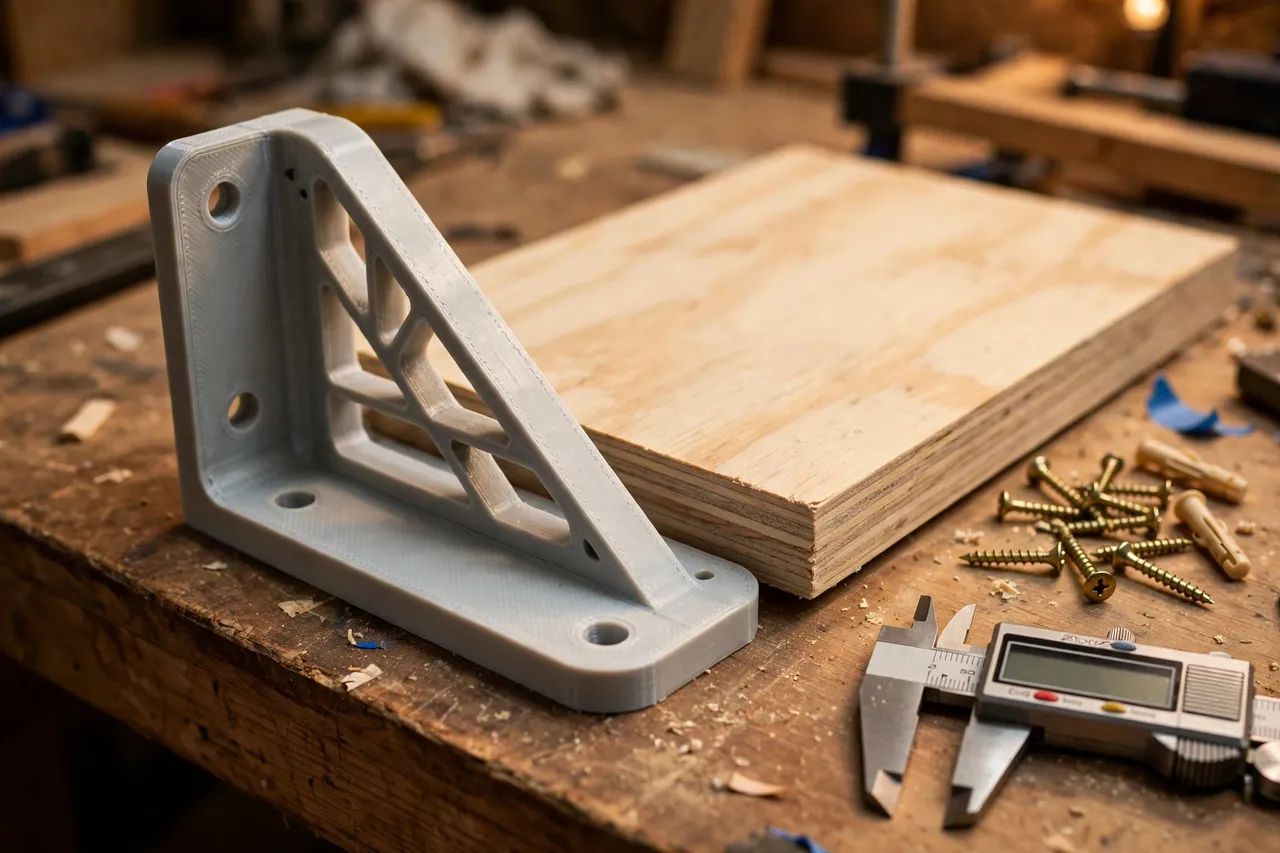
A shelf bracket is essentially an L-shape: a vertical wall plate with screw holes, and a horizontal arm that the shelf sits on. Adding a diagonal brace turns it into a triangle, which is much stronger for the same amount of plastic.
1. Size the bracket to the shelf depth
The arm should support most of the shelf depth — roughly two-thirds to three-quarters of it — without sticking out past the shelf front. A bracket arm that is too short lets the shelf tip forward under load; one that sticks out past the front looks clumsy and catches on sleeves. Measure your shelf board depth and design the arm to match it, with a small lip or upstand at the front if you want extra security against the shelf sliding forward.
2. Use a diagonal brace
A simple L-bracket relies entirely on the bend, which is the weakest point in a printed part. A diagonal brace from the lower wall plate to the outer arm turns the bracket into a triangle and spreads the load dramatically. It uses a little more plastic and takes a little longer to print, but it is the single best improvement you can make to a printed shelf bracket, and it is strongly recommended for any bathroom shelf.
3. Give the wall plate real substance
The wall plate should be at least 4 to 5 mm thick, with at least two screw holes spaced well apart vertically, so the bracket cannot rotate. Position the holes over solid fixing points, not over grout lines or cracked tiles. If you are fixing into tile, drill with a proper tile bit, start slowly to avoid cracking, and use plugs suited to the wall behind the tile. Never rely on adhesive alone to hold a shelf bracket, however tempting that sounds on tile.
4. Keep the load honest
Decide what the shelf will hold before you design the bracket, and keep it light: a few toiletry bottles, a small plant, a rolled towel. Do not design a printed bracket for a shelf that will hold heavy jars, a large mirror, or anything whose fall could cause injury or serious damage. If the load grows over time — and bathroom shelves always accumulate things — check the brackets regularly and move heavy items elsewhere.
Step-by-Step: Printing the Brackets
- Measure the shelf board depth and decide the bracket size and brace design.
- Model the bracket: a wall plate with two screw holes, a horizontal arm, and a diagonal brace, with fillets at every junction.
- Print a single test bracket on its side, so layer lines run along the arm.
- Check the fit with the real shelf board: the arm should support the board evenly and the wall plate should sit flat.
- Load-test gently with a realistic light load, watching for flex at the bend or brace. Some flex is normal; cracking or permanent bending is not.
- Print the matching pair once the test is right, checking both brackets are the same height.
- Clean up stringing and lightly sand the visible faces, rounding any sharp outer corners.
Step-by-Step: Fitting the Brackets
- Mark the shelf height on the wall with a spirit level, marking both bracket positions and checking they are level with each other.
- Mark the screw positions through the bracket’s wall plate holes, using painter’s tape on tile to reduce drill wander and chipping.
- Drill carefully, using the right bit for your wall, starting slowly on tile, and stopping at the correct depth for your plugs.
- Fit the wall plugs fully, checking they sit flush and do not spin.
- Screw the first bracket in place, checking it is vertical and sits flat against the wall.
- Fit the second bracket, then check the pair with a spirit level across the arms before tightening fully.
- Place the shelf board on the arms, check it sits level and does not rock, and secure it to the arms with short screws from below if your design includes them.
- Load the shelf lightly and check again after a day, tightening any screw that has settled.
Tips for Better Results
- Always use the diagonal brace. It is the difference between a bracket that flexes and one that feels solid.
Common Mistakes to Avoid
- Printing in PLA for a bathroom. PLA softens in heat and humidity; PETG is the minimum sensible choice here.
- Printing with layers across the bend. Orientation matters more than infill for this part — print on the side so layers run along the arm.
- Relying on adhesive on tile. Adhesive alone is not a reliable shelf fixing, especially in a humid bathroom.
- Overloading a light bracket. A printed bracket for toiletries is not a bracket for a heavy mirror or a loaded cabinet.
- Skipping the level check. Brackets that are not level with each other make a shelf that rocks, however well printed they are.
Care, Storage, and When to Choose an Alternative
Wipe the brackets when you clean the bathroom, check the screws every few months, and keep the load light. If a bracket shows whitening, cracking, or permanent bending, replace it promptly — a failing bracket is a warning, not a cosmetic flaw.
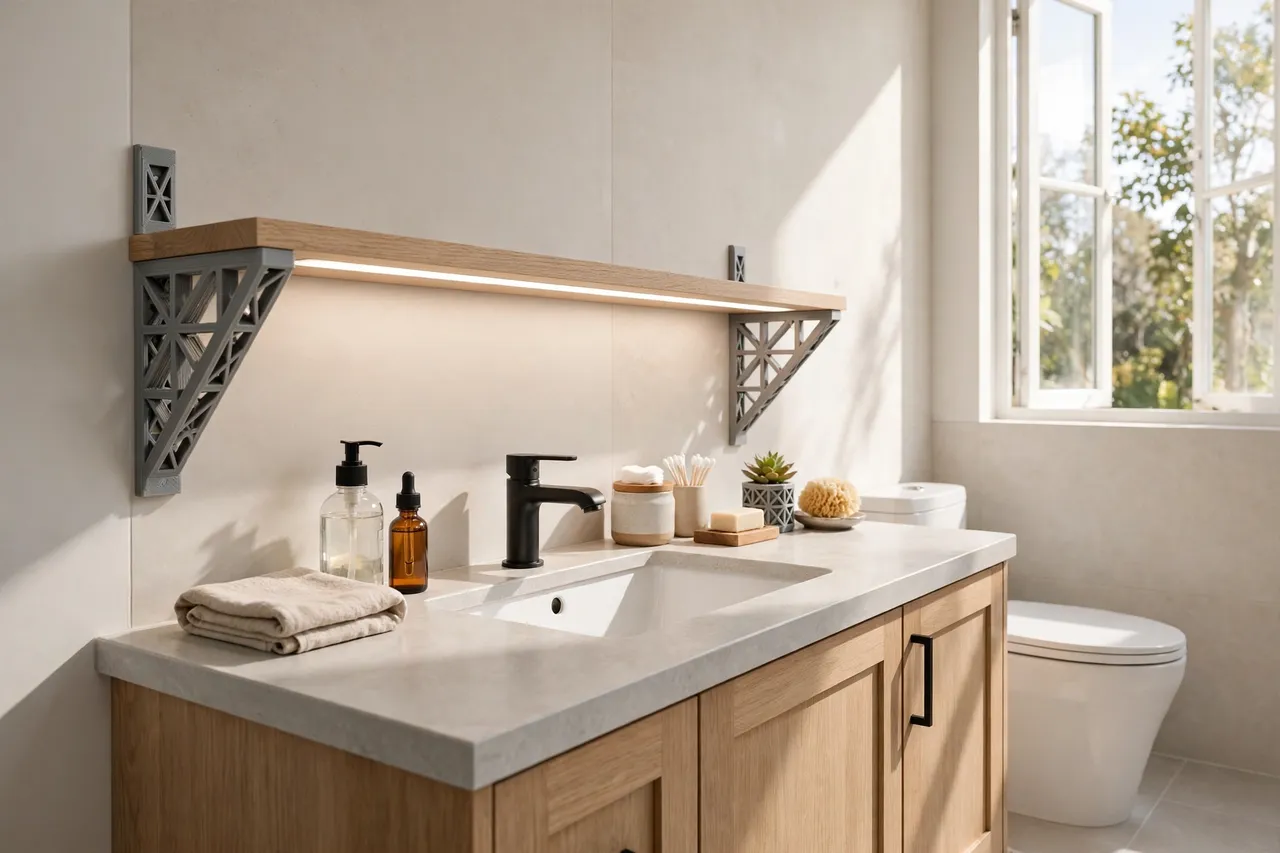
Choose manufactured metal brackets when the shelf must hold anything heavy, when it is large or holds a mirror, when the fixing is in a wet area that must stay put, or when the shelf is above a bath, a sink used by children, or anywhere a falling shelf could cause harm. Metal brackets with proper wall fixings are also the right choice for rented properties where a failed shelf could damage the wall or the tenant’s belongings. For a small, light, well-fixed bathroom shelf, a well-printed PETG bracket with a diagonal brace is a practical and attractive solution.
FAQ
How much weight can a printed bathroom shelf bracket hold?
That depends on the print, the wall fixing, and the wall itself, so no single number is honest. As a guide, a well-printed PETG bracket with a diagonal brace, fixed into solid material, comfortably holds a few light toiletry bottles. If you need to hold more, use metal brackets.
Can I fix printed brackets to tiles without cracking them?
Yes, with a proper tile drill bit, a slow start, painter’s tape over the drilling point, and no hammer action. If a tile is already cracked, choose a different fixing point.
Will PETG survive a steamy bathroom?
Far better than PLA, yes. PETG handles humidity and warm rooms well for a light-duty bracket. Keep the bathroom ventilated, as you should anyway, and check the brackets periodically.
My shelf rocks even though the brackets look level. Why?
Usually the board itself is slightly warped, or one arm sits a fraction higher. Check the board on a flat surface and both arms with a spirit level.
Conclusion
A small bathroom shelf, well bracketed and lightly loaded, is one of the most useful additions to a bathroom — a place for the bottles you actually use, at the height you actually reach. A printed PETG bracket with a diagonal brace, printed on its side and fixed properly into a solid wall, delivers that shelf neatly and cheaply.
For the rest of the bathroom, you may also enjoy Towel Hooks, Robe Hooks and Key Hooks: 3D Print a Matching Hook Set for Bath and Entryway and Light-Duty Shelf Brackets: When 3D Printed Brackets Make Sense — and How to Print Them Strong, which cover the neighbouring storage and the general principles behind light-duty brackets. Keep the load light, keep the fixings checked, and the shelf will stay put.