Introduction
Hooks are the hardest-working hardware in a home and the least considered. The bathroom towel ends up on a door handle, the robe on a chair, the keys on whatever surface was nearest the door — not because hooks are expensive, but because the right hook in the right place in a finish that matches the room never quite happens by accident.
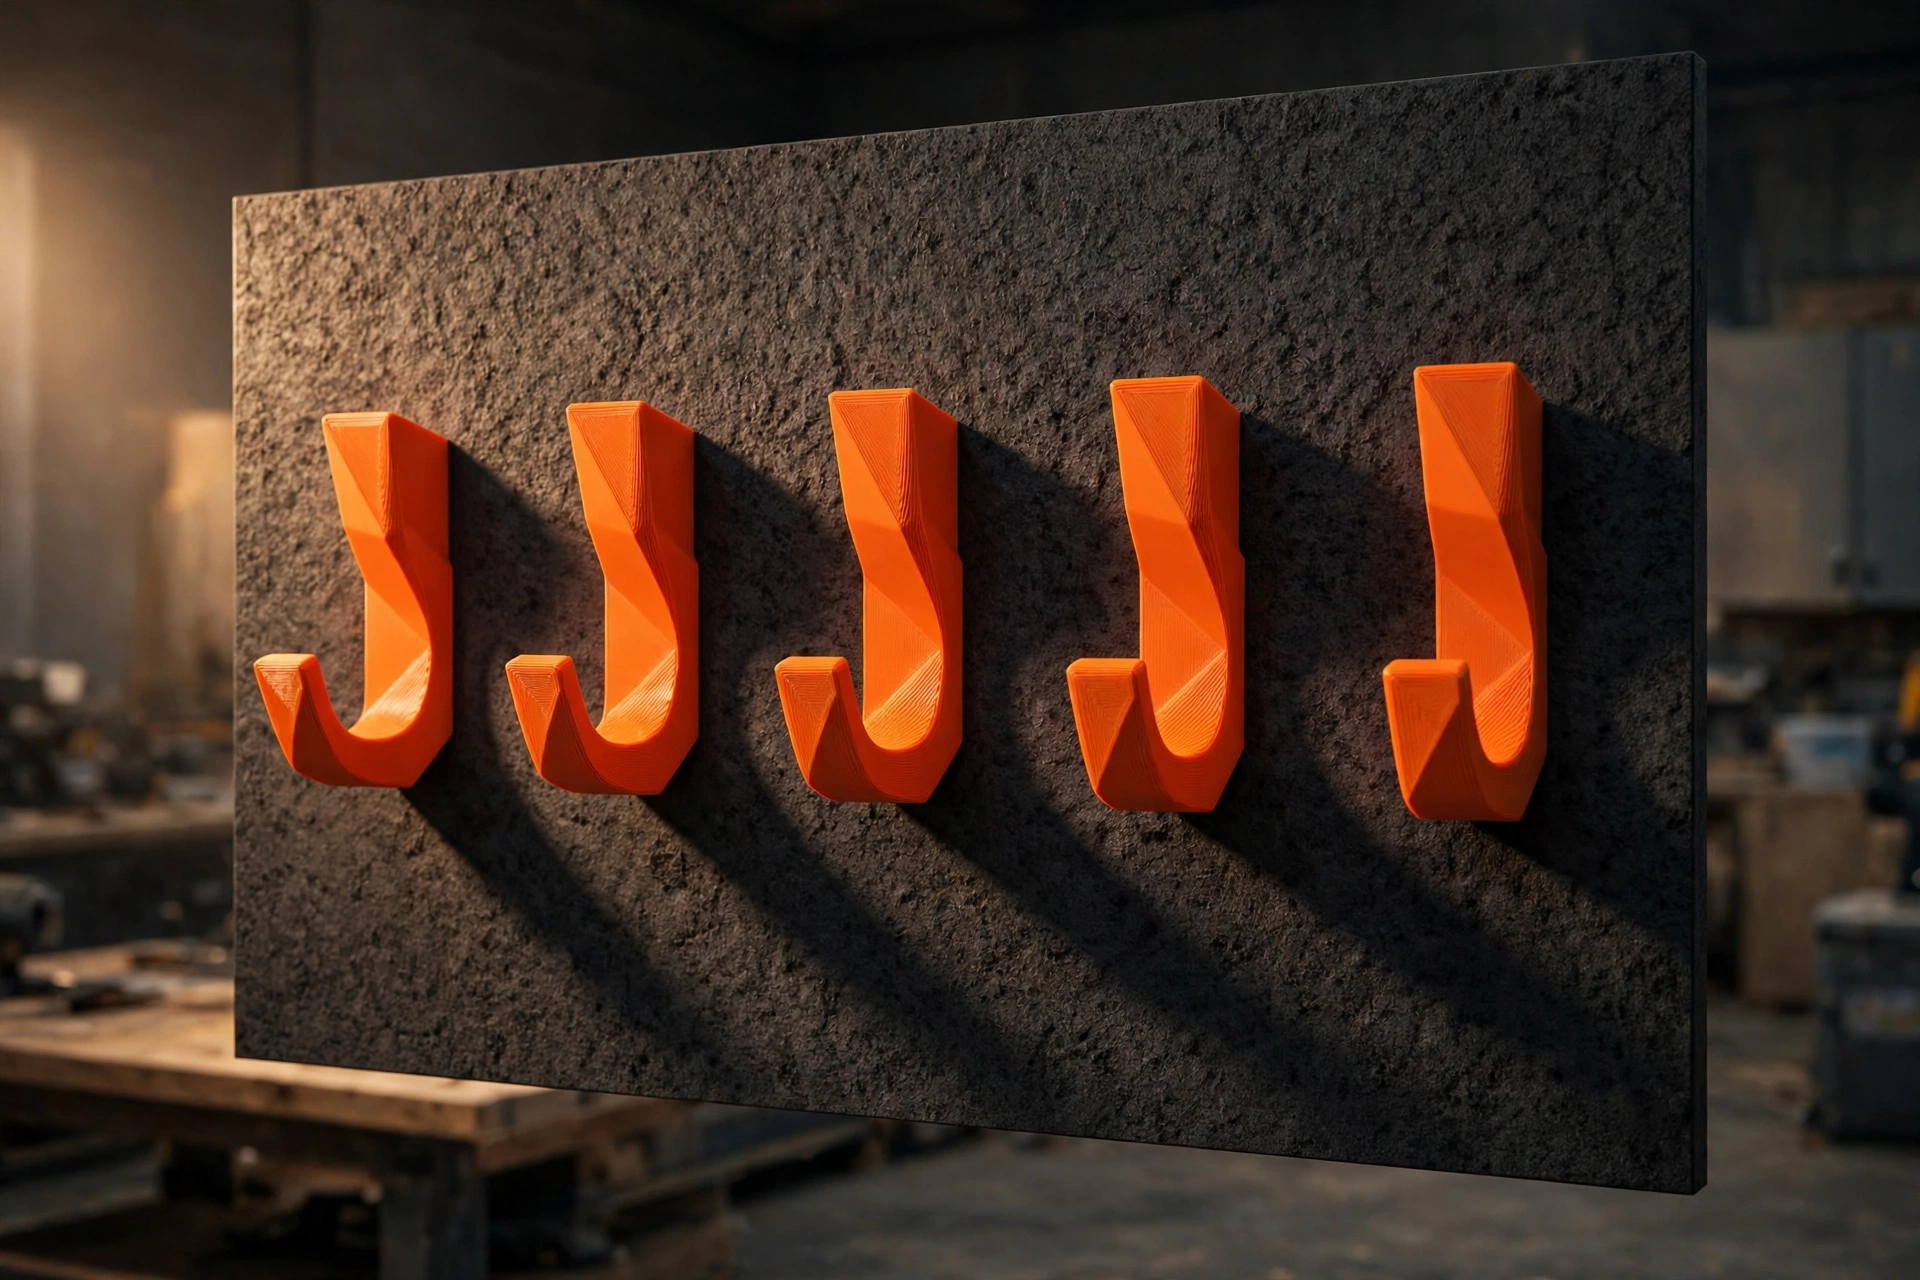
3D printed wall hooks make it happen on purpose. One design language — the same curve, the same mounting plate, the same color — scaled into a deep double hook for bath towels and robes, a medium hook for hand towels and coats, and a small rail of hooks for keys and leashes. Every hook sized to its job, mounted into solid fixing, with smooth printed curves that treat fabrics kindly. And when you need one more hook, in the new nursery or the mudroom, you print it to match instead of starting a new hardware safari.
This guide covers designing the hook family, printing it strong, and mounting it so the set looks — and works — like it was always part of the house.
What You Need
Materials and tools
- A home 3D printer with a build area of about 150 mm or more
- PETG filament for bathroom hooks (humidity is its home turf) and any hook that carries real weight; PLA is fine for key hooks in dry rooms
- Screws suited to your walls: wood screws for studs, proper wall plugs and screws for masonry or plasterboard anchor points
- A stud finder, tape measure, pencil, and level
- A cordless drill and suitable bits
- A countersink bit so screw heads sit flush in the mounting plates
- Fine sandpaper for smoothing hook curves
A quick honesty note on loads: printed hooks are for towels, robes, coats, keys, hats, and bags of sensible weight. They are not climbing anchors, not for hanging anything a person will pull on or swing from, and heavy mirrors, loaded shelves, and anything safety-critical belong on rated metal hardware. Within household hook duty, a well-designed printed hook is stronger than the wall fixings most people use.
Suggested print settings
- Layer height: 0.2 to 0.24 mm — hooks look best a little refined.
- Walls: 5 to 6 perimeters. A hook is essentially a curved beam; its strength lives in its walls.
- Infill: 50 percent or higher for towel and robe hooks; 30 percent is fine for key hooks.
- Top and bottom layers: 5 or more.
- Orientation: Print hooks lying on their side, so layer lines run along the curve of the hook rather than across it — a hook printed upright can snap along a layer line at the throat; a hook printed on its side bends its layers the strong way.
- Supports: A side-lying hook with a teardrop profile to its underside can print support-free; otherwise use minimal supports that do not touch the fabric-contact curves.
Design Considerations
1. The curve: generous, smooth, and snag-free
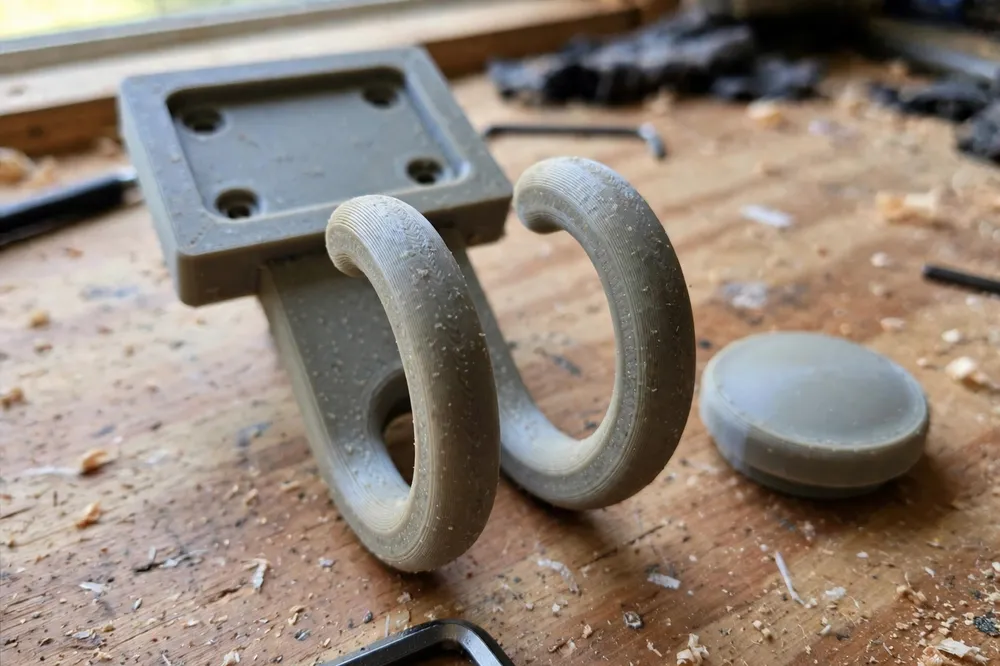
A hook’s kindness to fabric is its radius. Sharp inner corners pinch towels, crease robes, and snag knitwear. Model the hook’s inner curve with a radius of at least 12 to 15 mm for towel and robe hooks, rising to an upturned tip that keeps items from sliding off without forming a point. Every surface a towel touches should be smooth enough to slide a nylon stocking over without a catch — test your prints exactly that way, and sand until they pass.
2. The mounting plate does the real work
Hooks fail at the wall, not the tip. Give each hook a plate at least 60 to 80 mm tall with two screws, spaced vertically, so the load’s leverage is shared and the hook cannot rotate. A concealed-screw design looks best: the plate screws to the wall, then the hook body slides or snaps over it, hiding the fixings under a clean cover. Print the plate with countersunk holes and a slight recess so the cover sits flush.
For plasterboard, no plate design rescues a bad fixing — land at least one screw in a stud or use proper hollow-wall anchors rated for the load, every time.
3. Size the family, share the language
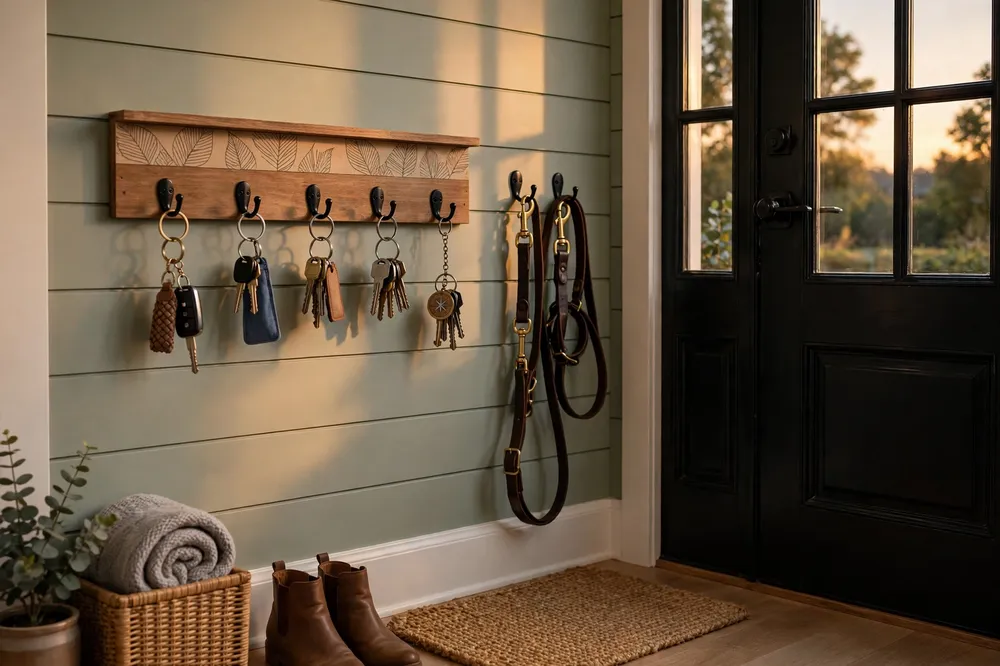
Design three sizes around one curve profile. The robe and bath towel hook: a double hook, with a longer lower arm for the towel and a shorter upper knob for the robe, projecting about 70 to 80 mm from the wall. The medium single hook: about 55 to 65 mm projection for hand towels, coats, and bags. The key hook: a small 30 mm hook, printed as a rail of three or four on one shared plate for the entryway. Same radius family, same plate style, same filament color — the set reads as one purchase from a good hardware store, which is the entire aesthetic trick.
4. Details that sell the set
A tiny drip-shedding slope on bathroom hooks keeps water from pooling in the curve. A flat spot or badge recess on the cover cap lets a room’s set be marked subtly. Rounded plate corners echo the hook curves. None of these cost print time worth mentioning; together they are the difference between “printed hooks” and “the hooks in this house.”
Step-by-Step: Printing the Hooks
- Model the medium hook first — the size you will use most — and print one at full strength settings.
- Load-test it honestly: mount it on a scrap board screwed to a bench, hang a bag loaded to a few kilograms, and leave it overnight. Look for flex, creep, or layer complaints at the throat.
- Adjust once: if it flexes more than you like, thicken the throat in the model rather than simply adding infill — material placed at the curve is worth three times material elsewhere.
- Print the family — robe doubles, medium singles, the key rail — in the same filament and settings, sanding every fabric curve smooth.
- Print one spare of the medium hook. Hooks multiply around a house, and a spare in the drawer makes you generous.
Step-by-Step: Mounting the Set
- Plan heights: robe and towel hooks at about 1,600 to 1,700 mm for adults (lower where children or shorter adults use them, on rated fixings as always — these remain ordinary household hooks, not grab bars or safety aids, and must never be used as support for climbing or standing); hand towel hooks near the basin at about 1,200 mm; the key rail just inside the door at comfortable hand height.
- Find your fixings: studs where possible, proper anchors where not. Mark, level the plate line, and drill.
- Screw the plates home snugly, checking each sits flat with no rocking.
- Fit the hook bodies or covers over the plates until they seat with a positive click or slide-lock.
- Load gradually: towels first, robes after a day, and give each hook a firm downward tug by hand before trusting it with the good towels.
Our “3D Printed Curtain Rod Brackets and End Caps for a Clean, Sturdy Window Upgrade” uses the same concealed-plate thinking for a matching look at the window, and the two projects in one room, in one color, genuinely pass for a bought hardware suite.
Tips for Better Results
- Print the whole set in one filament batch. Color varies subtly between spools; a matched set bought as one spool stays matched.
- Sand curves wet with fine paper for the silkiest fabric contact, then wash off the dust before mounting.
- Mount key hooks where keys actually land — beside the door you use, at the height your hand naturally unloads. A beautiful rail in the wrong place becomes decor while keys still land on the counter.
- Use the doubles in the bathroom, singles in the entryway for coats, and the rail for keys and leashes; consistency of role helps the whole household keep the system without thinking.
- Add a hook inside a closet door for tomorrow’s outfit — the spare you printed has found its calling. The home-wide matching approach echoes “Door Stops That Work: 3D Print Hinge-Pin and Floor Door Stops for Every Room“: small printed hardware, consistent everywhere, quietly upgrading the whole house.
Common Mistakes to Avoid
- Printing hooks upright. Layers across the throat are a built-in fracture line under load. On their side, always.
- Undersized plates and one screw. A single-screw hook rotates, loosens, and tears out. Two screws, generous plate, solid fixing.
- Skipping anchors on plasterboard. Screws in bare plasterboard hold a photograph, not a wet bath towel. Studs or rated anchors, no exceptions.
- Sharp tips and tight radii. They look fine in the model and destroy towels in service. Generous curves, upturned blunt tips, the stocking test.
- Overloading cheerfully. A robe hook is not a luggage rack. Keep loads household-sensible and anything heavy or safety-related on metal hardware.
Care, Storage, and When to Choose an Alternative
Wipe hooks down with the bathroom cleaning routine; PETG shrugs off household cleaners. Check mounting tightness once a year — a quarter-turn now prevents the wobble that wallows out fixing holes. If a hook is ever overloaded and bends, replace it rather than trusting it; the reprint costs less than the towel rail disaster it prevents.
Choose alternatives where they belong: a heated towel rail does a job no hook can; long runs of entryway storage may suit a timber peg rail’s look better; and genuinely heavy duty — bicycles, ladders, anything a person might grab for support — is metal hardware territory, full stop. For the broad middle of household life — towels, robes, coats, keys, hats, leashes — the printed set is stronger than needed, prettier than expected, and exactly where you want it.
FAQ
How much weight can a 3D printed hook actually hold?
Printed on its side in PETG with five or six walls and mounted with two screws into a stud or proper anchors, a robe hook comfortably handles several kilograms — more than towels, robes, and coats ask of it. The wall fixing is almost always the weak link, so mount properly and keep loads sensible.
Will printed hooks survive bathroom humidity?
PETG handles bathroom humidity and temperature swings without complaint, which is why it is the recommendation for bath sets. PLA key hooks in dry rooms last indefinitely; PLA in a steamy bathroom can age faster, so match filament to room.
The concealed cover will not seat flush. What is wrong?
Usually a screw head sitting proud — check your countersink depth and screw choice — or a whisker of support material inside the cover. A minute with a file on the inside faces, where no one will ever see, fixes both.
Can I print hooks for a rental without drilling?
Adhesive mounting is possible for the lightest duty (key rail on a smooth door, with quality removable strips on the plate), but towel and robe hooks deserve screws. If drilling is truly off the table, over-door metal hooks are the honest alternative for the heavy items.
Conclusion
A house feels finished in its small hardware. A printed hook family — one curve, one plate, one color, sized from key rail to robe double — brings that finished feeling to the two rooms that need it most, for the cost of a spool and a weekend’s printing.
Print the medium hook, hang it by the bench, and load it overnight. When it passes, print the set, mount it in an afternoon, and enjoy the quiet satisfaction of towels, robes, and keys all having somewhere they belong.