Introduction
A bench vise is honest about one thing: it does not care what your workpiece looks like afterward. Those hardened, serrated steel jaws that grip a pipe so well will emboss their cross-hatching into hardwood, chew the edges of plastic parts, and leave a finished surface looking like it lost an argument. Every woodworker has a drawer of regrets to prove it.
The usual workarounds are all compromises. Scrap wood pads slip and split. Tape protects nothing at real pressure. Commercial soft jaws are excellent but sized for someone else’s vise, and the day you need them is the day they are the wrong width.
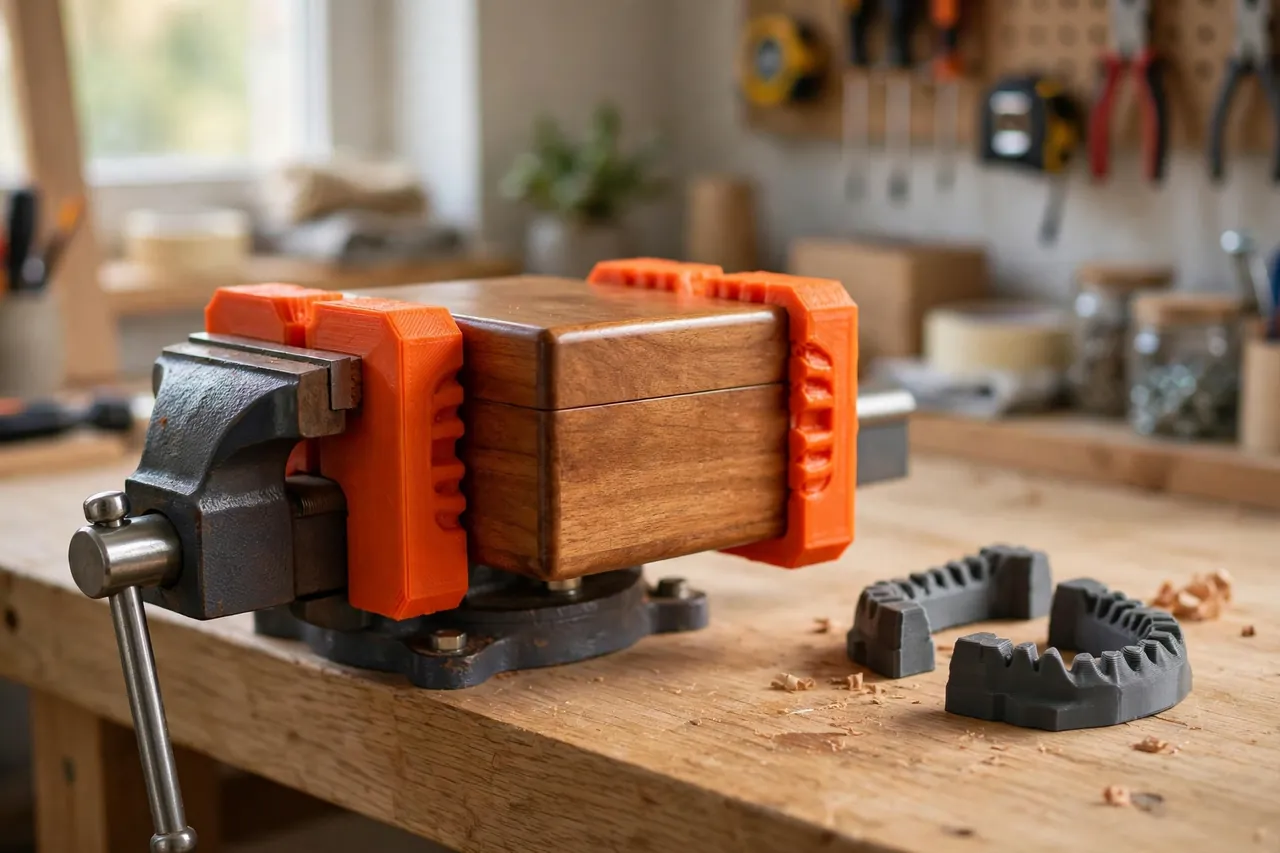
3D printed magnetic vise jaw liners are the made-to-measure answer: smooth-faced liners sized exactly to your vise’s jaws, with small magnets set into the back so each liner snaps onto the steel jaw and stays put while you position the work. Swap them on for anything delicate, pop them off for rough metalwork, and keep several face styles ready for different jobs.
This guide covers measuring your vise, designing liners with sensible faces, and using them within honest limits. A liner is a protective accessory for a standard bench vise — it cushions and positions light-to-medium work; heavy, high-force holding still belongs to the vise’s own steel jaws.
What You Need
A pair of liners is a quick, flat print. The critical inputs are your vise’s jaw dimensions and a handful of small magnets.
Materials and tools
- A home 3D printer with a build area a little larger than your vise’s jaw width
- PETG filament for the liner body; TPU if you want a genuinely soft face
- Small disc or bar magnets, commonly 10 mm discs 2 to 3 mm thick
- Your bench vise, with jaws cleaned of chips and oil for measuring
- Calipers or a ruler for jaw width, height, and magnet sizing
- A steel rule or straightedge to check liner flatness
- Scrap pieces of softwood, hardwood, and finished wood for grip testing
PETG makes a firm, durable liner that protects against the serrations while still holding work securely. TPU faces grip like a rubber pad and are kinder still, at some cost in squirm under side loads. Many makers print a PETG pair for everyday use and a TPU pair for finished pieces.
Suggested print settings
- Layer height: 0.20 mm is fine; these are working faces, not display surfaces.
- Walls: 4 perimeters so magnet pockets and edges shrug off knocks.
- Infill: 40 to 60 percent for a liner that feels solid under clamping pressure.
- Top and bottom layers: 4 or more on the working face for a smooth, even surface.
- Orientation: Print face-down on the build plate for the flattest, smoothest working face.
- Supports: None with simple rectangular pockets designed for flat printing.
Print one liner first and snap it onto your vise to verify the magnet fit and jaw coverage before printing its mate.
Design Considerations
A liner is a slab with pockets in the back and purpose in the front. Both sides deserve a moment’s thought.
1. Sizing to your vise
Measure the jaw’s width and height, then size the liner to cover the serrated face fully — typically the jaw width plus a couple of millimeters of margin, and tall enough to reach from just below the jaw’s top edge down over its face. A lip that folds over the top of the jaw adds mechanical security on vises whose steel is less magnet-friendly. Keep total liner thickness around 4 to 6 mm: thick enough to cushion and to house magnets, thin enough not to eat your vise’s opening capacity.
2. Magnet pockets and staying power
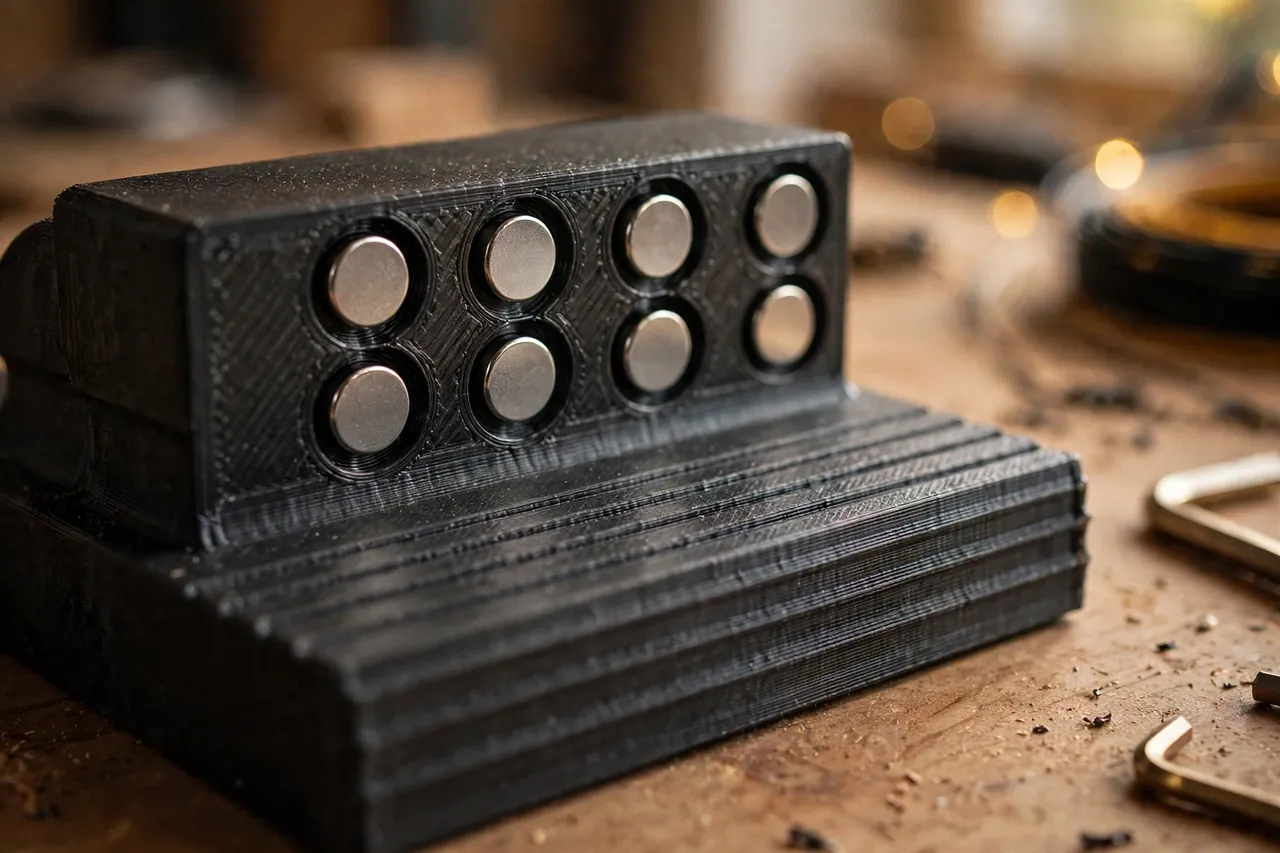
Two to four magnets per liner, spaced toward the ends, hold a liner flat and stop it skating sideways when work is nudged into place. Size pockets 0.3 to 0.5 mm wider than your magnets and deep enough to sit them flush or a whisker recessed. Leave at least 1 mm of printed floor between the magnet and the working face so clamping pressure never prints a magnet’s outline into soft work. If your vise jaws are painted or unusually smooth, add the top lip described above — magnets plus lip is belt and suspenders in the best way.
3. Face styles worth printing
The plain smooth face is the workhorse. Beyond it, three variants cover most delicate holding:
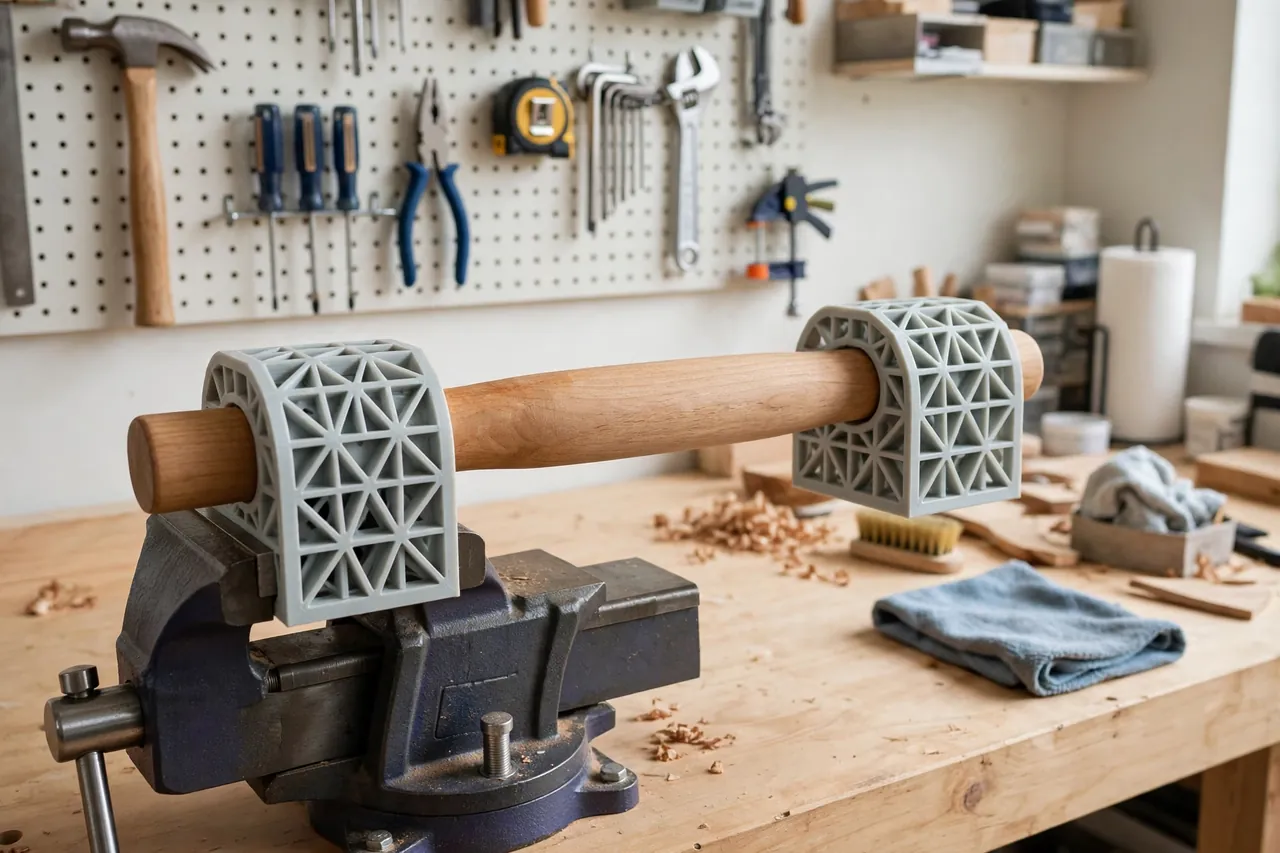
- V-groove face: a shallow horizontal or vertical V cradles dowels, rungs, and small round stock without rolling.
- Fine-ribbed face: subtle vertical ribs improve grip on smooth plastic and sealed wood without any bite.
- Extra-tall face: a liner that rises above the jaws, for holding thin or tall pieces fully supported.
Model the grooves and ribs shallow — a millimeter or two. You are adding guidance and friction, not teeth.
Step-by-Step: Printing and Assembly
- Measure the jaws — width, height of the serrated face, and how far the face sits proud of the vise body.
- Measure your magnets and note their diameter and thickness.
- Model the liner: full-coverage slab, top lip if wanted, magnet pockets in the back with a sound floor beneath each.
- Model the face — smooth to start; add variant faces as separate files.
- Print a test liner face-down and check flatness against a steel rule.
- Press in the magnets, all with the same pole facing the jaw, so both liners behave identically.
- Snap it on and test with scrap: clamp, twist gently, release, and inspect the scrap for marks.
- Print the mate and the variants, and mark each pair’s style on the back with a paint pen.
Step-by-Step: Using the Liners at the Vise
- Clean the steel jaws. Chips trapped behind a liner telegraph lumps into your work.
- Snap both liners on and slide them to sit squarely and evenly on each jaw.
- Present the workpiece centered across both faces, supported along as much length as the job allows.
- Close the vise gently until the liners make full contact, then add moderate pressure.
- Check for movement with a firm hand wiggle before you start sawing, filing, or planing.
- Work within the grip. Liners hold for shaping, sanding, gluing, and light cutting — not for persuading seized, heavy assemblies.
- Release and inspect. The face of the work should show no pattern; if it does, reduce pressure or switch to the TPU pair.
- Remove the liners for rough work and store them snapped together, face to face, in a drawer.
Tips for Better Results
- Print a V-groove pair early. Rungs, dowels, and tool handles come up constantly, and a groove turns a wrestling match into a non-event.
- Color-code by face style — orange for smooth, charcoal for grooved — so the right pair is a glance away.
- Keep faces clean. A single embedded chip turns a protective liner into a marking tool; brush faces before every delicate job.
- Store liners snapped to the vise’s side if drawer space is tight; the magnets that hold them to jaws hold them to the body just as happily.
- Let TPU liners rest after a long, hard clamp; the material relaxes back to shape better unloaded.
For work that needs holding flat rather than upright, you may also enjoy our related guide, “3D Printed F-Clamp Pads and Soft Jaws: Protect Workpieces While You Clamp,” which covers the same philosophy for portable clamps.
Common Mistakes to Avoid
- Liners thinner than the serrations are tall. Pressure finds the pattern through a flimsy face. Keep real material between steel and work.
- Magnets too close to the face. A magnet 0.4 mm under the surface will emboss its circle into pine under pressure. Respect the 1 mm floor.
- Clamping finished work at full force. Liners spread pressure; they do not make unlimited pressure harmless. Moderate force, full contact.
- Holding heavy stock by liner friction alone for aggressive sawing. If the job needs force, it needs steel jaws or a different holding method.
- Forgetting the liners are on before clamping something gritty or oily that ruins their faces for delicate work later.
Care, Storage, and When to Choose an Alternative
Brush the faces clean, wipe PETG with a damp cloth, and store liners snapped together or stuck to the vise body where they will not be crushed. Inspect magnet pockets occasionally; a cracked pocket wall gets a reprint, not a prayer. TPU liners should rest unloaded so their faces stay true.
Be clear about the boundary: for heavy metalwork, pipe, or anything needing the vise’s full clamping force and serrated bite, remove the liners and use the vise as its maker intended — or reach for dedicated metal soft jaws in copper or aluminum for repeated production work. For holding boards flat on the bench instead, our related guide, “Bench Dogs and Work-Holding Clamps: 3D Print Accessories for Your Workbench Dog Holes,” is the companion worth reading, and “3D Printed Planing Stop: Hold Boards Still for Hand Planing” covers the specific job of planing without any clamp at all.
FAQ
The magnets will not hold my liners on. Why?
Check the jaw material first — some vise jaws are hardened steel with poor magnetic response, and thick paint dulls it further. Add the folding top lip to your design for mechanical retention, and make sure the liner back is flat so the magnets sit flush against the steel.
Will liners stop all marking on soft wood?
They stop pattern marking from the serrations, which is most of the problem. Crushing is still possible with excessive force on very soft wood, so use moderate pressure and the widest contact you can arrange. A TPU pair adds a final margin of kindness.
Can I leave the liners on permanently?
You can, but you will miss the steel jaws’ bite on the rough jobs where it is genuinely needed, and liner faces will accumulate damage. The magnetic swap takes five seconds — treat it as part of setting up the job.
How thick should liners be for holding round stock?
Thickness matters less than the groove: a shallow V centered at jaw height, sized generously for your common dowel diameters, holds round stock securely at 5 mm thickness. Print a pair with two groove sizes, one per face direction, for flexibility.
Conclusion
Serrated vise jaws and finished workpieces were never going to be friends, but they no longer need to meet. Magnetic vise jaw liners, printed to the exact measure of your vise, swap on in seconds, hold kindly and securely, and return the vise to full aggression just as fast when rough work calls.
Measure your jaws today, print the smooth pair tonight, and run the scrap test. The first unmarked chair rung you pull from the vise will settle the question of whether the other face styles are worth printing — they are.