Introduction
Painting a door, a shelf, or a drawer front has a built-in pause that wastes half the session. You finish one side beautifully, and then you wait — because flipping it means laying a wet edge in dust, sticking newspaper to the finish, or balancing the piece on paint-can lids and praying. By the time side one is dry enough to touch, the light has changed and so has your enthusiasm.
The underlying problem is contact area. Anything broad that touches wet paint leaves a mark; anything improvised wobbles. What a wet part wants is to rest on points — the smallest possible contact, at spots that barely matter.
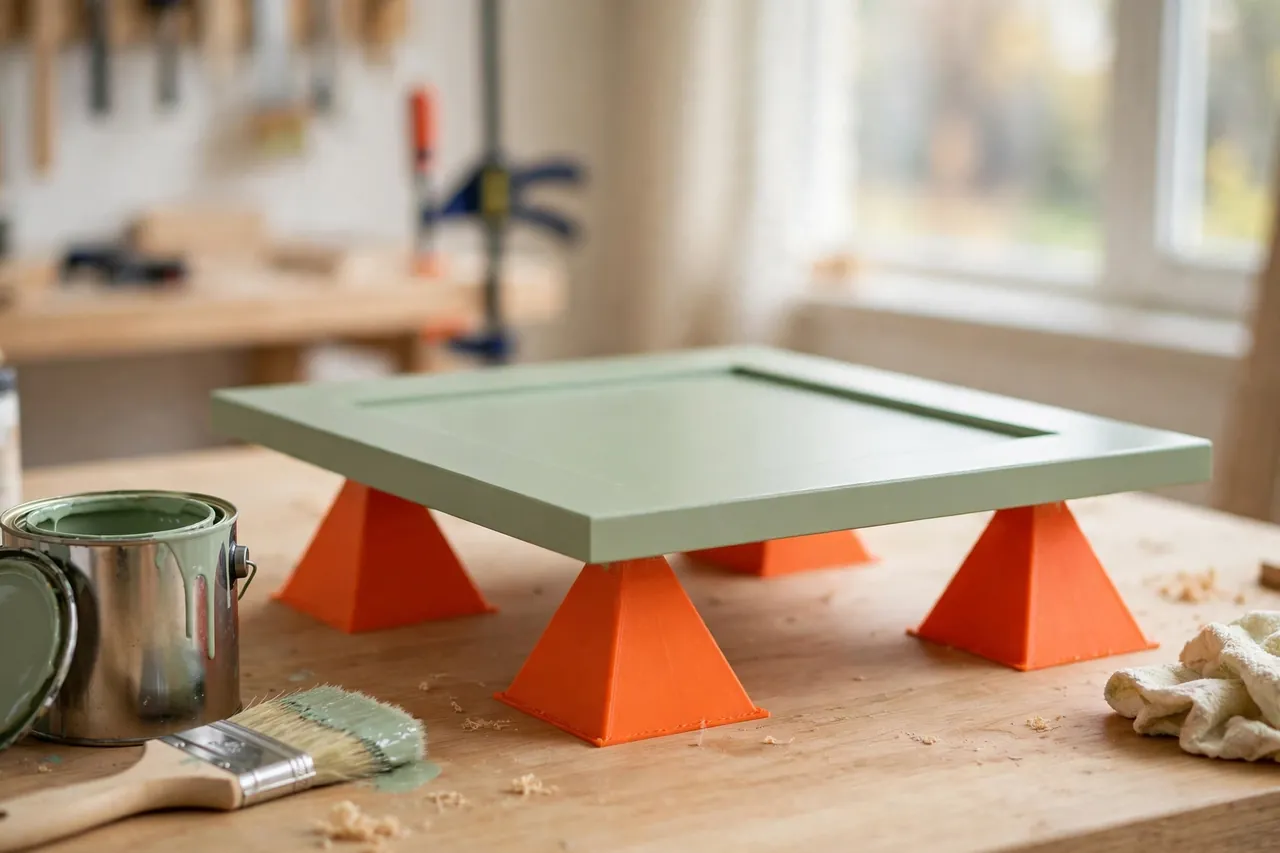
Painter’s pyramids are exactly that: small, stable cones that lift the work on a tiny, rounded point. A printed set lets you paint the underside, flip the part onto the points while it is still tacky, and finish the top in the same session. The points touch so little that any faint mark hides in the finish or sands out in seconds.
This guide covers designing pyramids that are stable, kind to finishes, and stackable for storage, then printing a proper set and using them well. They are simple supports for light, flat work — doors, boards, and cabinet parts — not stands for heavy or awkward loads.
What You Need
Pyramids are among the fastest useful prints in the shop: four to a plate, no supports, and a set of twelve in an afternoon.
Materials and tools
- A home 3D printer with a build area of roughly 120 mm in at least one direction
- PETG filament for solvent resistance; PLA is acceptable for water-based paints only
- Your typical workpieces — a cabinet door or board — to gauge a sensible pyramid size
- A ruler or calipers for checking the finished point and base dimensions
- A flat bench or board to arrange the drying layout
- Scrap cardboard or a drop sheet for under the work
PETG shrugs off the solvents in common paints and finishes, so a dried drip pops straight off it. PLA handles water-based paints fine but can soften or stain with stronger finishes, and a hot room is unkind to it. When in doubt, print the set in PETG and never think about compatibility again.
Suggested print settings
- Layer height: 0.20 to 0.28 mm; pyramids are chunky and print fast.
- Walls: 3 to 4 perimeters, so the point and edges stay solid after many knocks.
- Infill: 30 to 40 percent — plenty for doors and boards at painting loads.
- Top and bottom layers: 4 or more at the base for a flat, stable footing.
- Orientation: Print point-up, base flat on the plate — the natural, support-free way.
- Supports: None; a clean cone or pyramid profile needs no help.
Print a single pyramid first and press it under a loaded board to confirm it feels rock-solid before running the whole set.
Design Considerations
A pyramid looks too simple to design, yet three details separate a set you love from a set that skates across the bench.
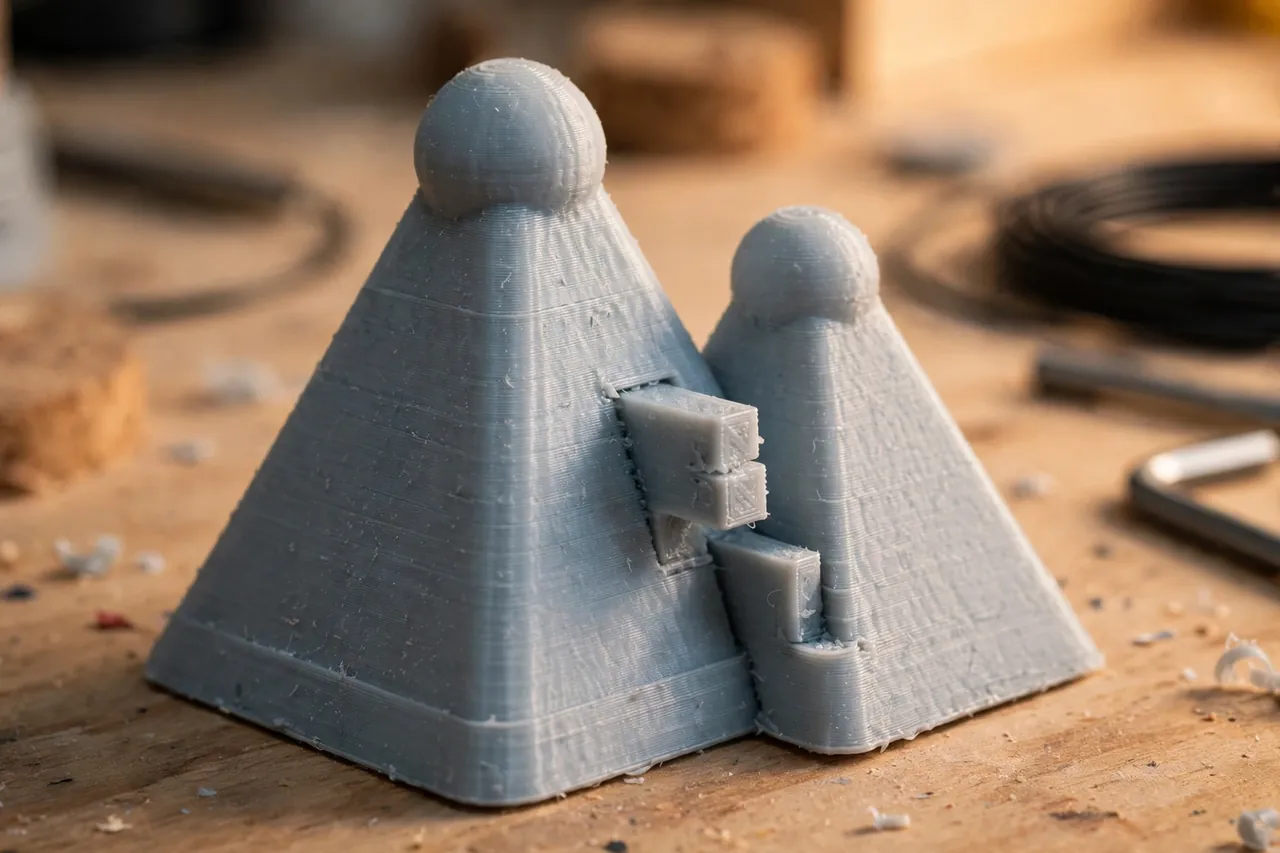
1. The point: small, but rounded
The contact point should be tiny — a radius of about 1.5 to 2.5 mm at the tip — but never needle-sharp. A rounded point leaves the faintest possible witness in a finish, and it does not pierce or dent soft, freshly painted surfaces. A truly sharp point also prints poorly and snaps. Model a small flattened dome and the pyramid becomes both kinder and stronger.
2. Height and stability
A height around 50 to 70 mm lifts the work clear of drips pooling on the bench and gives your fingers room to grip edges for flipping. The base should be broad — roughly as wide as the pyramid is tall — with a footprint that resists tipping when a door lands slightly off-center. A gentle cone or four-sided pyramid both work; cones roll less finish onto their sides, pyramids stack and store neater. Pick your priority.
3. Interlocking and storage
Add a small tab-and-slot on the base edges, or a nesting profile, so the set locks into a row or a compact block for storage. Interlocked pyramids also behave better in use: a line of them under a long board acts as one support rather than four individuals waiting to skate. Non-slip helps too — a slightly textured base, or a dab of the design’s underside left matte, keeps pyramids planted on a smooth bench.
Step-by-Step: Printing and Assembly
- Choose your size based on your usual work: cabinet-door scale suits most home projects.
- Model the pyramid with a rounded point, broad base, and interlocking edges if you want them.
- Print one and test it under a board with your weight pressed on it — no flex, no creak, no tip.
- Print the set: eight is a working minimum, twelve is comfortable for doors and multi-part sessions.
- Clean any stringing at the points; a stray whisker of filament paints itself into a finish.
- Arrange a dry rehearsal with your actual workpiece, pyramids spaced to support without sag.
- Mark your spacing on a bench board if you paint the same parts often — a layout template speeds every future session.
That is the whole build. The pyramids ask almost nothing of the printer and give back on every painting job from the first door onward.
Step-by-Step: Using Pyramids to Paint All Sides in One Session
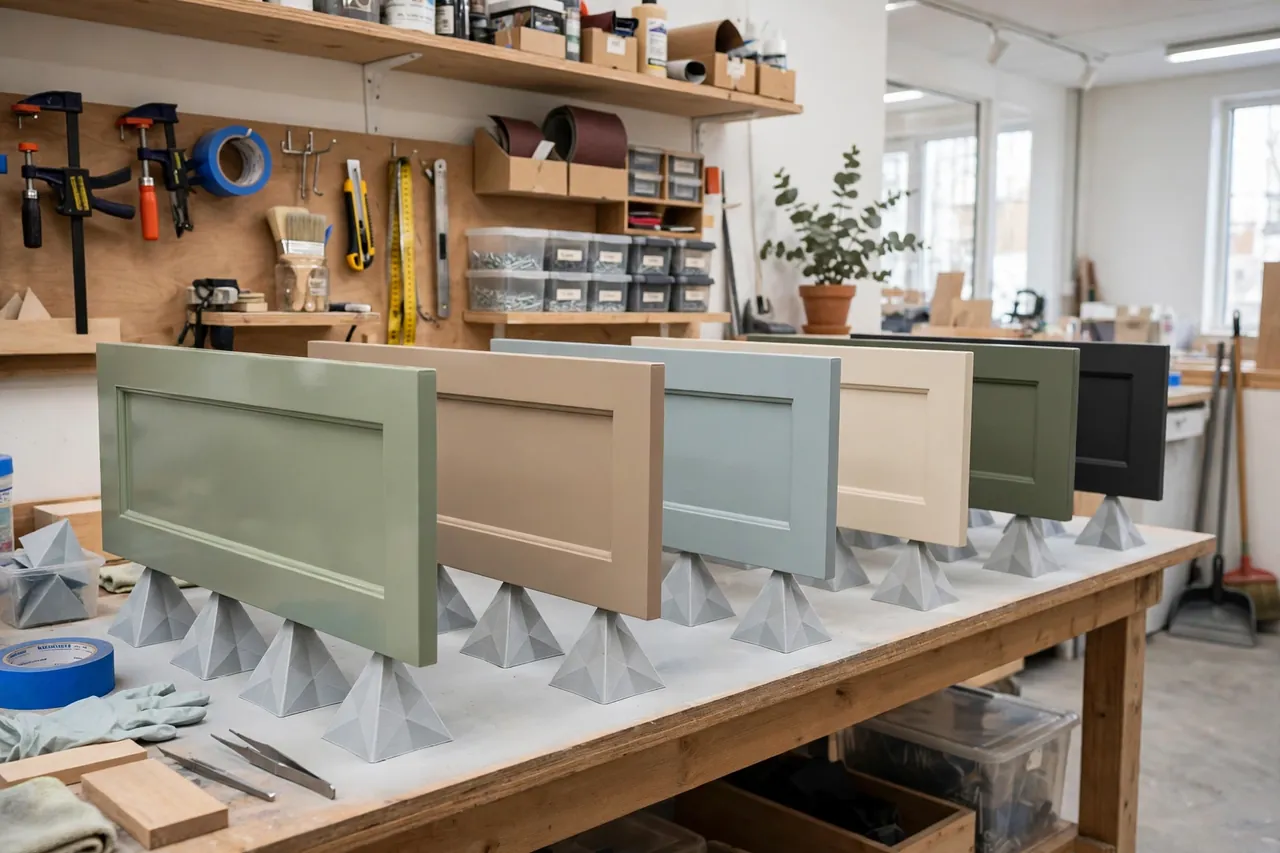
- Set the layout first: pyramids on a clean, sheeted bench, spaced so the part is supported near its edges without sagging.
- Paint the underside and edges of the part while it rests on a plain board or your hand at an edge.
- Flip it onto the pyramids promptly, lowering it straight down so the points meet the wet underside gently. The tiny contacts leave, at most, pinhead marks that level into the finish.
- Paint the top face and finish the edges, working around the part without ever reaching over wet paint.
- Leave it undisturbed on the pyramids for the full drying time — the lift keeps air moving and edges clear of the bench.
- Move to storage still on its points if bench space is needed: lift the part with two hands at its edges and set it down on a fresh set or a clean board.
- Inspect the underside after curing. Any point witness usually vanishes under the next coat or with a fingertip of touch-up.
Cabinet doors, drawer fronts, shelves, signs, and small table tops all follow this rhythm, and a session that used to span two days of waiting compresses into one satisfying pass.
Tips for Better Results
- Print more than you think you need. Long boards want six pyramids, and a second project always appears mid-session.
- Keep a dedicated clean set for final coats, and let the older set take the primer-stage abuse and drips.
- Space pyramids a little in from edges so drips running off the edge fall clear rather than wicking onto a pyramid’s side.
- Pop dried paint off PETG pyramids with a thumbnail; never scrape with metal, which roughens the point.
- Flip with confidence and commitment — a slow, hovering descent is what smears; a clean, straight set-down does not.
For the rest of the painting kit’s storage, you may also enjoy our related guide, “3D Printed Paint Brush and Roller Holders: Keep Your Painting Tools Ready Between Coats.”
Common Mistakes to Avoid
- Points too sharp. Needle points dent soft paint films and snap in use. Round them, always.
- Pyramids too tall and narrow. A tippy support under a wet door is worse than none; width is stability.
- Too few supports under a long board, letting it bow and crack a half-dried finish along the sag. Add pyramids, not hope.
- Reusing a pyramid with a paint blob on its point. That blob is tomorrow’s finish defect, faithfully reproduced. Clean points between sessions.
- Setting a heavy or awkward piece on points meant for flat work — solid timber slabs and lopsided assemblies belong on blocks or a proper stand.
Care, Storage, and When to Choose an Alternative
Storage is where the interlocking design pays off: clip the set into a block or thread them on a short dowel and hang it by the paint supplies. PETG pyramids need no care beyond keeping their points clean; inspect occasionally for a chipped tip, and relegate any damaged pyramid to primer duty or reprint it in minutes.
Know the honest limits. Very heavy pieces, parts that must be clamped while finishing, and items needing to hang — chairs, for instance — want different support. Commercial pyramids are also cheap and perfectly good; printing wins when you want a specific height, a bigger set than the shop sells, or replacements that match the set you have. For painting doors specifically, our related guide, “3D Printed Door Painting Handles: Paint Both Sides and Stack Doors to Dry,” takes the same no-waiting idea further, and “Paint Can Pouring Spout: 3D Print a Snap-On Spout and Lid for Drip-Free Paint Jobs” keeps the paint itself under control.
FAQ
Will the points mark a high-gloss finish?
On a fully wet coat, a rounded point leaves at most a pinhead witness that almost always levels out as the finish flows and cures. On delicate, show-grade gloss, paint the show face last and let the points touch only the hidden face — which is the standard workflow anyway.
How many pyramids do I need for a full-size door?
Four carry it, six make it serene — two extra near the middle rails stop any hint of flex while you work. For a batch of doors, twelve to sixteen pyramids let you stage more than one at a time.
Can pyramids support a solid wood tabletop?
A typical printed set at sensible infill handles doors, boards, and modest tops without complaint. A genuinely heavy slab deserves broad blocks or a stand; pyramids are for the broad middle of home projects, not the extremes.
Do pyramids work with spray finishing?
Yes — they are arguably better for spraying, since the lift gives clearance for edges and the points barely interrupt overspray patterns. Just expect the pyramids themselves to collect a colorful patina over time.
Conclusion
Waiting for paint to dry before you can touch the other side is a tax on every project, and painter’s pyramids abolish it for the price of a few grams of filament each. Rounded points, broad bases, and a set large enough to be generous turn one-sided sessions into full finishes.
Print a dozen, run one door through the full flip-and-finish rhythm, and the bench time you save will make the set feel less like an accessory and more like infrastructure.
Small, cheap, and used constantly — that is the top tier of workshop prints, and these pyramids belong in it.