Introduction
Tapered legs turn a boxy table into furniture. That gentle narrowing toward the floor is the difference between a crate and a coffee table — but cutting a long, even taper frightens many home woodworkers, and freehand attempts on the table saw justify the fear.
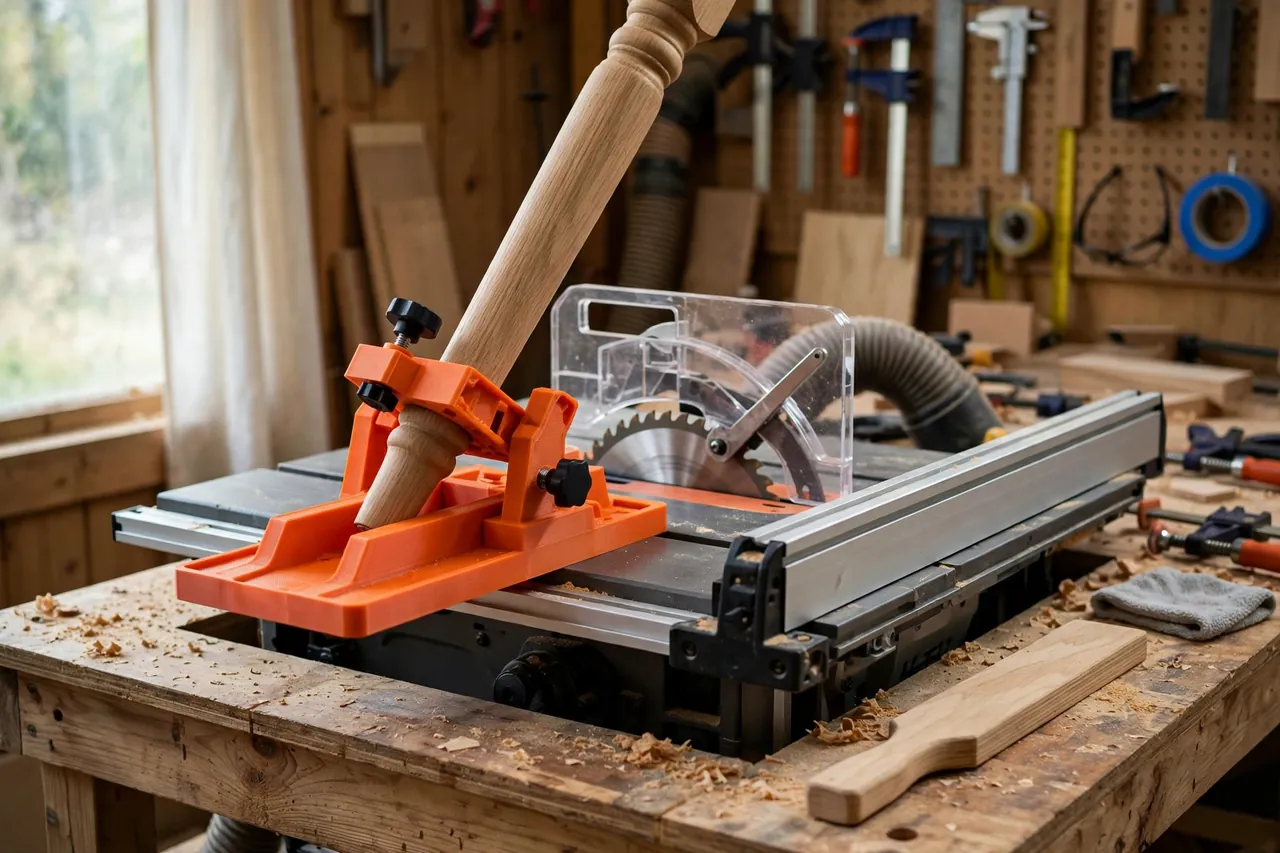
The classic answer is a tapering sled: a flat carrier that holds the leg at a set angle and rides against the saw’s own fence, so the leg travels past the blade in a straight, controlled line. Commercial versions exist, but they are sized for someone else’s legs.
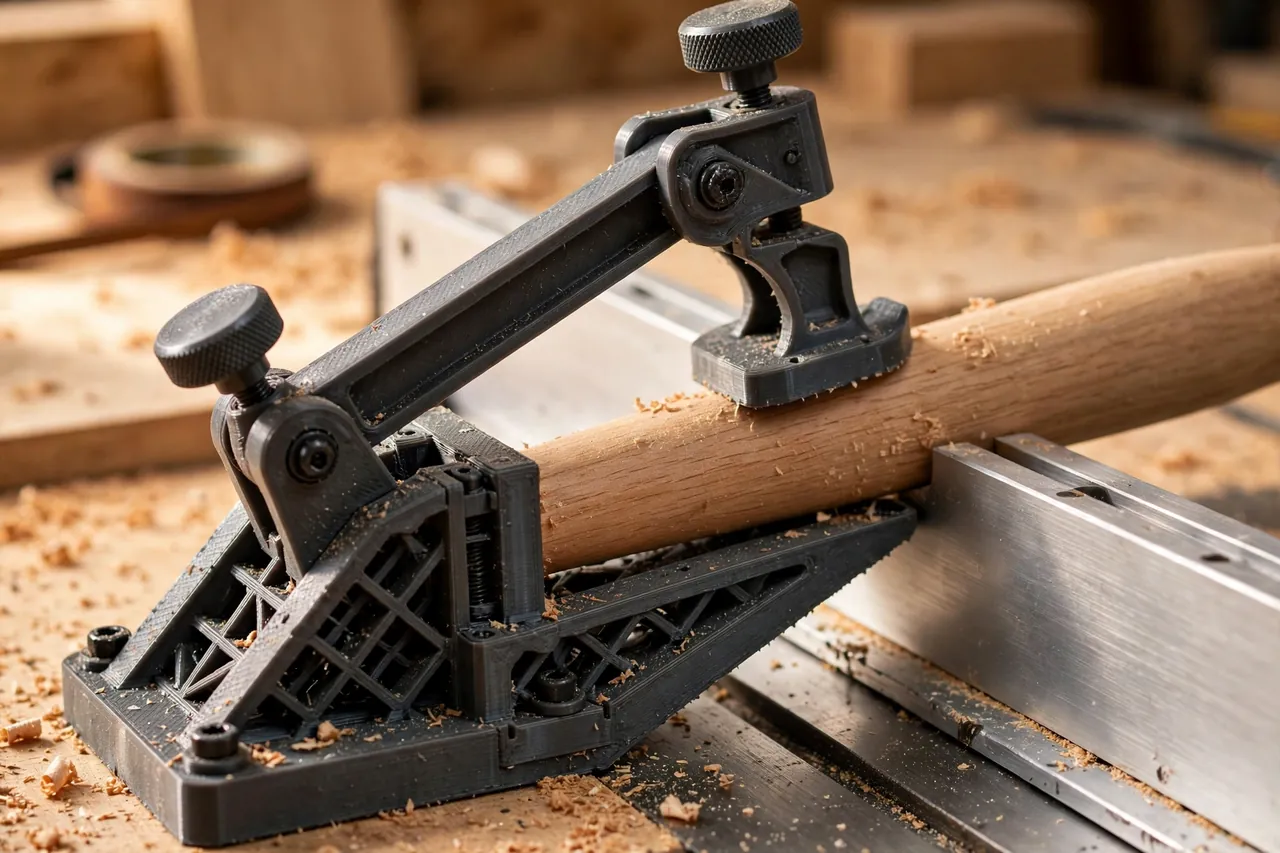
A 3D printed tapering jig in this guide is exactly that sled concept: a printed carrier and adjustable angled arm that rides against the saw’s own fence, holding the workpiece at your chosen taper. Keep the blade guard in place wherever the design allows, always use a push stick, take light cuts, and test every setup on scrap first. Those are not fine print — they are how this jig is meant to be used, every cut.
This guide covers designing, printing, and using the jig for furniture legs and similar long tapers. It guides workpieces at the saw; your saw’s guard, fence, and safe technique remain the real safety system.
What You Need
Think of the jig in two parts: a flat sled base (often a verified board carrying printed fittings) and printed angle arms, stops, and hold-downs that position the leg.
Materials and tools
- A home 3D printer with a build area to suit arms and stops, roughly 200 mm preferred
- PETG filament — stiffness and toughness both matter for saw-side jigs
- A flat, stable sled base: quality plywood or MDF board, verified straight, if your design uses one
- Your table saw with its fence, blade guard, and riving knife kept in use wherever the design allows
- A push stick — always, for every cut — plus a second push block if your saw work calls for it
- The leg blanks you plan to taper, plus matching scrap for full test cuts
- Calipers, a steel ruler, a combination square, and a protractor or angle gauge
- Clamps or toggle-style hold-downs sized to your blanks, with printed mounts if needed
- Sandpaper or a file for fitting stops and arms
PETG is non-negotiable for the keeper fittings here: they get clamped, knocked, and asked to hold position beside a blade, and PETG’s toughness suits that duty. PLA test fittings are fine at the bench for checking geometry, but print the working set in PETG and inspect it before every session.
Suggested print settings
- Layer height: 0.20 mm, prioritizing strength and fit over fine finish.
- Walls: 4 to 5 perimeters on arms, stops, and hold-down mounts — these parts take real clamping load.
- Infill: 50 percent or more, grid or gyroid, for fittings that must not flex.
- Top and bottom layers: 4 or more for flat mating faces against the sled.
- Orientation: Print arms so layer lines run along, not across, their working length for best strength.
- Supports: Design mounting feet flat to avoid supports on mating faces.
Print test fittings first, assemble the full sled, and run complete scrap legs through your entire routine before a real leg approaches the blade.
Design Considerations
A tapering sled succeeds on geometry, rigidity, and work-holding — in that order, with no weak entry allowed.
1. A sled that rides the fence, truly
The sled’s reference edge must be straight and must run flat against the saw’s own fence for the whole cut. Whether the base is a board with printed fittings or a fully printed short sled for small legs, check its fence edge with a straightedge and its flatness on the saw table.
2. An adjustable angle arm with a lockable setting
The arm that the leg rests against sets the taper angle. A pivoting arm with a slotted lock, or a pair of adjustable stops on a printed degree scale, both work — what matters is that the setting locks hard and can be returned to exactly.
3. Stops and hold-downs that control the blank
A leg blank needs three controls: an end stop so it cannot slide backward, side support from the angle arm along its length, and a hold-down or your push stick’s pressure keeping it seated on the sled. Printed stop blocks with 0.3 to 0.5 mm slip fits in a sled track let you reposition for different leg lengths without new holes. Design so hands never need to be near the blade line — the push stick finishes every cut, with the sled and blank traveling together past the blade, guard in place wherever the design allows.
4. Guard clearance, planned not hoped for
Before any cut, run the unpowered setup through its full travel by hand: sled against fence, blank loaded, guard in place wherever the design allows. The arm, stops, and hold-downs must clear the guard and fence hardware through the whole pass. If a fitting fouls the guard, redesign the fitting — never solve clearance by removing safety hardware as a first resort, and if a particular cut genuinely cannot be made with the guard, that cut belongs to a different method, not to bravado.
Step-by-Step: Printing and Assembly
- Measure your legs — blank length, thickness, and the taper you want, face by face.
- Choose the sled base and verify its fence edge is straight and the base sits flat on the saw table.
- Model the fittings — angle arm with lock, end stop, and hold-down mounts — to your leg sizes and sled.
- Print test fittings and assemble the sled fully on the bench.
- Check geometry dry. Set the arm, load a scrap blank, and confirm it sits supported along its length with the end stop engaged.
- Run the travel check on the unpowered saw: full pass, guard in place, push stick in hand, watching every clearance.
- Adjust if needed. Correct angles, stops, or clearances in the print, never by shimming carelessly at cut time.
- Print the keeper fittings in PETG, reassemble, and repeat both the bench check and the unpowered travel check.
Step-by-Step: Using the Jig to Taper a Leg
- Set up on scrap first. A matching offcut goes through the entire routine before any real leg — this is mandatory practice, not optional caution.
- Set the fence and sled. Blade height just above the blank’s thickness, guard in place wherever the design allows, fence set so the sled’s pass puts the blade on your marked line.
- Load the blank against the angle arm and end stop, hold-down set, and confirm it cannot shift in any direction by hand.
- Start the saw and let it reach full speed before the blank approaches the blade.
- Feed with the push stick, taking light cuts. Steady, unhurried pressure through the sled; if your taper is deep, make it in two lighter passes, resetting between them, rather than one heavy bite.
- Complete the pass fully past the blade before reaching for anything, then let the blade stop or move well clear before retrieving pieces, per your saw maker’s guidance.
- Repeat identically for all legs, same setup, same routine. For two-face tapers, rotate the blank as planned and repeat — recording your settings so leg four matches leg one.
Tips for Better Results
- Mark taper lines on every blank before setup, so the saw work is checking lines, not remembering them.
- Keep offcuts supported as they free, so nothing drops into the blade path at the end of a pass.
- Brush the sled clean between legs — packed dust under a blank changes its angle quietly.
- Store settings with the jig. A card noting arm angle and fence position makes the next set match.
Common Mistakes to Avoid
- Cutting a real leg on an untested setup. Test every setup on scrap first — angle, stops, clearances, everything — without exception.
-
Working without a push stick. Hands do not finish tapering cuts. The push stick does, from the first pass to the last.
-
Trusting the printed angle scale blindly. Verify the arm against a protractor and ink the true values.
- Letting a fitting creep mid-set. Check stops between legs; a shifted stop makes one odd leg.
Care, Storage, and When to Choose an Alternative
Store the sled flat so its base cannot warp, fittings brushed clean, and inspect arms and stops for cracks or creep before every session — a fatigued fitting gets reprinted, not trusted. Keep the printed parts out of prolonged heat, and store the push stick with the jig so the pair is never separated.
Be honest about the ceiling here: for repeated or production work — batches of legs, hard daily use, a small business run — a commercial metal jig is the better tool. Its machined arm, hardened stops, and proven clamping will outlast and out-repeat printed fittings, and that is the right purchase when tapering becomes routine volume work. For occasional furniture projects and repairs at home, a well-printed sled, used with light cuts, a push stick, the guard in place, and scrap-tested setups, delivers clean matching tapers at a fraction of the cost.
FAQ
How much taper can this jig cut?
Gentle furniture tapers are its home ground — roughly up to 15 degrees of arm angle, with depth built up in light passes. Extreme angles or very thick stock deserve a bandsaw-and-plane approach or a commercial jig instead.
Should I taper two faces or four?
Design decides. Many tables taper the two inward faces only, keeping the outer silhouette crisp. Four-face tapers need careful re-registration between rotations; test the full sequence on scrap and record each setting.
Can I use the sled for small parts, not just legs?
For similarly long, well-supported blanks, yes, with stops reset to suit. Very small parts that cannot be held with hands well clear and a push stick do not belong on this sled — use a dedicated small-parts method instead.
How do I get all four legs identical?
One setup, no mid-batch changes, scrap-verified before leg one, and a fitting check between legs. Write the settings down, then leave them alone.
Conclusion
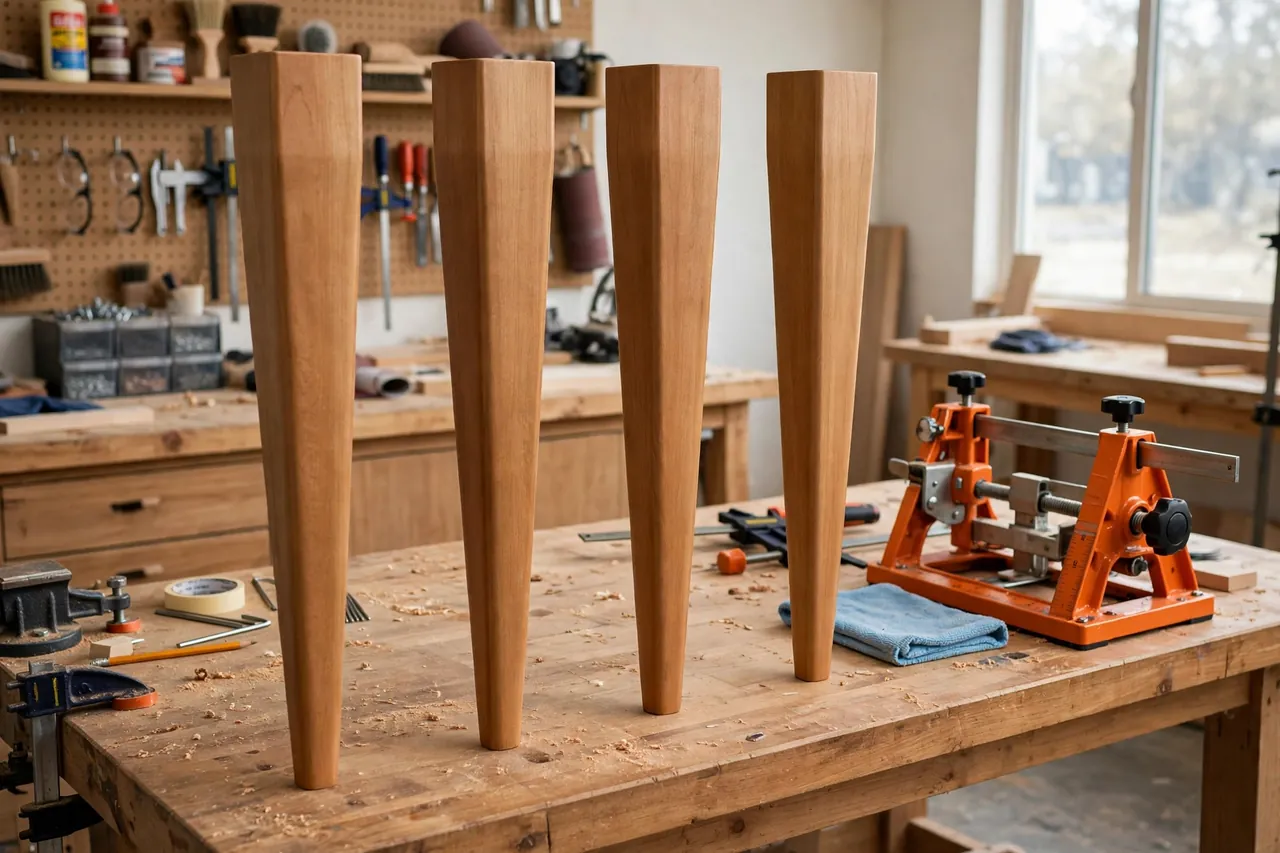
Good tapers are not a talent; they are a sled, a locked angle, and a routine that respects the saw. A printed jig sized to your own legs brings that routine within one weekend print, provided it is used the way it was designed: guard in place wherever it allows, push stick always, light cuts, scrap first.
Print it stout, test it honestly, and a set of legs will come off the saw matched and smooth.
For controlled saw work that pairs with this sled, you may also enjoy our related guide, “3D Printed Featherboard for Safer, Straighter Cuts on the Table Saw and Router Table,” which helps stock behave on long passes. And our guide “3D Printed Push Block Set for Cleaner, More Controlled Cuts on the Table Saw and Router Table” covers the push tools this kind of work depends on.