Introduction
Every workshop pour goes the same way without a funnel. Paint glugs down the side of the can, finish finds the bench instead of the jar, and glue goes everywhere except into the bottle you are refilling.
The funnels most of us own do not help much. There is one, it is the wrong size for half the containers in the shop, its narrow stem clogs with thick paint, and its rigid plastic cracks the first time it is knocked off the bench.
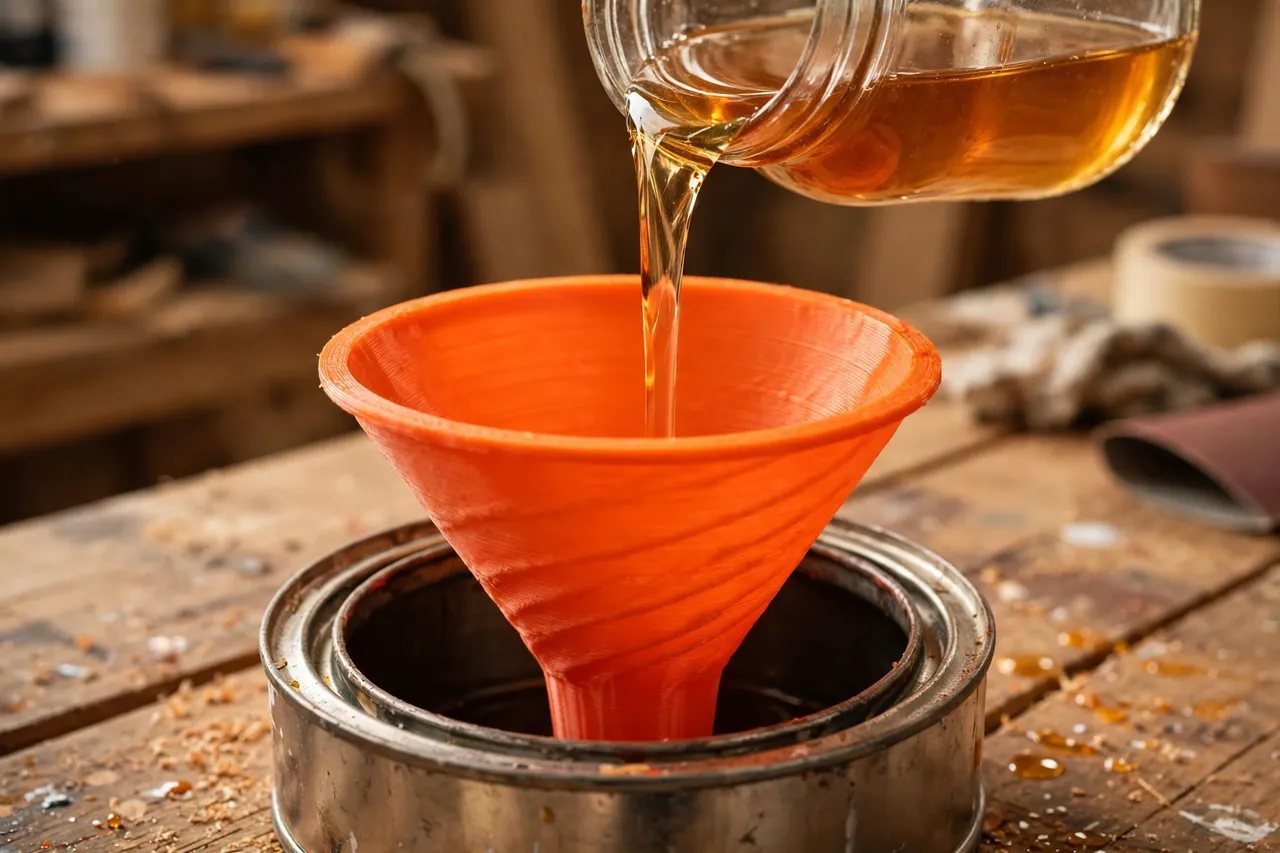
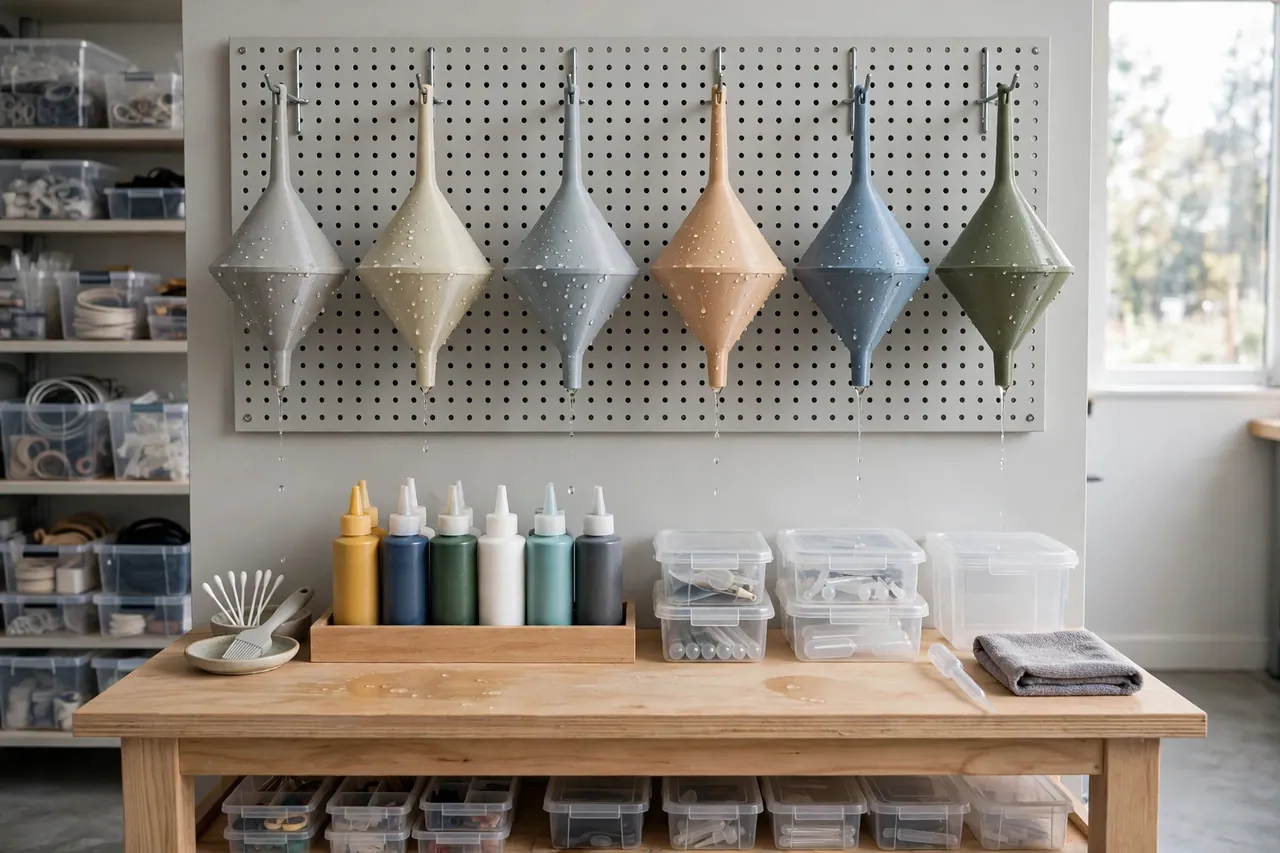
3D printed workshop funnels fix the size problem by making funnels disposable-cheap and exactly sized. Print a wide, fast funnel for paint cans, a medium one for finish jars, and a small, fine-stemmed one for glue bottles — in flexible filament, so they bounce instead of cracking, flex for cleaning, and can be peeled clean of dried paint in a way rigid funnels never allow.
This guide covers choosing sizes, designing smooth-bore funnels that pour cleanly, and printing them watertight. These funnels are for workshop liquids only — paint, finish, glue, and similar shop materials. They are never for food or drink, and they should live in the workshop, labeled and separate, so there is never any question about that.
What You Need
A funnel is a cone and a stem, but watertight printing and right sizing make it a tool.
Materials and tools
- A home 3D printer with a build area of roughly 150 mm in at least one direction
- TPU flexible filament for flexible funnels, or PETG for rigid versions
- The cans, jars, and bottles you actually pour into, gathered for measuring
- Calipers or a ruler for container mouth and stem sizes
- A marker and labels so each funnel’s job is written on it
- Scissors or a craft knife for trimming stem lengths
- A peg hook or string for hanging funnels to dry and store
TPU is the star material here. A flexible funnel survives drops and lets you flex and peel dried paint and glue out in satisfying sheets. PETG makes a good rigid funnel for thin finishes. PLA is the weakest choice: brittle, and it softens near heat. Print the working set in TPU.
Suggested print settings
- Layer height: 0.20 to 0.28 mm — funnels reward speed, and thicker layers seal better.
- Walls: Print the cone as a solid shell, typically 2 to 3 perimeters giving about 1.6 to 2.4 mm — no infill, no hollow core to leak into.
- Infill: None: a funnel is a single continuous shell by design.
- Top and bottom layers: Not applicable in the usual sense; ensure the rim and stem tip print fully solid.
- Orientation: Print upright, stem down on a small brim if needed, cone opening up.
- Supports: None with a cone angle of about 45 degrees or steeper from vertical stem to rim.
Print one medium funnel and water-test it before printing the set.
Design Considerations
You can model a funnel in any basic CAD program. It is two cones and a tube — but pour behavior lives in the details.
1. Size the family to your containers
Think in a family of three. A large funnel, about 120 to 140 mm across with a 20 to 25 mm stem, serves paint cans and pours fast. A medium, 90 to 110 mm across with a 12 to 15 mm stem, handles finish jars and stain cans. A small funnel, 55 to 70 mm across with a 6 to 9 mm stem, refills glue bottles without drowning their mouths.
Measure the mouths you own before finalizing stems: a stem should slip into its container with 1 to 2 mm to spare around it, so air can escape as liquid enters. A stem that seals the mouth airtight makes pouring glug, surge, and spill — the exact behavior you are printing your way out of.
2. Cone angle and the air groove
A cone angle around 45 to 60 degrees from horizontal pours most workshop liquids well. For thick paint and glue, favor the steeper end and a wider stem — these liquids move slowly and clog narrow stems.
Add one shallow vertical groove down the outside of the stem. It gives displaced air a path out even when the stem fits snugly, turning a glugging pour into a smooth one.
3. Bore smoothness and the rim
The inside should be one unbroken surface from rim to stem, with no step where cone meets tube — steps collect paint and make cleaning miserable. A rolled rim of 3 to 4 mm stiffens even a TPU funnel and gives you somewhere to write its job.
For PETG versions, a light bore sanding helps finishes rinse cleaner; leave TPU bores as printed.
4. Stem length and stability
Keep stems modest — 25 to 40 mm; longer stems are tippy and slow to drain. If a funnel must stand hands-free, add a small flange at the top of the stem that rests on the container’s rim. Label every funnel on its rim: PAINT, FINISH, GLUE — dried paint flakes in a clear finish will ruin your morning.
Step-by-Step: Printing and Assembly
- Measure your containers’ mouths and choose your three stem sizes with venting clearance.
- Model the medium funnel with a smooth cone, grooved stem, and rolled rim.
- Slice it as a solid shell — perimeters only, no infill — and check the preview for gaps.
- Print upright in TPU, slowing the first layers for good bed adhesion on the small stem footprint.
- Water-test over a sink: fill, watch every layer line, and check the stem joint for weeping.
- Adjust if needed. Any leak means more perimeters, slightly higher temperature, or a thicker shell — fix before continuing.
- Print the large and small funnels with the proven settings, trimming stems to length as needed.
- Label each rim with its dedicated job, and hang the set together.
There is no assembly. A funnel that passes the water test is finished.
Step-by-Step: Using Workshop Funnels Cleanly
- Choose the labeled funnel for the liquid in hand — never borrow across jobs.
- Seat the funnel fully in the receiving container and confirm it stands stable before pouring.
- Pour in a steady, moderate stream against the cone wall, not straight down the stem; the wall stream does not trap air.
- Slow down at the end and let the last of the liquid sheet down the cone rather than shaking it in.
- Lift the funnel straight out, pause over the container to let the stem drain its final drops, then tip it into its drip spot.
- Wipe the rim and stem immediately if the liquid is one you clean wet, like latex paint or wood glue.
- For finishes and solvent-based products, follow the product’s own cleanup directions for your funnel material, and work with ventilation as the label requires.
- Hang the funnel to dry by its rim hook or peg before storing it with its family.
Tips for Better Results
- Peel, do not scrub, dried TPU funnels. Let latex paint or glue dry fully, then flex the cone and lift the film out in one piece.
- Keep one sacrificial funnel for reclaiming strained paint and mystery dregs, so the good set stays pristine.
- Strain through the funnel. A small disc of mesh or old stocking over the cone catches skin and lumps when returning paint to the can.
- Print the glue funnel small and steep. Glue is slow; a narrow, steep funnel you can squeeze gently beats a wide lazy one.
You may also enjoy our related guide, “Glue Applicator Tips and Caps: 3D Print Precision Spouts for Your Workshop Glue Bottles,” which takes over where the small funnel leaves off — controlled application after a clean refill.
Common Mistakes to Avoid
- Printing funnels with infill. A hollow shell weeps liquid into its core and never truly cleans. Print solid shells.
- Sealing the container mouth. A stem with no venting clearance or groove glugs and surges. Leave air its escape route.
- Sharing one funnel for everything. Cross-contaminated finishes and paints cost more than three funnels ever will.
- Making stems too narrow for thick liquids. Paint and glue need width and steepness; test with the real liquid.
- Using workshop funnels in the kitchen. Never. These are workshop tools for workshop liquids only — keep them in the shop, labeled, always.
Care, Storage, and When to Choose an Alternative
Clean funnels promptly as each liquid demands, dry them fully, and hang them where air circulates. Inspect TPU stems for nicks — a torn stem is a reprint, not a repair — and keep the set together on one peg in the workshop.
Choose manufactured funnels honestly when the job demands it: very hot liquids, aggressive industrial chemicals your filament maker warns against, and large-volume transfers measured in buckets all belong to rated metal or chemical-grade manufactured funnels. Check your filament’s chemical resistance against any strong solvent before committing a print to it. For the everyday workshop reality — paint, water-based and common finishes, wood glue, oils for shop equipment as their makers allow — printed flexible funnels are better than the rigid one-size funnel they replace: sized right, dedicated, and peel-clean. They finish the pouring story started by our related guide, “Paint Can Pouring Spout: 3D Print a Snap-On Spout and Lid for Drip-Free Paint Jobs,” and pair at the glue bench with our related guide, “3D Printed Glue Spreaders: Even Glue Lines Without the Mess.”
FAQ
Are printed funnels really watertight?
Yes, when printed as a solid multi-perimeter shell — that is what the sink test proves. A funnel that weeps has a slicing or temperature issue; fix the shell and retest.
Can I use one funnel for paint and finish if I clean it well?
You can, but experience says you will regret it once, expensively, in a clear finish. Funnels are among the cheapest prints you own. Dedicate them, label them, and let each keep its single job.
Which size should I print first?
The medium. It covers finish jars, stain cans, and most bottles, and teaches you the shell settings. Add the large and small funnels once it pours perfectly.
How do I pour thick glue without clogging?
Use the steep, wide-stem end of the family, pour slowly, and let gravity work — or gently squeeze a TPU funnel to encourage flow. Warm glue flows better than cold, so bring the bottle to room temperature first in winter workshops.
Conclusion
Pouring is a small act that happens a hundred times a year in a workshop, and a right-sized, dedicated, flexible funnel makes every one of those pours clean. No glugging, no side-of-the-can rivers, no dried drips to scrape — just liquid going where it was aimed.
Print the medium funnel, pass the water test, then complete the labeled family. Your paint, finishes, and glue will last longer, your bench will stay cleaner, and your containers will stop wearing their contents on the outside.