Introduction
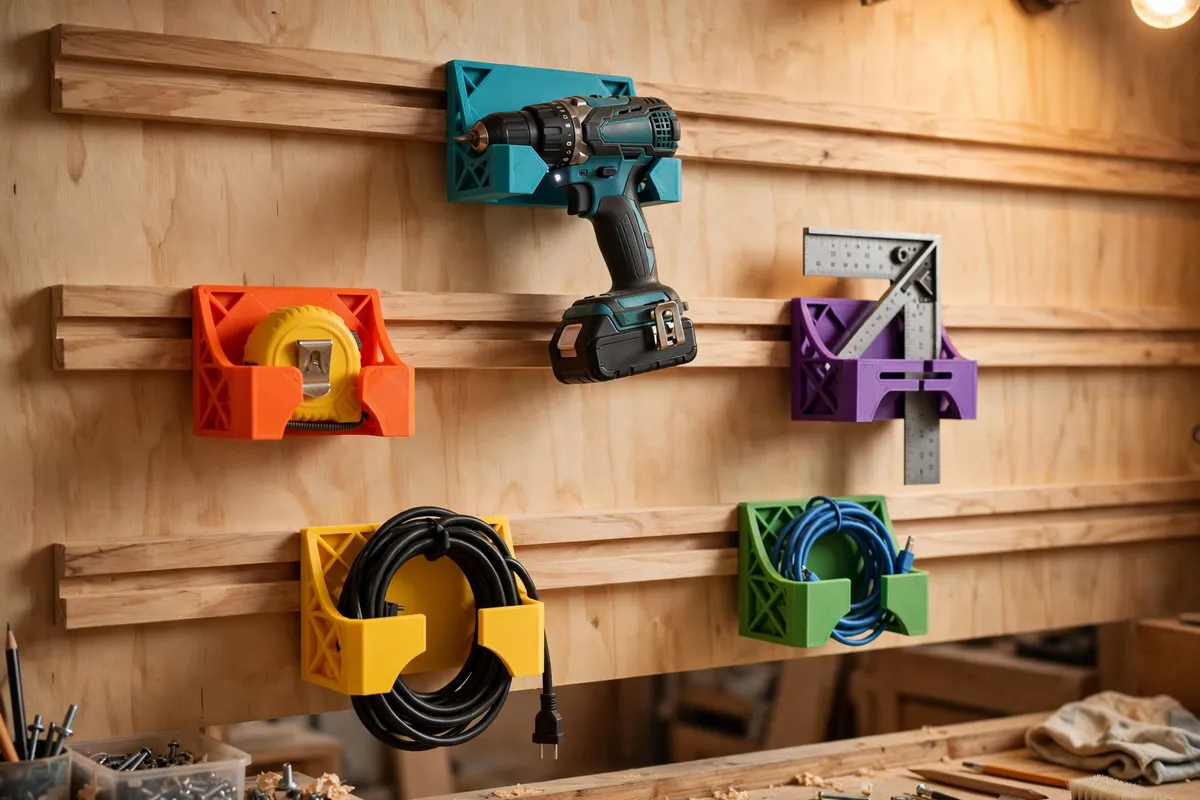
A French cleat wall is the workshop storage system that never argues with you. Horizontal rails with a 45-degree bevel run across the wall; every holder carries the matching bevel on its back, hooks over a rail, and can be lifted off and rearranged in seconds. When your tool collection changes — and it always changes — the wall changes with it. No new holes, no orphaned screws, no pegboard hooks raining onto the bench.
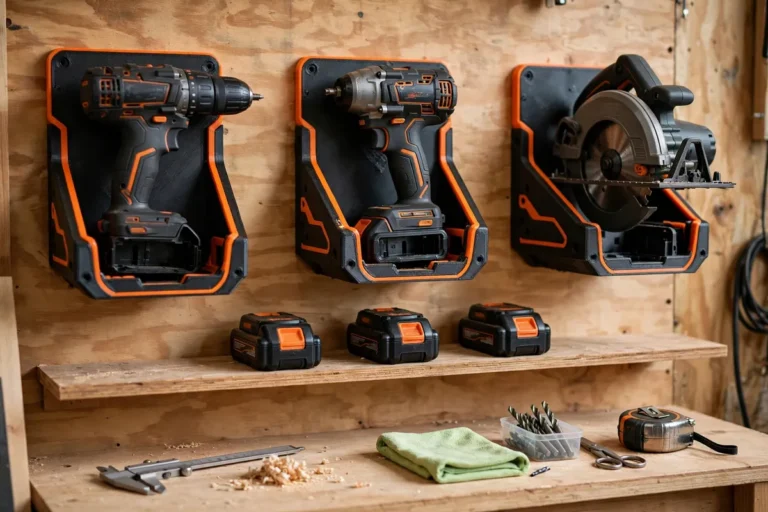
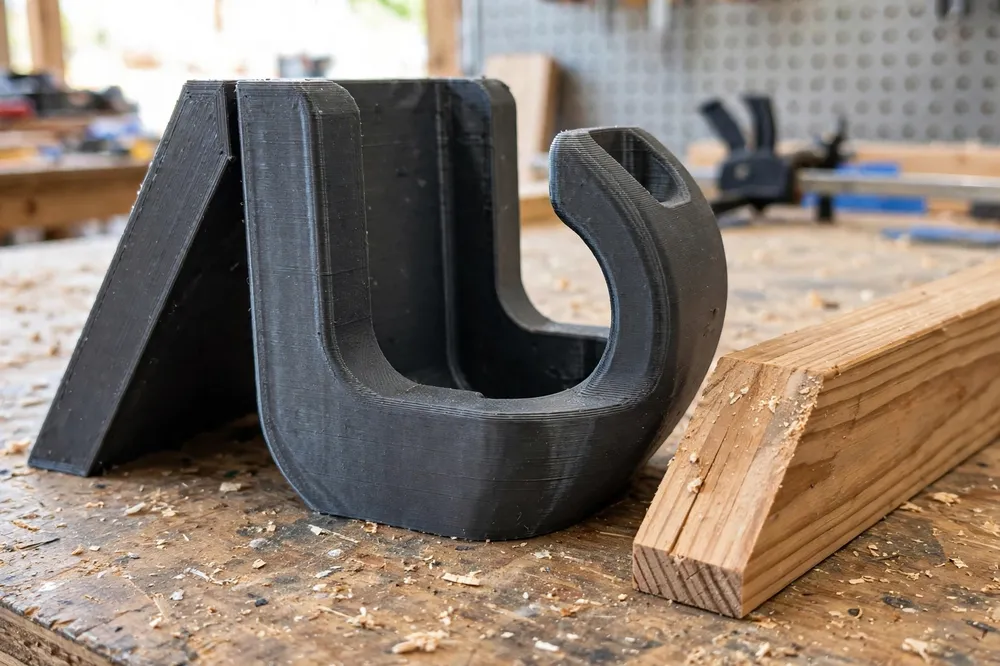
Traditionally every holder is a little woodworking project of its own. 3D printing changes the economics completely. A holder shaped exactly around one tool — the curve of a drill body, the base plate of a circular saw, the odd shoulder of a jigsaw — prints in an evening, and the fifteenth holder takes no more thought than the first because the cleat back is a saved profile you reuse. These are storage holders only: they cradle tools at rest on a wall, nothing more, and they do it in a way you can reshuffle forever.
This guide covers setting up the cleat standard for your wall, designing a family of holders around one reusable cleat back, and printing them strong enough to trust with real tools.
What You Need
The system has two halves: wooden rails on the wall, and printed holders that hang from them. Get the rails right once and every holder after that is easy.
Materials and tools
- A home 3D printer with a build volume big enough for your largest planned holder
- PETG filament for holders that carry weight; PLA is fine only for feather-light items like pencils and tape
- Plywood or solid boards for the wall rails — 18 mm plywood is the classic choice
- A table saw, circular saw with a guide, or miter saw to rip the 45-degree bevel on the rails
- Long screws and a stud finder for fixing rails to the wall
- Calipers and a tape measure for sizing holders to tools
- The tools you plan to hang, gathered on the bench for measuring
The rails are woodwork, not printwork: cleats carry load best as continuous wooden rails screwed into studs. Your printer’s job is the holders that hang from them.
Suggested print settings
- Layer height: 0.2 to 0.28 mm — these are chunky parts and fine detail is wasted on them.
- Walls: 5 to 6 perimeters on any holder that carries a tool’s weight.
- Infill: 40 percent, gyroid or grid, for load-bearing holders; 20 percent is plenty for light-duty ones.
- Top and bottom layers: 5 or more.
- Orientation: Print holders standing as they hang, so the cleat back forms cleanly and layer lines run with the load path.
- Supports: The 45-degree cleat back is self-supporting by design; cradles may need supports depending on shape.
Design Considerations
A French cleat system lives or dies on consistency. Decide your standard once, then never think about it again.
1. Fix your cleat standard first
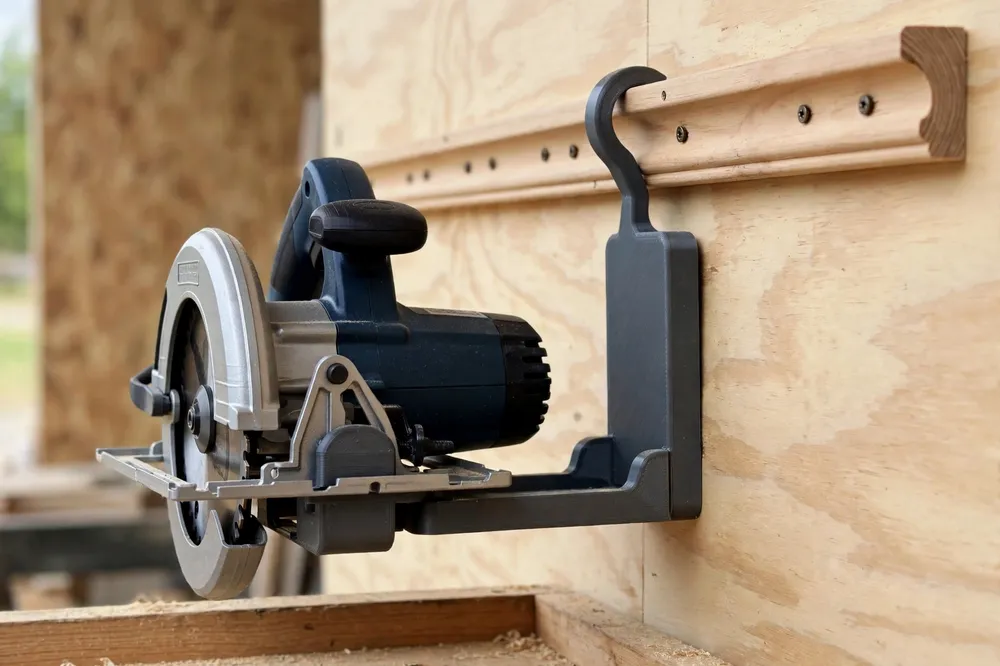
Pick one rail height — 75 to 100 mm of board width is typical — and one bevel, exactly 45 degrees. Every holder you ever print gets the matching female bevel on its back, sized with a whisper of clearance: about 0.5 mm of vertical play so holders drop on sweetly but do not rattle. Model the cleat back as a reusable profile in your CAD tool — a block you merge onto every new holder design. That single habit turns a pile of one-off prints into a system.
Also standardize the drop: the distance from the top of the cleat back to where the tool cradle begins. A consistent drop keeps sightlines tidy across the wall.
2. Shape the cradle to the tool, not the toolbox
Generic hooks hold tools the way a shelf holds books — adequately and joylessly. The printed advantage is a cradle that matches the tool: a crescent that cups a drill’s motor housing, a slot that takes a circular saw’s base plate edge, a pair of horns that cradle a jigsaw body while its blade hangs free and guarded by the cradle shape. Trace the tool’s silhouette, offset it by 1 to 2 mm for easy in-and-out, and add a small lip or raised stop so the tool cannot slide off sideways.
Keep entry generous. A holder you have to thread a tool into with both hands will be bypassed by future-you, and the tool will live on the bench instead.
3. Respect the load path
A hanging holder is a lever: the tool’s weight pulls the top of the cleat back into the rail and pushes the bottom against the wall. Keep cradles close to the wall — every centimeter of standoff multiplies the pull on the print. For heavier tools like circular saws and routers, widen the cleat back to spread the grip across more rail, thicken the junction between cradle and back, and add triangular gussets. If a holder flexes visibly with the tool in place, it is under-designed; add material before the wall teaches you the lesson.
4. Design a family, not singles
Plan the wall as a set: power tool cradles, a tape and square pocket, a cord coil hook, a small-parts bin, a pencil and marker cup, a shelf bracket pair. Shared wall thickness, shared cleat back, shared visual language — same color filament if you like order. A family of holders designed together looks intentional and, more importantly, swaps around the rails without interference because you planned the widths as a set.
Step-by-Step: Printing and Assembly
- Install your rails first. Rip the 45-degree bevel, fix rails level into studs with the bevel facing up and away from the wall, and space them 150 to 300 mm apart vertically.
- Model your standard cleat back and save it as a reusable component.
- Measure the first tool and model its cradle around that standard back.
- Slice strong: extra walls, 40 percent infill for anything with real weight.
- Print one holder and hang it. Test with the actual tool: in and out one-handed, no wobble, no flex.
- Load-test overnight. Leave the tool hanging; a holder that creeps will show it by morning.
- Print the family once the first holder proves the design, batching small holders together on the plate.
- Arrange the wall by frequency: daily tools at chest height, rarely used ones high or low.
Step-by-Step: Planning Your Tool Wall Layout
- Group tools by job, not by size — drilling with driving, cutting together, measuring and marking near the bench end.
- Mock up with the holders loose. Hang everything, live with it a week, and move what annoys you. That is the entire point of cleats.
- Leave one rail section empty. Future tools are a certainty; reserved space is a gift to yourself.
- Put heavy tools low, where a fumbled lift drops them a short distance onto the bench, not the floor.
- Add labels only after the layout settles. Cleat walls invite rearrangement; permanent labels fight it.
Tips for Better Results
- Chamfer the top edge of every cleat back. It guides the holder onto the rail when you are hanging it by feel.
- Print heavy-duty holders in a different color. A glance tells you which mounts are rated for the saw and which are for tape measures.
- Keep one blank cleat block handy. Glued or screwed to a small wooden box, it turns any container into a wall citizen.
- Compare systems honestly. If you already run the setup from our guide “Pegboard Tool Holders: 3D Print a Complete Organizer Set for Screwdrivers, Pliers and Wrenches,” cleats make a great second wall for bulkier power tools — the two systems complement rather than compete.
- Pair with a rail for hand tools. Our “3D Printed Wrench and Pliers Rail: Wall-Mounted Hand Tool Storage You Can Customize” mounts beautifully on the same wall between cleat rails.
Common Mistakes to Avoid
- Random cleat sizes. If every holder has a different back profile, nothing is interchangeable and the system is a lie. One standard, forever.
- Printing the wall rails. Rails must be continuous wood screwed to studs; printed segments cannot carry a wall of tools. Print holders, not rails.
- Cradles that stand too far off the wall. Leverage is relentless. Keep tools tucked close.
- Skimping on walls for heavy holders. A dropped circular saw costs more than the filament you saved.
- Overfilling the wall on day one. A cleat wall should grow with your tools; a crammed wall just moves the clutter vertical.
Care, Storage, and When to Choose an Alternative
Care is a dusting now and then and an honest check each season: hang each heavy tool and look for new flex or hairline cracks at the cradle junction. Retire and reprint any holder that has taken a knock and shows white stress marks — the file is saved and the standard is proven, so replacements are trivial.
Fixed shelves or a commercial track system may suit a workshop that never changes. But if your tool collection evolves — whose does not? — a cleat wall with printed holders adapts for the price of filament. Note the one firm limit: holders are for tools at rest. Anything involving fuel, pressure, or live electrical connections does not belong on printed wall storage; keep those in their proper manufacturer cases.
FAQ
How much weight can a printed French cleat holder carry?
With five to six walls, 40 percent infill in PETG, and a wide cleat back, a holder comfortably carries a cordless drill, driver, or jigsaw for years. Circular saws and routers are fine too with gussets and a wider back. The wall rail and its stud fixings, not the print, should always be the strongest link — and the load limit is your honest test: if it flexes, redesign it.
Do I need wooden rails, or can the whole system be printed?
The rails should be wood. A cleat system’s strength comes from continuous rails screwed into studs across the whole wall. Printed parts excel as the holders that hang from those rails — shaped to each tool in a way wood cannot match. That division of labor is the design.
What angle and size should my cleats be?
Forty-five degrees is the standard for a reason: it self-seats under load and prints without supports. A rail ripped from 75 to 100 mm board gives plenty of engagement. Whatever you choose, hold the standard constant across every holder you print.
Can I mix printed holders with wooden ones?
Absolutely — that is the beauty of a fixed standard. A wooden shelf bracket and a printed drill cradle with the same cleat profile hang side by side and swap places freely. Many workshops print the shaped holders and knock out simple shelves and boxes in wood.
Conclusion
A French cleat wall turns storage into a system instead of a decision you remake every project. One wooden standard on the wall, one saved cleat profile in your CAD, and an evening’s print per tool — that is all it takes to build a wall that rearranges as fast as your work changes.
Set your standard, print the first cradle, and let the wall grow with you.
If pegboard is your current system, our guide “Pegboard Tool Holders: 3D Print a Complete Organizer Set for Screwdrivers, Pliers and Wrenches” covers the same philosophy for the other classic workshop wall.