Introduction
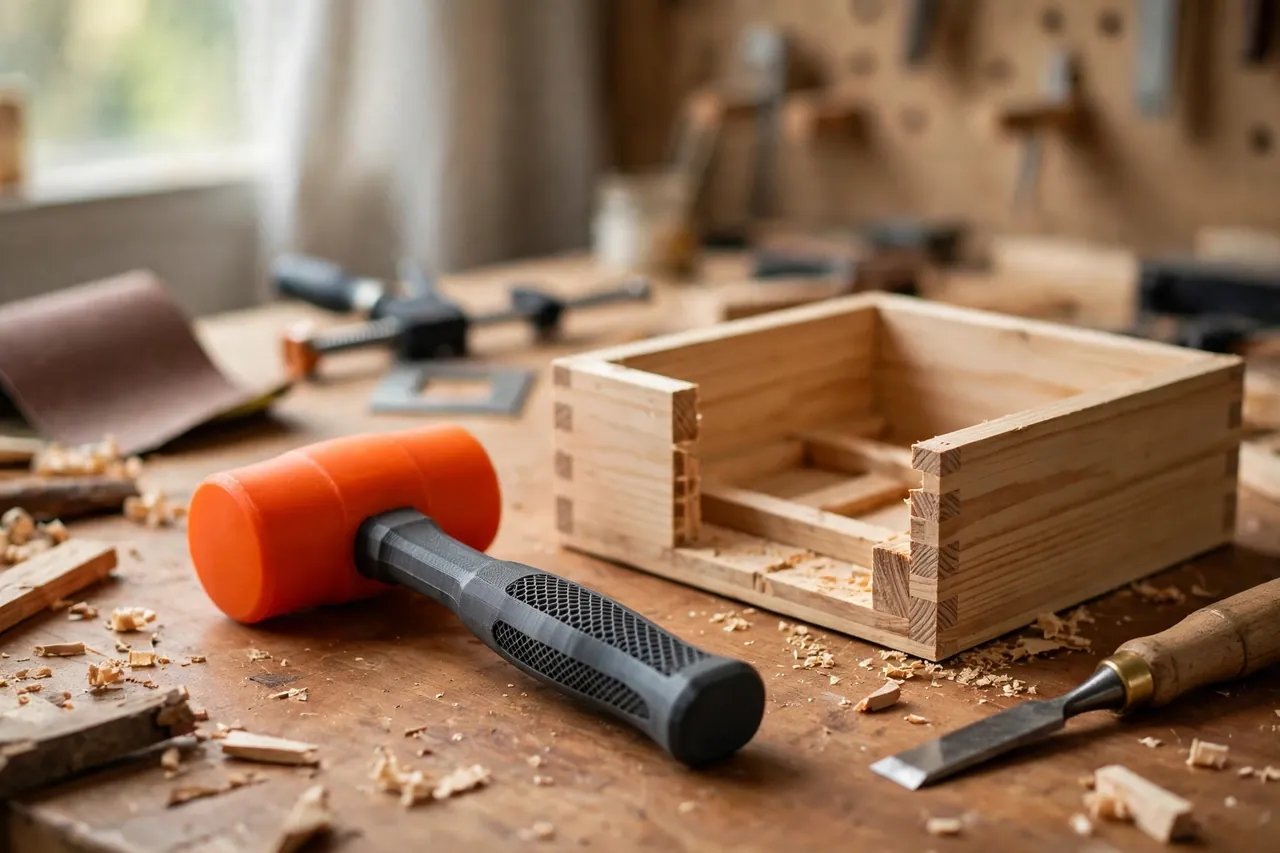
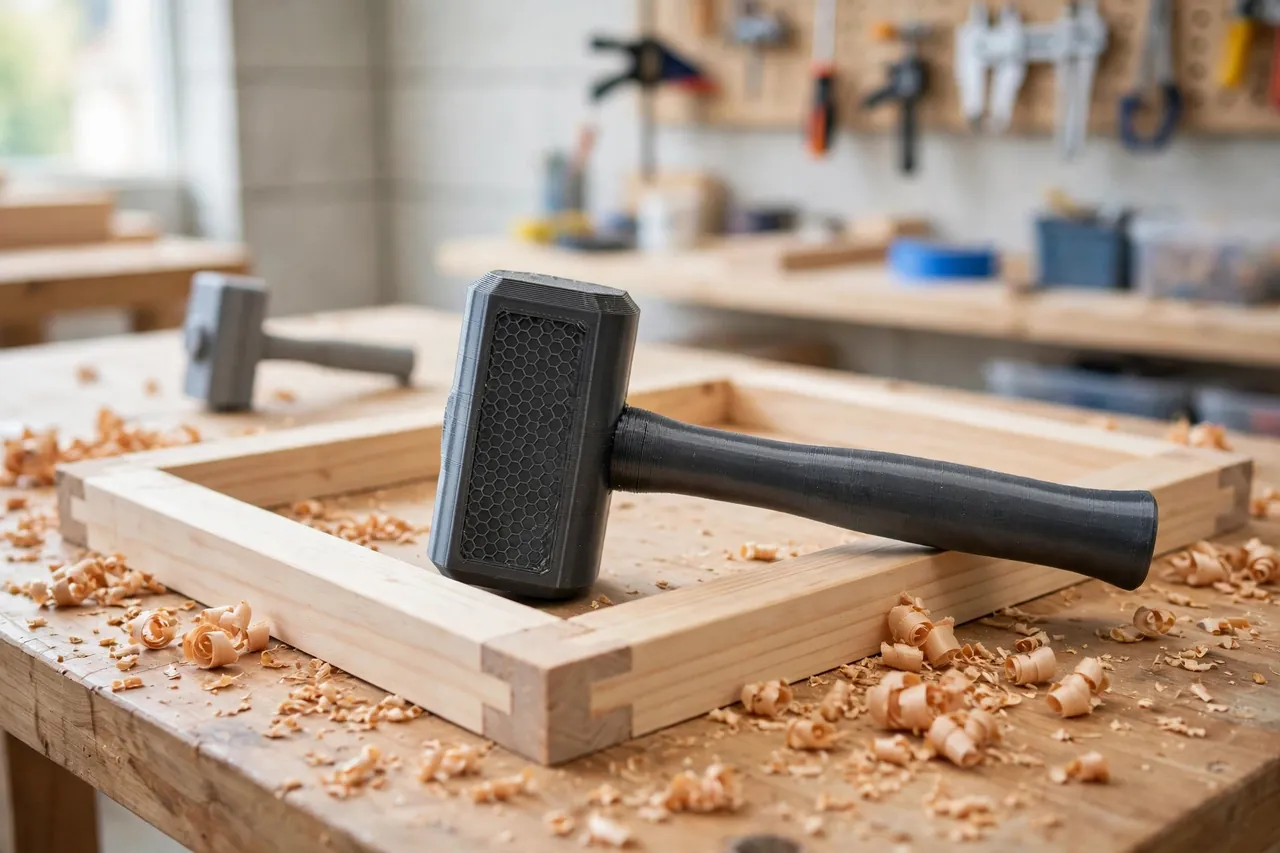
A good shop mallet should persuade a joint together, not punish it. Traditional wooden mallets do that well, but they are either too light to move a stubborn tenon, too heavy for delicate chisel work, or the wrong shape for your hand. Cheap rubber mallets bounce, and a steel hammer is far too harsh for joinery and furniture assembly.
The bounce is the real problem. When a solid head hits wood, much of the energy rebounds straight back into your wrist. You swing again, a little harder, and that is when a shoulder splits, a chisel handle mushrooms, or a carefully fitted joint bruises.
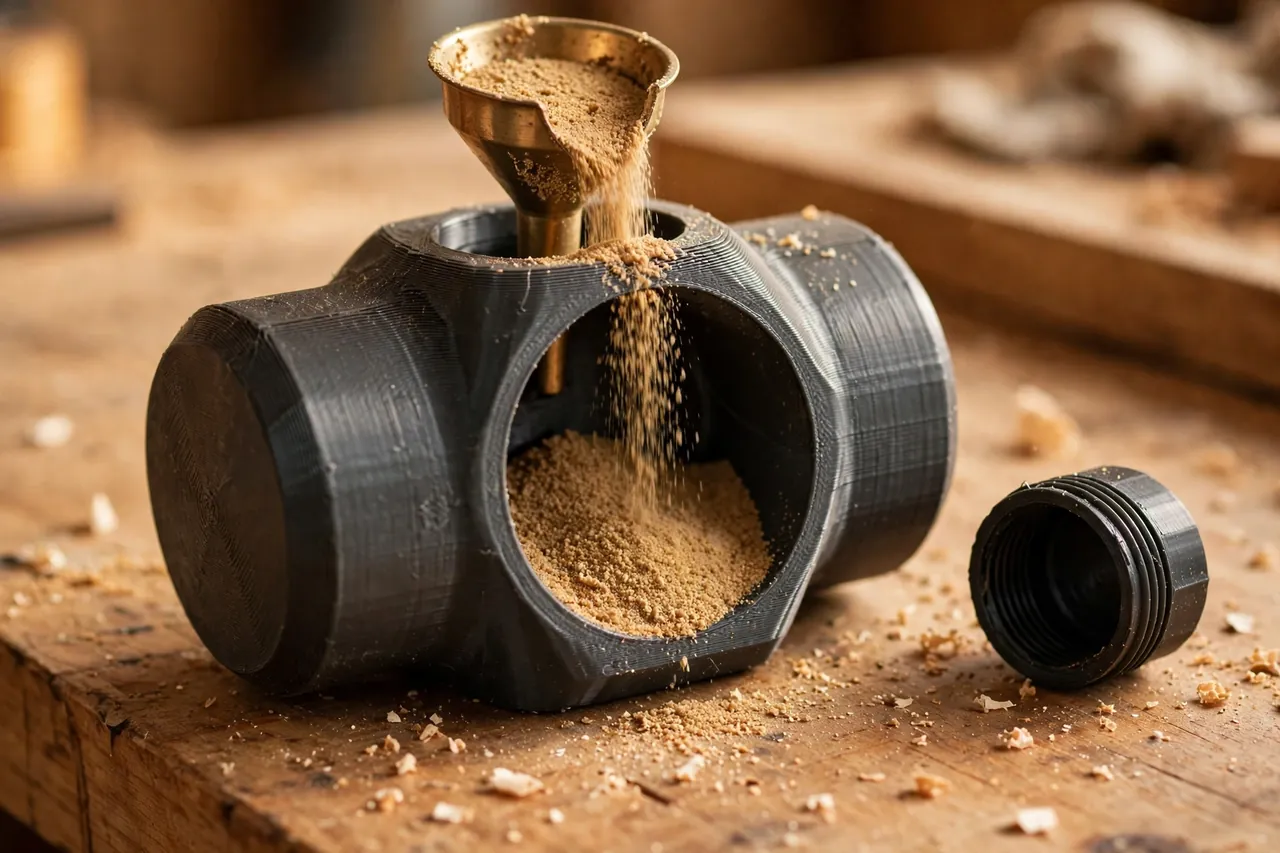
A sand-filled dead-blow design solves this in a simple way. Loose sand inside a hollow printed head shifts at the moment of impact and absorbs the rebound, delivering a dull, controlled thud instead of a sharp bounce. Because you print the head yourself, you choose its weight, diameter, and face size, then tune the fill until it feels right.
This guide covers designing, printing, filling, and using a light-duty shop mallet for joinery assembly and nudging chisels. Think of it honestly: this is a persuasion tool for wood, not a demolition hammer, and its printed shell has clear limits that the final sections spell out.
What You Need
The mallet is two main parts — a hollow head and a handle — plus loose fill. It prints on most home printers without exotic hardware.
Materials and tools
- A home 3D printer with a build area of roughly 180 mm in at least one direction
- PETG filament for the head and handle, for toughness and a little flex on impact
- Dry play sand, steel shot alternative for workshops that prefer it, or dry rice for a lighter test fill — sand is the standard choice
- A wooden dowel or printed handle core, if you prefer a hybrid handle
- A small funnel, a kitchen scale, and a tray to catch spills
- Two-part epoxy or strong thread-locking compound for the cap, plus sandpaper
- A workpiece offcut and a chisel for testing the finished weight
PETG is strongly preferred here. PLA is brittle under repeated impact and can crack along layer lines when a face strikes a hard edge. PETG flexes slightly, survives drops onto concrete, and holds threads for a screw-on cap far better. If you only have PLA, print a test head, keep it for the lightest work, and reprint the keeper in PETG.
Suggested print settings
- Layer height: 0.20 mm for the handle; 0.24 mm is fine for the head shell.
- Walls: At least 5 to 6 perimeters for the head — the walls are the structure.
- Infill: 20 to 30 percent for the head around a hollow fill chamber; 60 percent or more for the handle neck.
- Top and bottom layers: 5 or more, especially on the striking faces.
- Orientation: Print the head on its side with the fill opening up, and the handle upright.
- Supports: Usually none if the opening is chamfered; a small support may help a flat cap.
Print a short test section of the handle socket first. A handle that rocks inside the head will work loose no matter how well the rest is built.
Design Considerations
You can model this mallet in any basic CAD program. It is essentially a cylinder with a hollow core, a socket, and a threaded or glued cap.
1. Head size and face diameter
For general joinery, a head about 55 to 65 mm in diameter and 90 to 110 mm long is a useful middle ground. Larger faces spread the blow across a joint and are kinder to softwood; smaller faces concentrate force for nudging a chisel. Many makers print two heads — a broad assembly head and a narrower chisel head — and swap them on the same handle.
Keep the faces flat with a very slight chamfer at the rim. A sharp 90-degree rim chips easily and leaves crescent marks on workpieces.
2. The fill chamber and fill level
Leave the head hollow with walls at least 3 mm thick, and fill it about 70 to 85 percent full of dry sand. The empty space matters: the sand needs room to move and settle at impact, which is what creates the dead-blow effect. A chamber packed solid behaves like a solid mallet and bounces again.
Weigh the fill in stages. Add sand, fit the cap loosely, and test the swing on scrap. Most makers settle between 350 and 550 grams total mallet weight for joinery.
3. The handle socket and grip
Size the handle to your hand, roughly 28 to 34 mm in diameter, with a gentle flare at the end so it cannot slip forward in use. The socket in the head should be a snug fit, about 0.3 to 0.5 mm of clearance, deep enough that the handle cannot lever sideways. A through-tenon that reaches near the top of the head, pinned or epoxied, is far stronger than a shallow stub.
Step-by-Step: Printing and Assembly
- Measure your hand and choose a size. Wrap your fingers around a dowel or broom handle and note the diameter that feels secure without strain.
- Model the head, with thick walls, a hollow chamber, a deep handle socket, and a fill opening with a cap.
- Model the handle, slightly long so you can trim it to length after a test swing.
- Print the head and cap in PETG, and check that the cap threads start easily by hand.
- Print the handle with high infill at the neck, where bending stress concentrates.
- Dry-fit everything. The handle should seat fully with firm hand pressure and no rocking.
- Fill the head in stages, weighing as you go, tapping the head gently to settle the sand between additions.
- Fit the handle and cap, using epoxy at the socket if your design calls for it, and let it cure fully before any test strikes.
Step-by-Step: Using the Mallet for Joinery and Chisel Work
- Start with a dry assembly. Fit the joint by hand first; the mallet closes the last few millimeters, it does not force a bad fit good.
- Protect the workpiece. Place a scrap block over the joint shoulder so the mallet strikes the block, not your finished surface.
- Use short, controlled swings. Let the weight do the work — a dead-blow head rewards a relaxed, dropping motion over muscular force.
- Alternate sides. Tap one side of a frame, then the other, checking diagonals as you go so the assembly stays square.
- For chisel work, strike the handle end squarely with the flat face, using light taps and letting the edge, not the blow, do the cutting.
- Listen to the sound. A dull thud means the fill is working. A sharp crack or rattle means you should check the cap and fill level.
- Stop and reassess if a joint will not close with moderate taps. Something is binding, and harder swinging will damage wood before it fixes fit.
If panel glue-ups are your regular work, you may also enjoy our related guide, ‘Glue-Up Cauls: 3D Print Panel Cauls for Flat, Even Glue-Ups on Tabletops and Doors,’ which pairs flat cauls with exactly this kind of controlled mallet work.
Tips for Better Results
- Tune weight before looks. A plain head at the perfect weight beats a handsome one that tires your wrist.
- Keep the sand bone dry. Damp sand clumps, kills the dead-blow shift, and adds unpredictable weight.
- Test on scrap hardwood and softwood. The same mallet feels different on each, and your swing should adjust.
- Inspect the faces weekly. A dented or cracked face should be sanded flat or the head reprinted.
Common Mistakes to Avoid
- Filling the head completely. No air space means no sand movement and no dead-blow benefit.
- Printing thin walls to save filament. The head is a striking tool; thin shells split along layer lines.
- Making the handle too short. A stubby handle forces you to grip the head end and swing with your fingers.
- Skipping the cure time. Epoxy that has not cured will creep, and the handle will slowly twist loose.
Care, Storage, and When to Choose an Alternative
Store the mallet head-down in a bench holder or hanging by its handle, out of direct heat. Check the cap monthly, brush sand dust from the threads, and top up the fill if settling has left it rattling loosely. A PETG head that develops a deep crack should be retired and reprinted, not glued and trusted again.
Be direct about the limits: this mallet is NOT for demolition, prying, or driving hardened steel stakes or punches at full force, and it should never be used to strike cold chisels, masonry, or metal wedges. For heavy work, a manufactured dead-blow hammer with a steel-reinforced, factory-sealed head is the better and safer choice. Keep the printed mallet for the work it was designed for — wood joinery, assembly, and gentle chisel taps — and it will serve well for years.
FAQ
How heavy should the finished mallet be?
For most joinery and chisel nudging, 350 to 550 grams total feels balanced. Lighter suits delicate work and smaller hands; heavier suits closing large frame joints. Print the head, then adjust the sand in small steps until test swings on scrap feel controlled rather than effortful.
Can I use something other than sand?
Yes. Dry steel shot gives more weight in the same volume, and dry rice or plastic pellets give a lighter, softer blow for a test version. Avoid anything that absorbs moisture or breaks down into dust, and never use a liquid fill — leaks and shifting weight make the mallet unpredictable.
Will PETG survive repeated chisel strikes?
For light-to-moderate chisel handle taps, yes, especially with thick walls and flat faces. The head will slowly mark and wear, which is normal for a sacrificial shop tool. If a face chips deeply or a crack appears, reprint the head — that easy replacement is part of the appeal.
Why does my mallet still bounce?
Usually the chamber is overfilled, the sand is damp and clumped, or the walls are so thick that there is little fill to move. Empty a spoonful at a time and retest; the difference between a lively bounce and a dead thud is often just that small adjustment.
Conclusion
A shop mallet is one of those tools you reach for without thinking, which is exactly why it should fit your hand and your work. Printing the head, tuning the sand, and shaping the grip turns a generic striker into a personal tool that closes joints cleanly and treats chisel handles kindly.
For keeping the chisels this mallet serves in good shape, our guide ‘3D Printed Honing Guide Blocks: Set Exact Chisel and Plane Iron Angles Without Expensive Jigs‘ is a natural companion, and it works beautifully alongside the mallet on any sharpening bench.