Introduction
Bathroom hardware fails in quietly annoying ways. The holder’s spring spindle vanishes down a drain or snaps, one arm cracks at its fixing, or a renovation leaves you with chrome fittings in a room that has moved on to matte black. The replacement hunt then begins — and the new holder’s screw holes never match the old ones.
A single holder is also a strangely expensive small object, especially when you want it to match the towel bar and hooks you already have. Buy a set and the cost climbs; settle for a mismatch and you notice it every day, because a bathroom is a small room with nowhere for the eye to hide.
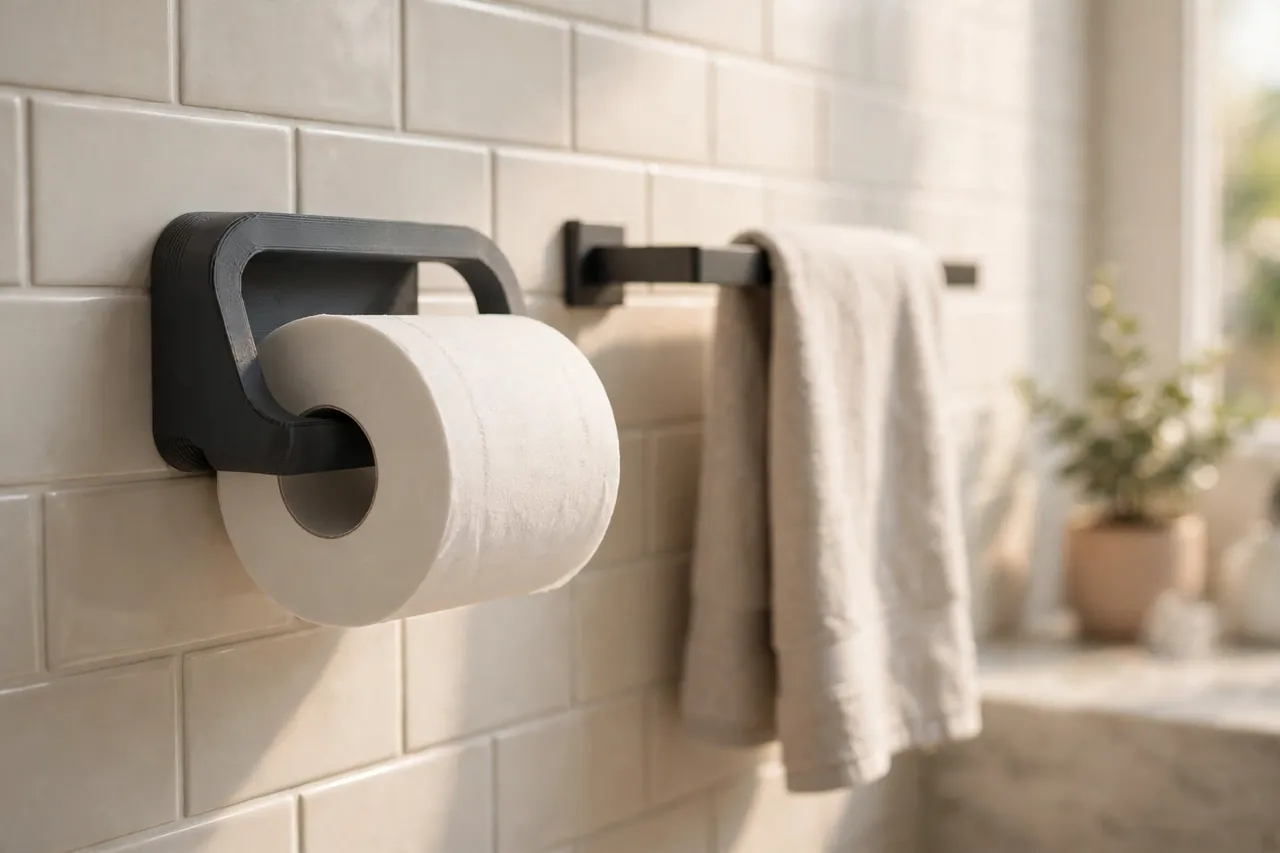
A 3D printed toilet paper holder sidesteps both problems. You print the arms and spindle in a color that matches your bathroom, size the mounting plate to cover or reuse your existing holes, and have a working holder the same evening. It is light-duty hardware holding a light paper roll — a perfect honest job for a print.
This guide covers measuring rolls and wall holes, designing a two-arm holder with a simple spindle, printing it for a steamy room, and mounting it so it stays level and solid.
What You Need
Rolls have grown — modern rolls are wider and fatter than the holders in older bathrooms expect. Measuring your actual rolls is the difference between a holder that works and one that binds.
Materials and tools
- A home 3D printer — the arms, plate, and spindle are all small parts
- PETG filament, which handles bathroom humidity far better than PLA over time
- The toilet paper rolls you buy, for width and full-roll diameter measurements
- A tape measure and calipers for roll and spindle sizing
- Wall screws and suitable anchors for your wall type, plus a drill and a level
- A screwdriver and pencil for marking
- Optional: a standard spring-loaded spindle from an old holder, if yours still works
- Optional: clear matte spray finish if you want extra moisture protection
PETG is the clear choice for a bathroom. It does not soften in steam, shrugs off splashes, and cleans easily. PLA can serve in a dry guest bathroom, but in a family bath that steams daily, PETG will outlast it by years.
Suggested print settings
- Layer height: 0.20 mm for a tidy finish on a part that is always in view.
- Walls: 4 to 5 perimeters on the arms — they take a small sideways flex every time a roll is changed.
- Infill: 40 to 60 percent in the arms and mounting plate for solid screw fixing.
- Top and bottom layers: 5 or more on visible faces for a smooth, wipeable surface.
- Orientation: Print arms on their inner faces so the visible outer face is clean and layer lines run along the arm’s length.
- Supports: A simple L-shaped arm design should need none.
Print one arm first and hold it against the wall at the intended height to check the roll clearance before printing the pair.
Design Considerations
A holder has to do three things gracefully: carry a full roll without binding, release it easily when empty, and look like it belongs in the room.
1. Size the gap for today’s rolls
Measure your roll’s width and full diameter. The space between the arms should be the roll width plus about 4 to 6 mm in total, so the roll spins freely without wandering. The spindle center should sit far enough from the wall that a full roll clears it by at least 10 mm all around — fat modern rolls binding against the wall are the most common failure of older holders, and your print can simply design it away.
2. Choose a spindle system you already like
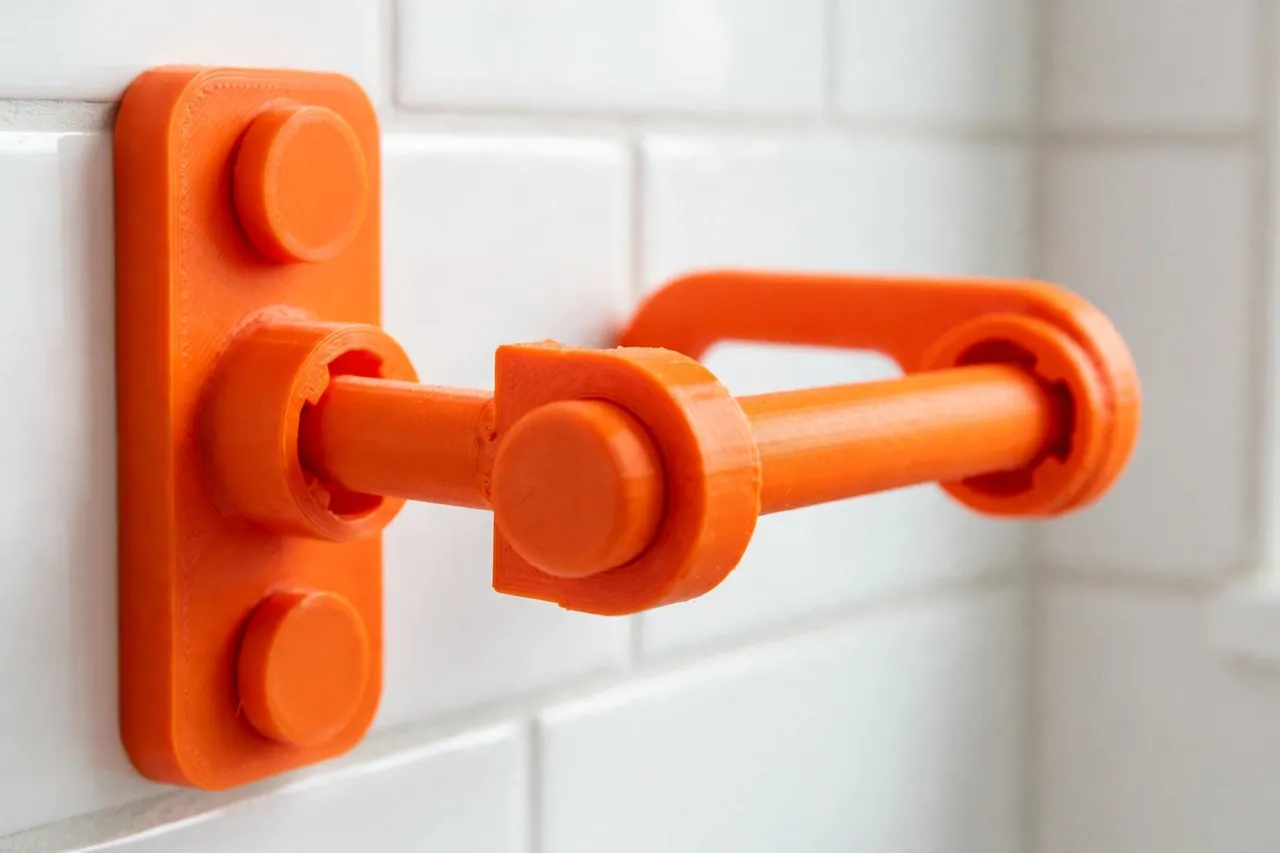
Two options work well. Reuse a standard spring-loaded spindle: design each arm with a round socket about the size of the spindle ends, and let the spring do the work — roll changes stay exactly as quick as they were. Or print a simple lift-out spindle: a plain cylinder resting in open cradles on each arm, lifted out by hand. The spring type is slicker; the lift-out type has no small parts to lose. Either way, the spindle itself carries only a paper roll, well within printed plastic’s honest limits.
3. Make the mounting plate do the cosmetic work
A back plate around 4 to 5 mm thick, wide enough to cover old screw holes or tile marks, turns the install into a tidy-up rather than a repair. Put two screw holes per arm plate, counterbore them, and add printed cap covers or design the plate so the spindle arm conceals the fixings. On tiles, plan fixings into grout lines or existing holes where you can — drilling tile demands the right bit and a slow hand, and avoiding it is better still.
4. Match the room deliberately
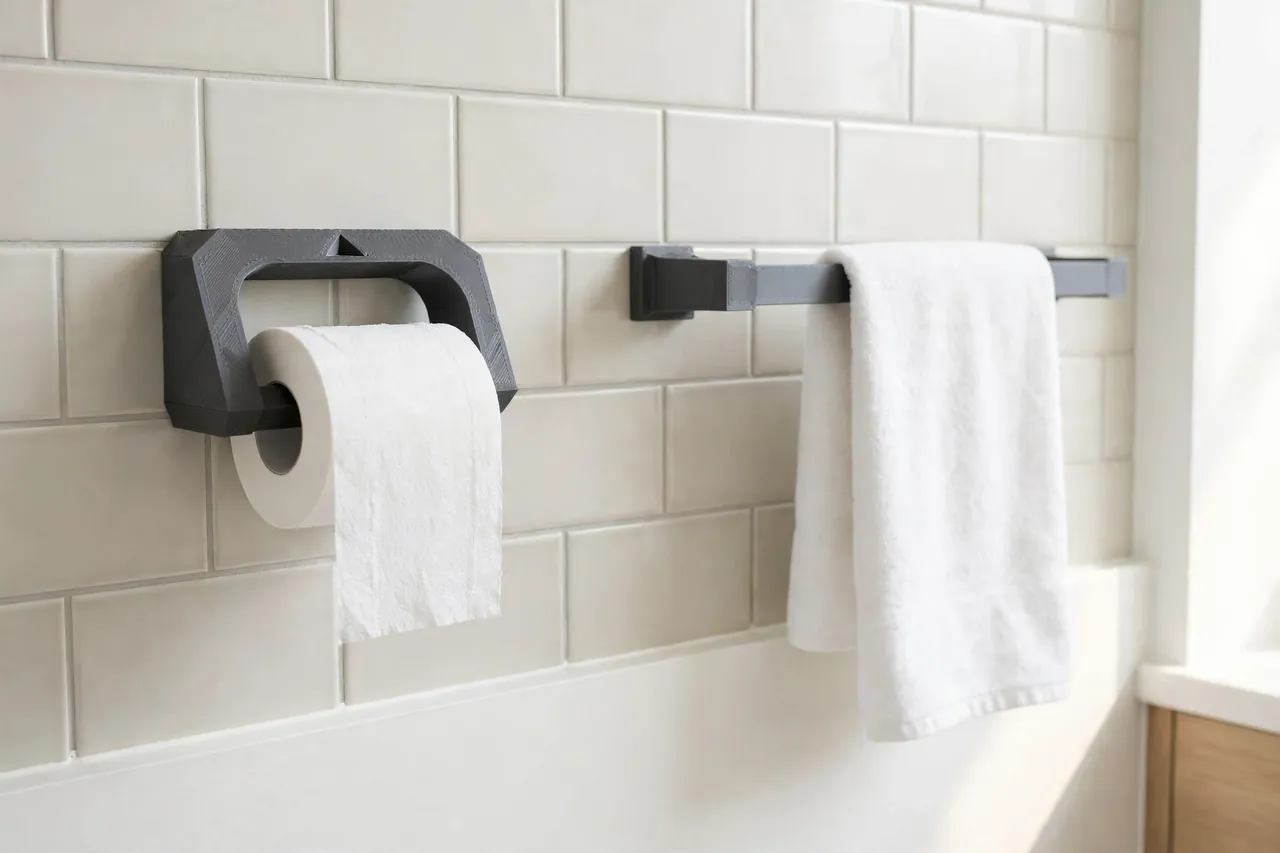
Color is your superpower here. Match the filament to your towel bar and taps — matte charcoal, warm white, or a deliberate orange accent in a plain room all work, as long as the whole set agrees. Print the holder, and later any matching brackets, from the same spool if exact matching matters, since shades drift between filament batches.
Step-by-Step: Printing and Assembly
- Measure your rolls — width and full diameter — and the wall space and any existing fixing holes.
- Model the two arms and plates, with roll clearance, spindle sockets or cradles, and covered screw holes.
- Print one arm and test it against the wall with a full roll held in place. Confirm the roll spins clear of the wall.
- Adjust clearances if the roll binds or the spindle fit is sloppy, in small steps.
- Print the full set in PETG — arms, plates, and a spindle if you chose the lift-out design.
- Clean and dry-fit the parts together off the wall, spindle included, with a roll loaded.
- Test a roll change with the dry assembly. If you cannot do it one-handed at arm’s length, adjust the sockets now, not after mounting.
Step-by-Step: Using the Toilet Paper Holder
- Hold the assembled holder against the wall at a comfortable reach from the seat, around standard holder height, and level it.
- Mark the screw positions through the plates, then check once more that a full roll will clear the wall and any nearby fittings.
- Drill and fit anchors suited to your wall — solid anchors in plasterboard, proper plugs in masonry, and great care on tile.
- Fix both arms firmly, checking level again before the final tighten.
- Fit the spindle and roll, and give the roll a spin. It should turn freely, stay centered, and unroll without the paper dragging the wall.
- Change the roll your chosen way — compress the spring spindle or lift the printed one — and confirm the routine feels effortless.
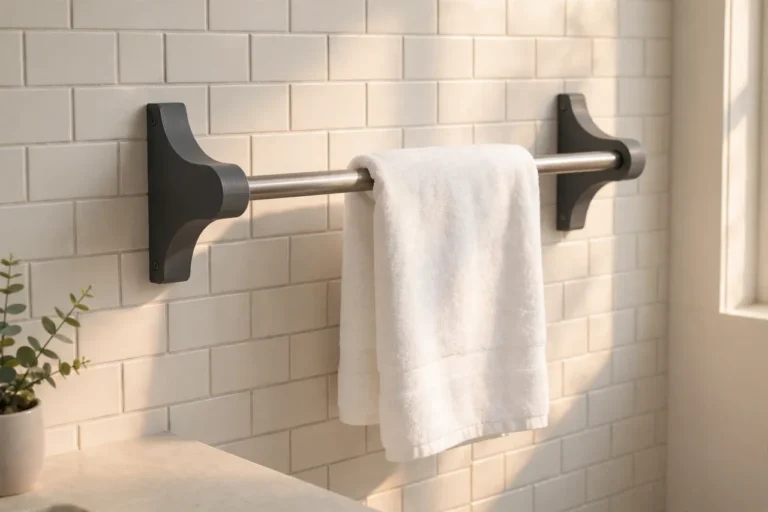
To complete the matching set on the same wall, you may also enjoy our related guide, “3D Printed Towel Bar Brackets: Replace Broken Brackets, Keep the Bar,” which uses the same plate-and-color approach for the bar you already own.
Tips for Better Results
- Print a spare spindle and keep it in the bathroom cabinet. Spindles are the part that always gets lost during a roll change rush.
- Round every edge the paper or a hand touches. A chamfered arm looks manufactured and feels finished.
- Mount into the strongest fixing you can find — a holder gets leaned on and yanked more than you would expect.
- Keep the design consistent across the bathroom. Same plate style, same color, same edge radius on every fitting reads as a bought set.
- Test steam resistance honestly — run a hot shower with the holder fitted before printing a full matching set for the room.
Common Mistakes to Avoid
- Sizing for the roll you had, not the roll you buy now. Modern rolls are bigger; measure the current packet.
- Crowding the wall. Too little clearance and a full roll drags, tears sheets, and scuffs paint or tile grout.
- Using PLA in a steamy family bathroom. It survives a while, then sags and dulls. PETG costs no more effort.
- Fixing with one screw per arm. Two fixings stop the arm rotating under the small repeated twists of roll changes.
- Drilling fresh tile holes when a wider plate could have covered and reused the old positions. Measure the old holes first.
Care, Storage, and When to Choose an Alternative
Wipe the holder down with the rest of the bathroom cleaning — PETG shrugs off ordinary bathroom cleaners. Check the fixings if the holder ever feels loose, and reprint a single arm if one is cracked by an enthusiastic yank; the files are saved and a single arm is a short print.
Be honest about the limits. This holder carries toilet paper, not people. Never print grab bars, handrails, or anything a person might pull on for support — those must be rated metal hardware fixed to structure. Similarly, in a commercial or rental setting with heavy use, a quality metal holder takes abuse better. For a home bathroom and a paper roll, the printed holder is entirely up to the job.
FAQ
Will a printed holder look cheap next to bought fittings?
Not if you print it well. A 0.20 mm layer height, a matte filament matched to the room, and covered fixings produce a holder most visitors will assume you bought — especially as part of a matching set.
How wide should the holder be for modern rolls?
Allow your measured roll width plus about 4 to 6 mm between the arms, and at least 10 mm of clearance between a full roll and the wall. Measure the rolls in your cupboard now, not from memory.
Can I reuse my old spring spindle?
Yes — that is the easiest route. Size the arm sockets to the spindle ends you have, and roll changes feel exactly as they always did.
What else can I print to match?
The bathroom set grows naturally: hooks, brackets, and small holders in the same filament. Our related guide, “Towel Hooks, Robe Hooks and Key Hooks: 3D Print a Matching Hook Set for Bath and Entryway,” covers the hook side of that set, and “3D Printed Curtain Rod Brackets and End Caps for a Clean, Sturdy Window Upgrade” does the same job at the window.
Conclusion
A toilet paper holder is small, visible, and used every day — exactly the kind of object worth getting right. A printed holder sized to your rolls, colored for your room, and plated to cover yesterday’s screw holes gets it right in an evening.
Measure the rolls, print in PETG, and mount it solidly. Your bathroom will look deliberately finished, and the next roll change will take ten seconds and no thought at all.