Introduction
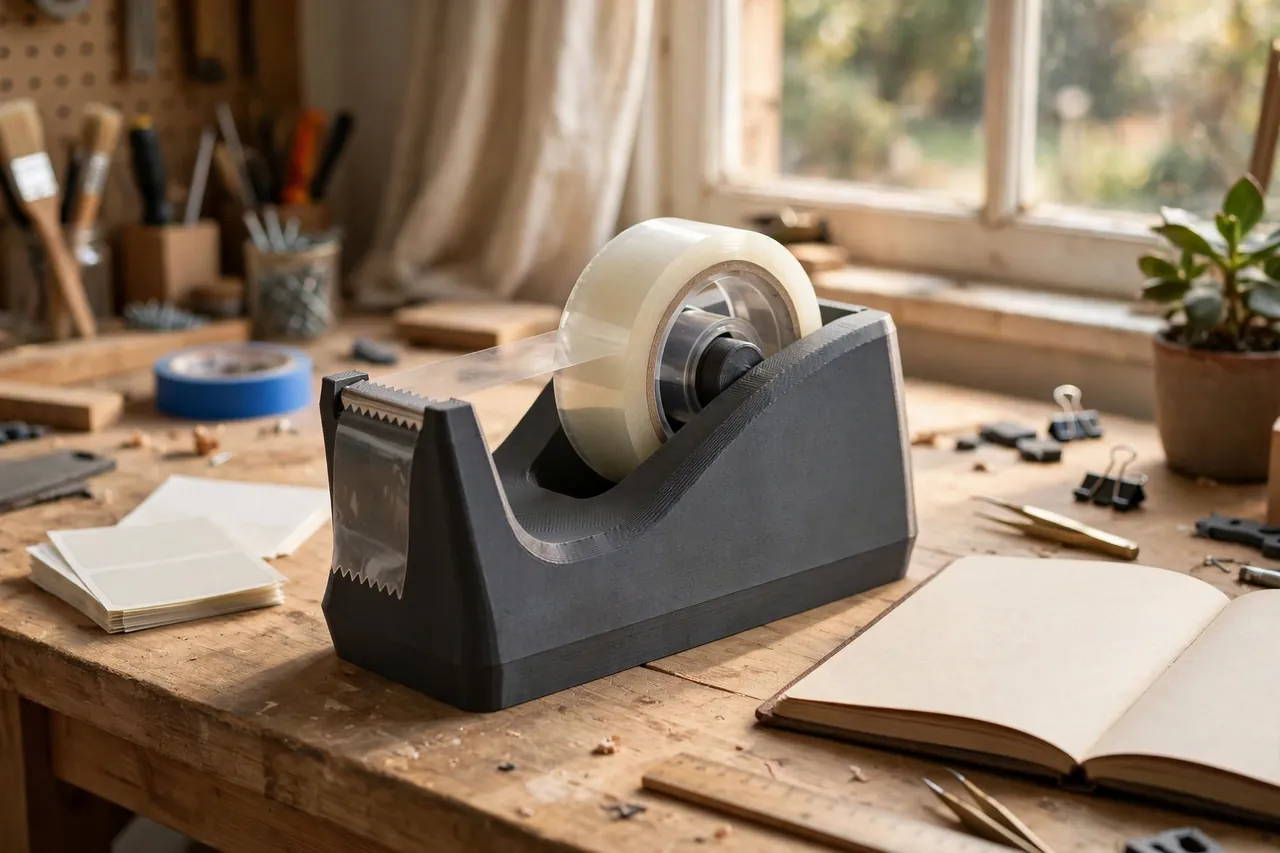
The cheap tape dispenser has one job, and it fails at it theatrically: you pull a strip with one hand and the whole dispenser comes with it, skidding across the desk or dangling from the tape. So every quick sealing job becomes a two-handed job, with the parcel held by an elbow.
The failure is simple physics. A light plastic body cannot resist the pull of the tape, and its tiny spindle lets the roll wander sideways until the tape tracks off the edge. Expensive dispensers fix this with a heavy core and a proper axle — which tells you exactly what a home print needs to copy.
A 3D printed desktop tape dispenser copies it honestly. You print a body sized to your rolls, give it a hollow base you fill with weight, and fit a real metal cutting strip salvaged or bought as a spare part. The result is a dispenser that sits like a paperweight and tears cleanly, one-handed, every time.
This guide covers sizing the spindle and roll bay, adding weight safely, choosing a cutting edge, and printing a body that will live on the bench for years.
What You Need
The tape roll itself is your main measurement. Standard desk rolls share a common core, but workshop tape rolls vary, so measure the rolls you actually use.
Materials and tools
- A home 3D printer with a build area around 180 mm long for a full-size body
- PETG or PLA filament — this is an indoor desk part, so either works well
- The tape rolls you plan to use, for core diameter and roll width measurements
- Dry sand, steel shot, or similar clean filler for weighting the base, plus a cap or plug
- A replacement metal tape cutting strip, or one salvaged from a broken dispenser
- Calipers for the roll core and width
- Self-adhesive rubber feet for the base
- Optional: a small funnel for filling the base neatly
PLA is a good choice here — the dispenser lives indoors, and PLA’s stiffness keeps the roll bay true. PETG shrugs off drops better. Either way, the weight inside does the real work, not the plastic.
Suggested print settings
- Layer height: 0.20 mm for a neat finish on a part that lives in view.
- Walls: 4 perimeters around the roll bay and spindle root — the spindle takes a sideways pull on every tear.
- Infill: 25 to 40 percent in the body; the base cavity is filled separately, so keep its walls strong instead.
- Top and bottom layers: 5 bottom layers under the weight cavity so filler never finds a seam.
- Orientation: Print the body upright as it will sit, for the truest spindle and a flat base.
- Supports: A well-designed roll bay with a sloped front needs none.
Print the spindle as a separate test piece first if your design allows it, and check the roll spins freely before the big print.
Design Considerations
Weight, spindle fit, and the cutting edge decide whether this dispenser delights or annoys. Get those three right and the shape can be as plain as you like.
1. Size the spindle and roll bay to your rolls
Standard desk tape cores are about 25 mm — one inch — inside diameter, with rolls up to roughly 19 mm wide, but measure yours. Make the spindle about 0.5 mm under the core diameter so the roll spins freely without wobbling, and the roll bay about 1 mm wider than the roll per side so the tape tracks straight. The spindle should be a proper axle with a shoulder, not a peg: a shoulder keeps the roll centered tear after tear.
2. Build the weight in from the start
A dispenser that stays put needs real mass low down — roughly 300 to 500 grams of filler transforms how it behaves. Design a hollow base with a fill opening on the underside or back, sized for a printed plug or cap. Dry sand is cheap, dense enough, and stays put; steel shot is denser for a smaller body. Keep the cavity walls at least 2.4 mm thick so the base never leaks or flexes under its own load, and seal the cap firmly once filled.
3. Use a real metal cutting edge
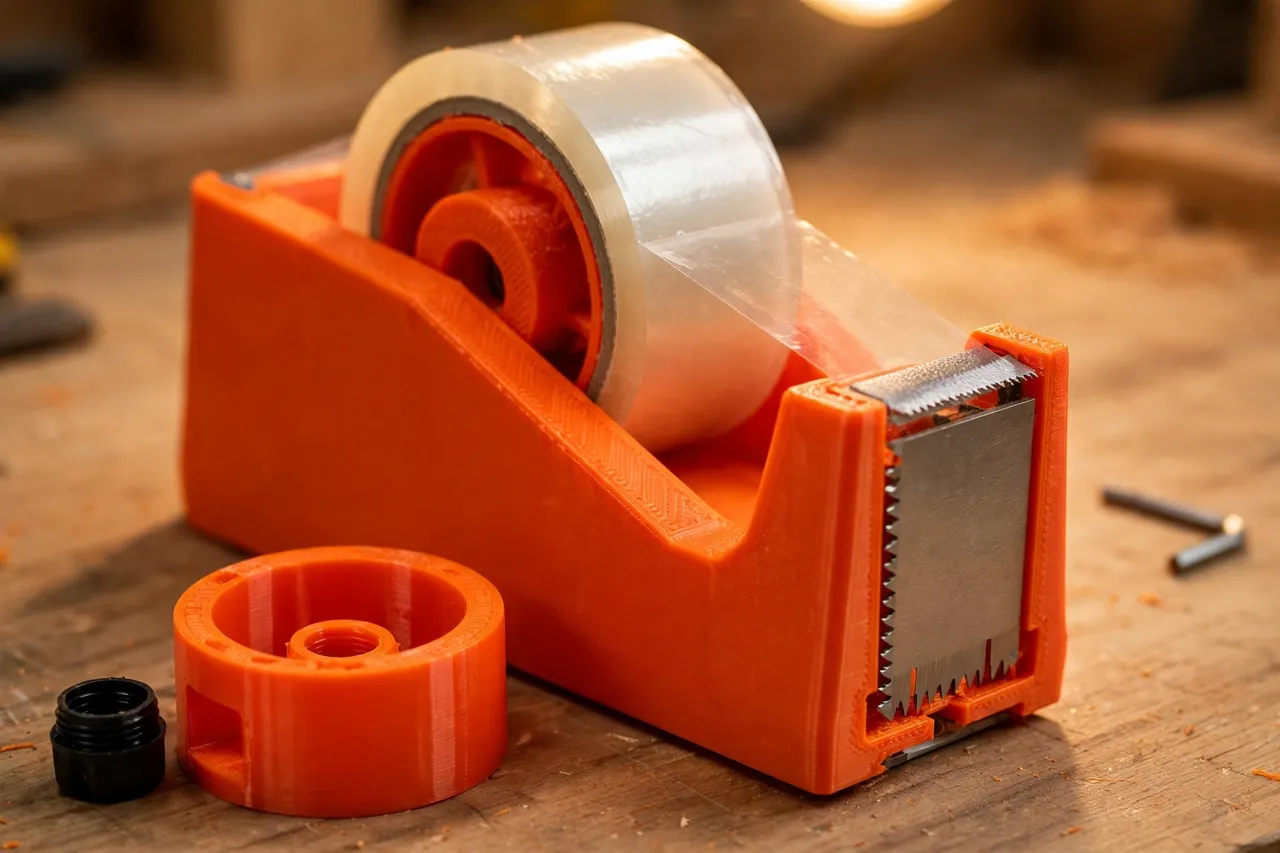
Printed plastic teeth tear tape raggedly and blunt within weeks. Every good dispenser uses a serrated metal strip, and yours should too. Design a shallow slot or recess at the front, angled like commercial dispensers, that accepts a standard replacement cutting strip or one salvaged from a dead dispenser. Fix it with its own tabs or a dab of adhesive per its design, seated fully so only the serrated edge shows. It is a replaceable part — when it dulls, swap it, do not reprint the body.
4. Shape the pull path
Tape should leave the roll, travel a short flat run, and meet the cutter with no sharp printed edges in between to catch or wrinkle it. A gentle guide lip ahead of the cutter keeps the strip aligned. Round the body’s front corners, too — this part gets grabbed, slid, and knocked daily, and friendly edges survive longer.
Step-by-Step: Printing and Assembly
- Measure your tape rolls — core inside diameter, roll width, and full roll outside diameter for bay height.
- Model the body — roll bay, shouldered spindle, weight cavity with a cap, and a slot for a standard metal cutting strip.
- Print a spindle test and spin a roll on it. It should turn freely with no visible wobble.
- Print the body with the settings above, keeping the weight cavity clean and open.
- Fill the base with dry sand or shot through a funnel, tapping the body gently to settle the filler, until the dispenser feels properly planted.
- Seal the cap firmly and fit rubber feet over the base so the weighted body grips the desk instead of skating on it.
- Seat the cutting strip fully in its slot and check only the serrated edge is exposed.
- Load a roll onto the spindle, thread the tape over the guide lip to the cutter, and test a one-handed tear.
Step-by-Step: Using the Desktop Tape Dispenser
- Park the dispenser at your dominant-hand side of the desk or bench, cutter facing you.
- Pull the strip up and slightly back against the cutter in one smooth motion — the weight does the anchoring, so do not rush it.
- Tear sideways across the serrations rather than sawing down, for the cleanest edge.
- Park the tape end on the guide lip after each tear, so the next strip starts with a findable tab instead of a vanished end stuck to the roll.
- Swap rolls at the spindle shoulder when one runs out; a centered roll tracks straight from the first strip.
- Refill or top up weight only if the base cap ever loosens — check it when you change rolls.
If your bench also juggles several tape types, our related guide, “Tape Storage Tower: 3D Print a Wall Dispenser for Masking, Painter’s and Duct Tape,” stores the workshop rolls on the wall and leaves this desktop dispenser to the desk tape it does best.
Tips for Better Results
- Weigh the finished dispenser. If it is under about 350 grams all-in, add more filler — the difference is dramatic.
- Print the body in a darker color. Adhesive dust and bench grime show less.
- Keep the cutter clean. A wipe lifts adhesive build-up off the serrations and restores a clean tear.
- Fit bigger rubber feet than you think you need. Grip plus weight is what one-handed tearing runs on.
Common Mistakes to Avoid
- Printing the cutter in plastic. It will tear badly and dull fast. A metal strip is not optional on a dispenser you will use daily.
- Skipping the weight. An unweighted printed body behaves exactly like the cheap dispenser you are replacing.
- Sizing the spindle exactly to the core. No clearance means the roll drags and tears unevenly. Leave that half millimeter.
- Leaving the filler cap loose. Sand escaping into a desk drawer is a mess you only make once. Seal it properly.
- Making the roll bay too deep. If the full roll sits below the body’s sides, threading the tape becomes fiddly. Match bay height to your roll diameter.
Care, Storage, and When to Choose an Alternative
Wipe the body and cutter down occasionally, and clear dust from the roll bay. If the cutting strip dulls, replace the strip — that is the design working as intended.
Choose a commercial dispenser when your needs are industrial: high-volume packing benches, very wide packaging tape, or a heated or wash-down environment all deserve purpose-built metal equipment. For desk tape at a home bench — parcels, labels, paper repairs — a weighted printed dispenser matches the good commercial ones in use and beats them on fit and cost.

FAQ
What should I fill the base with?
Dry sand is the easy default: cheap, heavy enough, and it stays where it is put. Steel shot is denser if you want maximum weight in a smaller body. Never fill with anything damp or organic — keep it dry, clean, and sealed in.
Can I really not print the cutting teeth?
You can print them, and they will disappoint you within weeks. A salvaged or replacement serrated metal strip costs little, seats into a printed slot, and turns a novelty into a tool. It is the one bought part this project genuinely needs.
Which tape sizes does this design suit?
Any roll you measure for. The common desk roll — roughly 25 mm core, up to 19 mm wide — is the default, but the same design scales to narrower craft tapes or wider rolls by adjusting the spindle and bay width in the model.
My tape keeps tracking off one side. Why?
The roll is not centered or the spindle is wobbling. Check the spindle shoulder is keeping the roll centered, the bay clearance is even per side, and the roll itself is not wound crooked from the factory. For organizing the rest of your tapes at the bench, you may also enjoy our related guide, “3D Printed Zip Tie Station: Store, Sort and Snip Cable Ties at the Bench,” which applies the same weighted, stays-put thinking to a messier problem.
Conclusion
A tape dispenser should be invisible in use: pull, tear, done, one-handed. Weight low in the base, a true spindle, and a real metal edge are the whole secret, and all three are easy to print around.
Measure your rolls, fill the base generously, and enjoy the small daily satisfaction of a dispenser that stays put. For the paper side of the same bench, our related guide, “Sandpaper Organizer and Storage Box: 3D Print a Grit-Sorted System for Your Workshop,” keeps the other flat consumable just as findable.