Introduction
A cracked window latch handle usually announces itself in winter. The sash no longer pulls in tight, a thin draft finds the gap in the seal, and the handle you are supposed to trust flexes alarmingly every time you close the window. Tape and wedges appear. Heating quietly leaves the room.
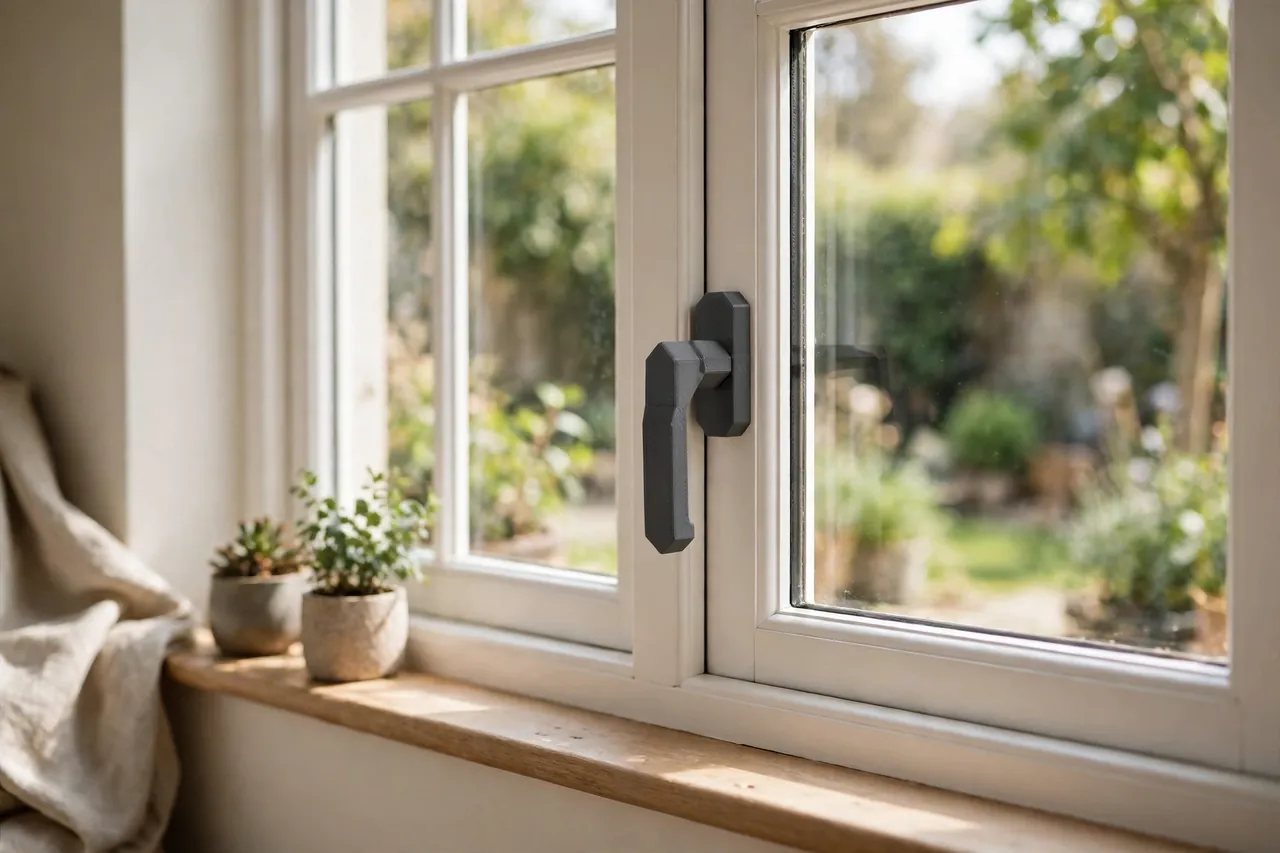
Often the metal latch mechanism itself still works perfectly. What has failed is the plastic grip — the lever you hold — which went brittle with sunlight and age until it cracked around its fixing. The window maker’s replacement handle, if it exists at all for an older window, can cost a surprising amount and take weeks to arrive.
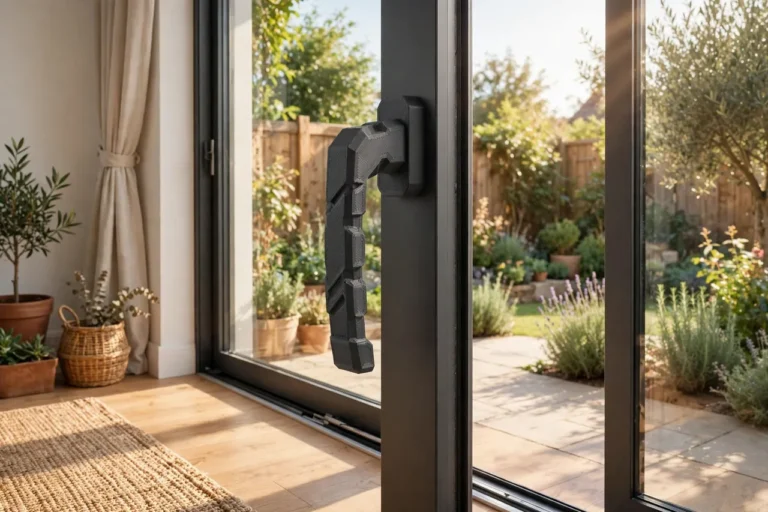
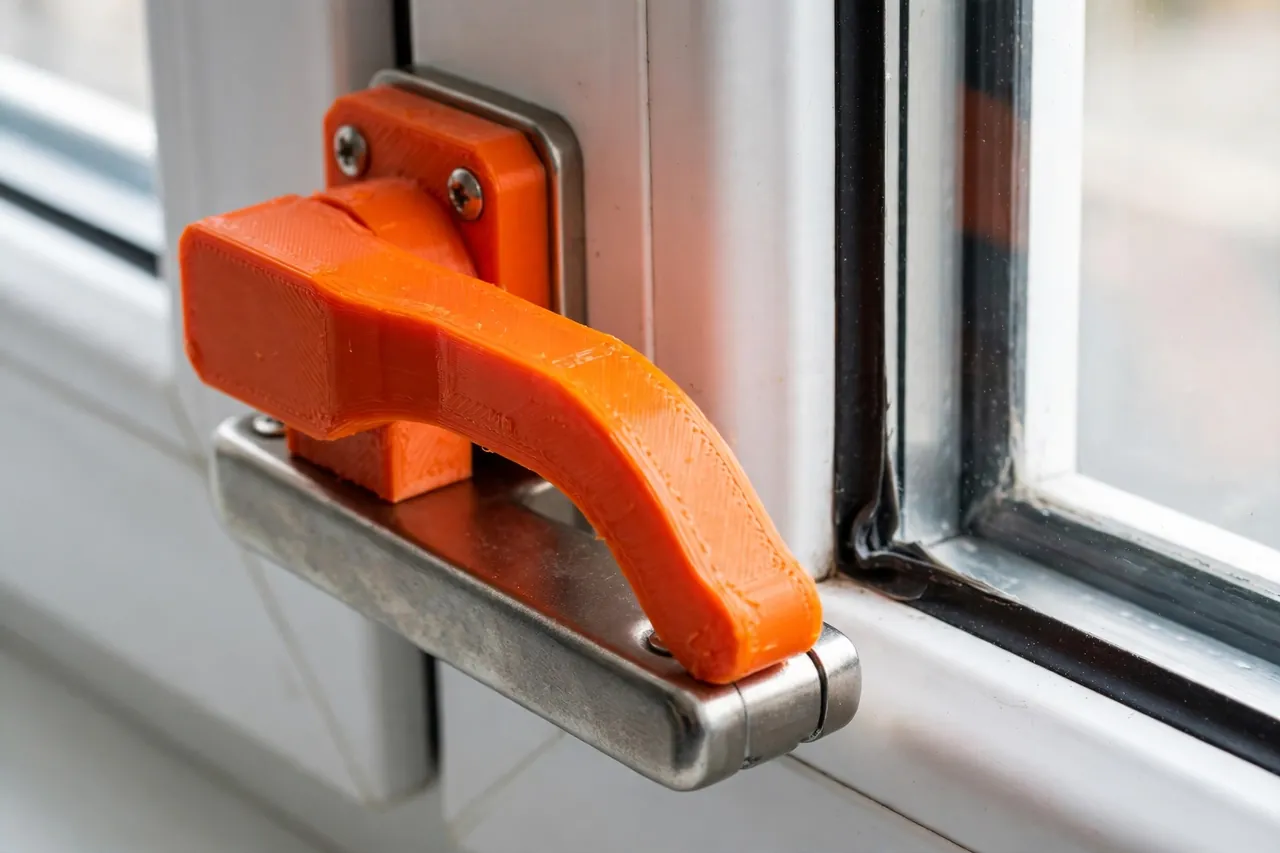
A 3D printed window latch handle replaces just that grip. The print replaces the grip and handle lever only; the window’s own locking mechanism stays the manufacturer’s hardware, untouched and doing its original job. You measure the metal latch base that remains, print a lever that fits it, and the sash pulls snugly closed again the same day.
This guide covers assessing the original mechanism, measuring its mounting, designing a comfortable lever, and printing it strong — with a clear line about what a printed handle must never be relied upon to do.
What You Need
Start with a careful look at what survives on your window. The print depends entirely on the manufacturer’s base it has to fit.
Materials and tools
- A home 3D printer — a lever handle is a small, quick part
- PETG filament for strength and sunlight resistance at a window
- The window’s existing metal latch base and fixings, still mounted and working
- The broken handle or its fragments, for measurements and shape reference
- Calipers for the base dimensions, screw spacing, and spindle or cam size if present
- A screwdriver set for removing and refitting the handle fixings
- A tape measure and pencil, plus sandpaper or a small file for fitting
- Optional: a tissue or incense-free draft check — a strip of light paper held near the closed sash
PETG is the sensible default at a window. It resists the sun that made the original brittle, flexes rather than snapping under the closing pull, and tolerates the temperature swing of a frame in direct light. PLA goes brittle at a sunny window relatively quickly.
Suggested print settings
- Layer height: 0.16 to 0.20 mm — the handle is handled and seen daily, so a finer finish pays off.
- Walls: 5 to 6 perimeters. The lever is a small part under repeated bending; walls are its strength.
- Infill: 60 to 80 percent, gyroid, concentrated where your slicer allows it around the fixing boss.
- Top and bottom layers: 5 or more for a solid, smooth grip surface.
- Orientation: Print the lever flat on its side so layer lines run along its length, not across the bend where it meets the base.
- Supports: Usually avoidable if the underside is designed flat; a small support under a curved grip is acceptable.
Print a first version even if you expect to revise it — a physical test teaches more than any double-check.
Design Considerations
The governing idea is modesty: your print is a grip for the maker’s mechanism, shaped to your hand and your window, and nothing beyond that.
1. Fit the manufacturer’s base exactly
Remove the broken grip and study the metal base it left behind. Measure the fixing screw spacing, the boss diameter, and any square spindle, cam, or interlocking shape the lever must engage. Copy that interface faithfully, with about 0.2 to 0.3 mm of clearance on non-load faces so the handle seats without forcing, and a snug fit on the faces that transmit the pull. If the original used a metal insert or sleeve, reuse it — printed plastic should grip the mechanism, not replace its wearing surfaces.
2. Shape the lever for a firm, easy pull
A latch lever is pulled and turned many times a day in season. Give it a length close to the original — around 80 to 110 mm is typical — with a gently widened, rounded end your fingers can hook without squeezing hard. Round every edge. Keep the lever’s underside clear of the frame through its whole swing: mock up the arc before printing, because a lever that kisses the frame mid-turn will be resented daily and loosened by the workaround wiggle it forces.
3. Build strength where the pull concentrates
Levers fail at the boss, where the grip meets the base, because that joint takes the whole bending load of every close. Make the boss generous, fillet the lever into it on both sides, and keep screw holes surrounded by at least 3 mm of solid material. If your mechanism’s closing action feels stiff before you print anything, fix that first — clean and service the manufacturer’s hardware per its instructions — rather than asking a printed lever to win a fight the original lost.
4. Know the hard safety line
State it plainly: never rely on a printed handle for child fall protection or window security. A printed grip restores the convenience of pulling a sash closed and operating the maker’s latch. It is not a safety lock, not a restrictor, and not a security device. For safety-critical window locks — anywhere a child’s fall prevention or the home’s security depends on the lock — use the window maker’s own parts, fitted as they specify. That line is not caution for its own sake; it is what this part honestly is.
Step-by-Step: Printing and Assembly
- Remove the broken grip, keeping its screws and any metal insert or sleeve, and confirm the manufacturer’s mechanism still moves through its full action by hand.
- Measure the interface — screw spacing, boss size, spindle or cam shape — plus the original lever’s length and swing clearance.
- Model the new handle, copying the interface, shaping the grip, and filleting the boss generously.
- Print a test handle in PETG with the settings above.
- Fit it to the base off a final tightening and work the mechanism slowly. It should seat fully and turn without fouling the frame.
- Adjust clearances if it binds or feels sloppy — small changes at the interface make large differences in feel.
- Print the keeper once the action is smooth, and keep the test print as your emergency spare.
Step-by-Step: Using the Window Latch Handles
- Fix the handle to the manufacturer’s base with the original screws or exact equivalents, tightened snugly and evenly.
- Close the sash using the new handle at a normal, unhurried pace. The manufacturer’s latch should engage as it always did.
- Check the seal around the sash — it should sit evenly compressed, with the corners pulled in as firmly as the handle side.
- Test the draft with a light strip of paper held near the closed frame on a windy day, or feel with the back of your hand. A snug sash ends the whisper of air.
- Open and close a dozen times to settle your confidence in the feel. Any grinding, flexing alarm, or stiffness means stop and investigate the mechanism, not the handle.
- Repeat for matching windows while the file is current — a house set in matching handles looks intentional and keeps one spare size for all.
For the sash’s sliding cousins, our related guide, “Sliding Door and Window Track Guides: 3D Print Replacement Guides and Stops,” covers the guides that keep the moving panel itself running true.
Tips for Better Results
- Copy the original lever’s length. Longer levers multiply the load on the boss and the mechanism.
- Print the handle in a color that matches the frame, so the hardware disappears as it should.
- Keep the old fragments in a labeled bag until the new handle has survived a full season.
- Service the seal while you are there. A perished seal drafts no matter how good the handle is.
Common Mistakes to Avoid
- Replacing the mechanism with print. The locking and load-bearing hardware stays the manufacturer’s. Your print is the grip and lever only.
- Relying on a printed handle for safety. Never use it as child fall protection or as window security. Safety-critical locks need the maker’s parts.
- Forcing a stiff mechanism. If the maker’s latch is seized or bent, a new handle — printed or bought — is not the repair. Service or replace the mechanism properly first.
- Printing across the bend. Orientation decides whether the lever is strong along its length or layered exactly where it flexes. Print it flat on its side.
- Ignoring swing clearance. A lever that clips the frame will be wiggled loose within the season. Model and test the full arc.
Care, Storage, and When to Choose an Alternative
Wipe handles down with the window cleaning, and check the fixing screws each winter. If a handle cracks, replace it rather than gluing it, and check whether the mechanism is growing stiff.
Choose the window maker’s parts whenever the job goes beyond the grip. Broken or worn locking mechanisms, any safety or security function, fall-protection restrictors, and warranty-covered windows all belong to the manufacturer’s hardware, fitted their way. A printed handle is the right repair for exactly one failure — a cracked grip on a sound mechanism — and within that job it is a complete one.

FAQ
Does the printed handle operate the lock itself?
It operates the manufacturer’s lock, as the original grip did. The locking mechanism, keeps, and cams all remain the maker’s hardware. The print is the lever your hand uses — nothing in the security chain changes.
Will PETG survive on a sunny window?
Yes, far better than the brittle plastic it replaces and far better than PLA. PETG tolerates sun and frame heat well. No printed handle, though, should be treated as a permanent safety component — inspect it seasonally.
The sash still drafts with the new handle fitted. Why?
Look beyond the handle. A perished seal, a dropped sash, or a worn keep on the manufacturer’s side will all draft even with a perfect pull. The handle closes the sash; the rest of the window seals it.
Can I print handles for every window in the house?
For windows where only the grip failed and the mechanisms are sound, yes — and a matching set looks sharp. Our related guide, “3D Printed Replacement Window Crank Handle: Fix a Broken Crank in an Afternoon,” covers the winding cousin of this repair, and “Window Screen Corner Keys: 3D Print Replacement Corners to Rebuild a Sagging Screen” handles the screen that usually needs attention in the same visit.
Conclusion
A cracked latch grip turns a good window into a drafty annoyance, and the fix is smaller than the problem feels. A printed lever, fitted honestly to the manufacturer’s mechanism, pulls the sash snug again and restores the window to daily, unthinking use.
Measure the base, respect the safety line, and print it strong. The draft stops, the room warms, and the window works the way it always should have.