Introduction
Towel bars rarely fail at the bar. The long metal tube is nearly indestructible. What fails is the bracket: the small plastic or brittle cast fitting at one end cracks, its decorative cover survives, and the bar starts to sag, rattle, and finally come away in your hand with a wet towel.
Then comes the annoying part. That bracket belonged to a set that may no longer be sold, so the choice is a whole new bar — with new screw holes in your tile — or a wobbly bar you apologize for. Neither option respects the fact that ninety percent of the hardware on the wall is perfectly good.
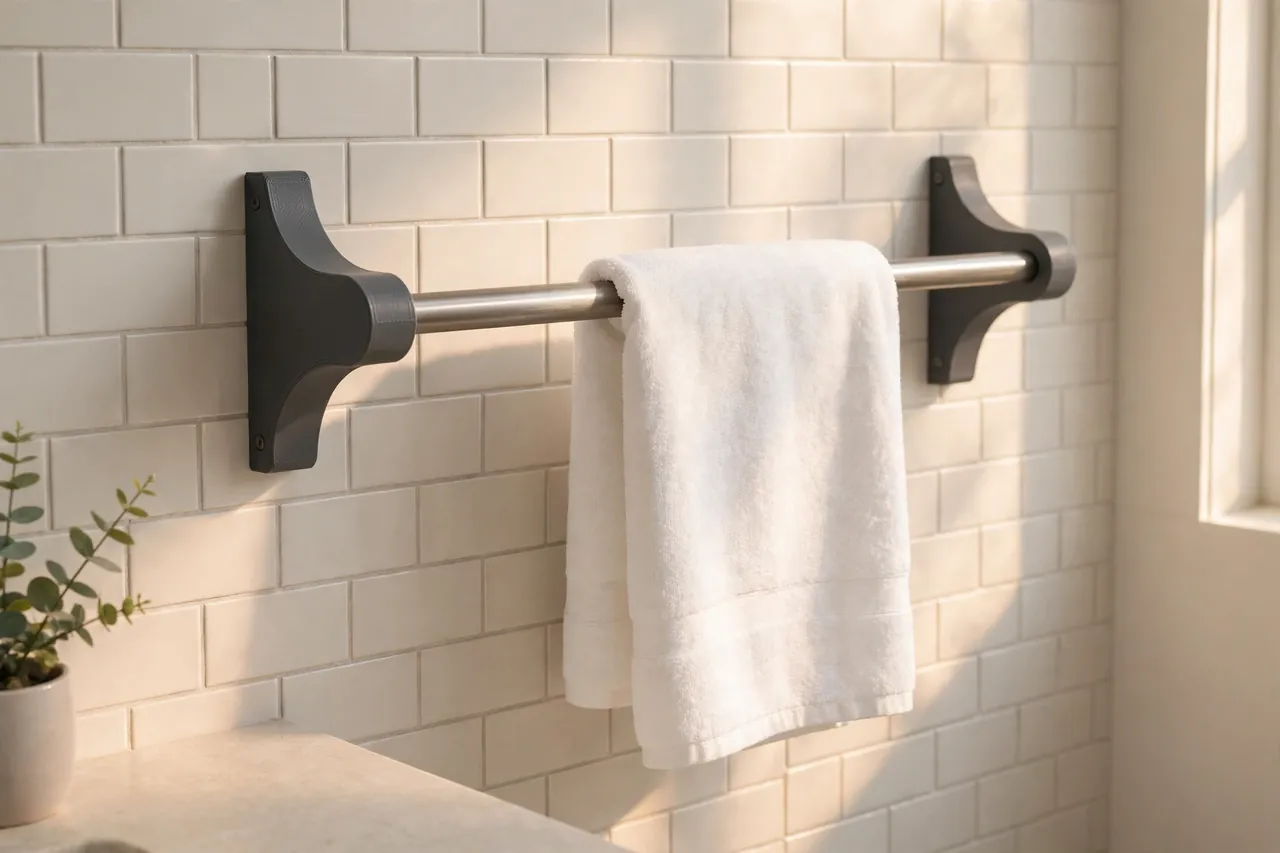
3D printed towel bar brackets replace only the part that broke. You measure your existing bar and the old bracket’s wall footprint, print a matched pair that fits both, and keep the bar, the holes, and the look of the room. The new brackets carry towels — a light, honest load — and nothing more.
This guide covers measuring a surviving bracket or its remains, designing a socket that grips your bar, printing for a steamy bathroom, and refitting the bar level and firm.
What You Need
If one bracket survives, it is your template. Keep every fragment of the broken one, too — broken parts still carry measurements.
Materials and tools
- A home 3D printer — brackets are small, quick parts
- PETG filament for bathroom humidity and daily knocks
- Your existing towel bar, plus the surviving bracket or the fragments of the broken one
- Calipers for the bar diameter and the bracket’s socket depth
- A tape measure for bracket spacing and wall footprint dimensions
- Wall screws and anchors suited to your wall, plus a drill, level, and screwdriver
- A pencil, plus sandpaper or a small file for fitting
- Optional: matching filament to other bathroom fittings for a deliberate set
PETG is the right material in a bathroom. It tolerates steam, splashes, and regular cleaning without softening or going brittle. Match the filament color to the room’s other hardware, or to any printed fittings you add later.
Suggested print settings
- Layer height: 0.20 mm — brackets are visible hardware, so finish matters.
- Walls: 5 perimeters around the socket and screw plate; these parts flex slightly every time a towel is tugged.
- Infill: 50 to 70 percent in the bracket body for solid, rattle-free fixings.
- Top and bottom layers: 5 or more on visible faces for a smooth, cleanable surface.
- Orientation: Print the bracket back-plate flat on the bed, socket opening upward, so layers run along the load path.
- Supports: A socket with a slightly sloped entry should print without them.
Print one bracket first and dry-fit it to the bar and wall before printing its partner.
Design Considerations
A replacement bracket must satisfy two masters: the bar it grips and the wall it hides. Design for both, from measurements, in this order.
1. Socket the bar you actually have
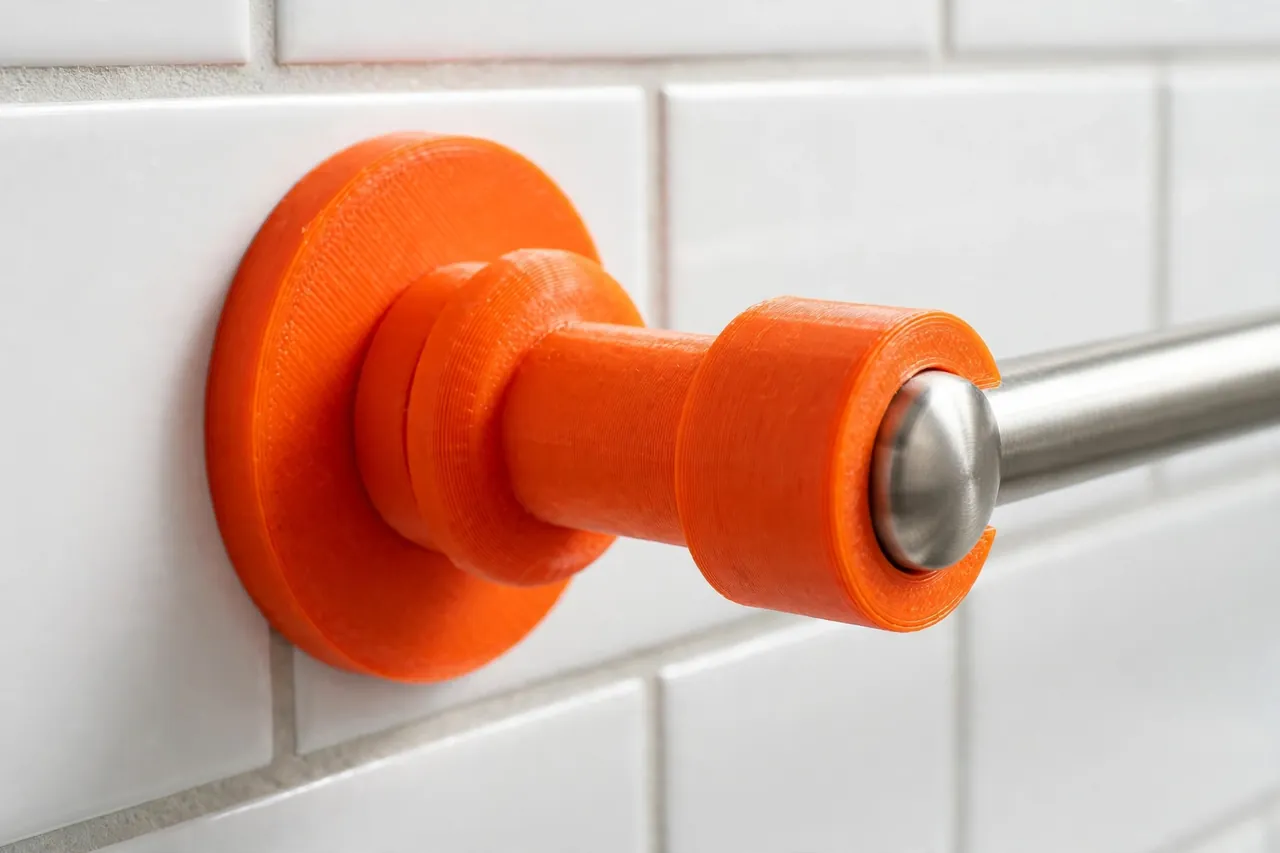
Measure your bar’s outside diameter precisely — common towel bars run about 12 to 19 mm, but yours is the only number that counts. Design the socket about 0.3 to 0.4 mm over the bar diameter for a firm push fit that still assembles by hand. Match the socket depth to the bar’s insertion length on the surviving bracket, and add a small end stop so the bar seats at the same depth on both sides. If the old bracket used a grub screw, replicate the threaded or plain hole for one — a bar that can slide sideways eventually will.
2. Copy the wall footprint, or cover it
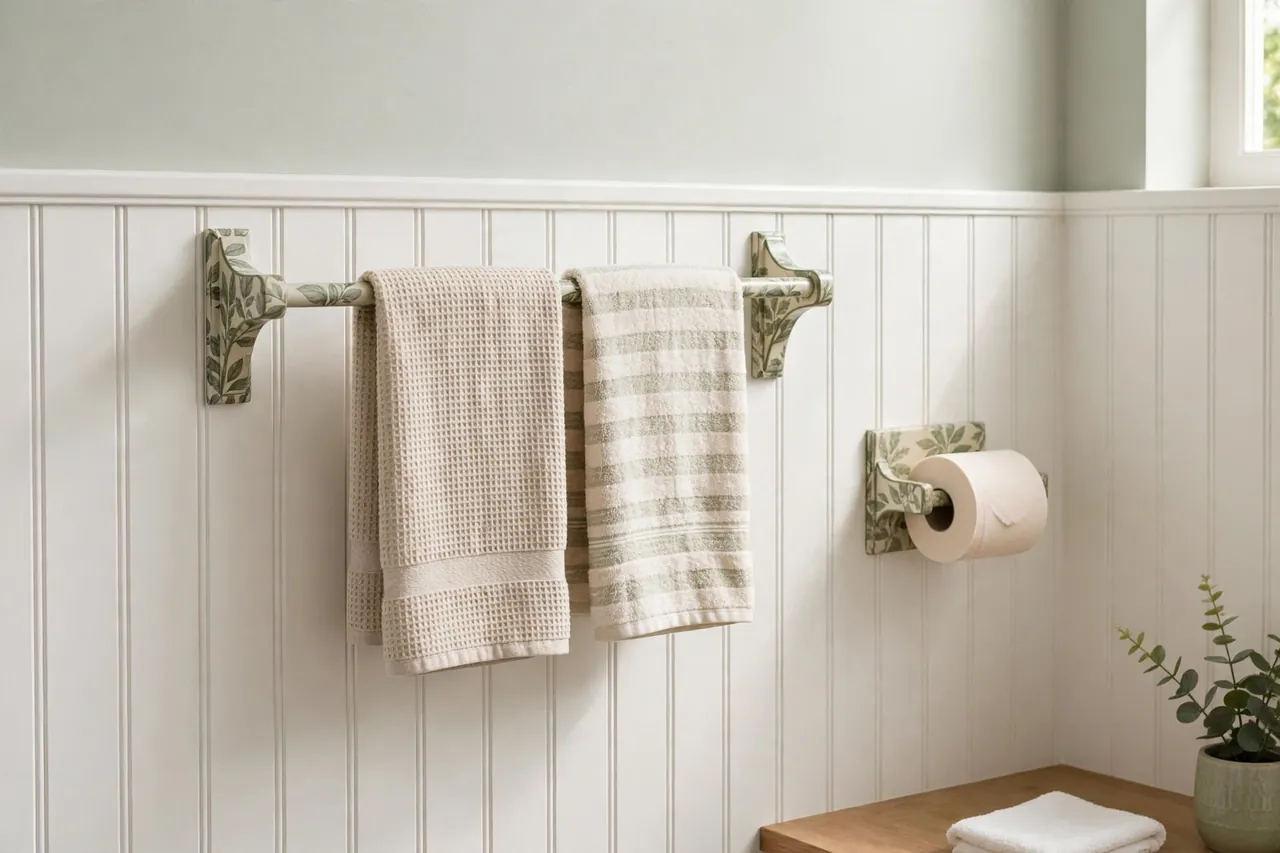
Measure the old bracket’s wall plate and screw positions. If the old holes are sound, reuse them exactly, and a like-for-like swap takes minutes. If holes are torn or tile is marked, widen the new plate modestly to cover the damage and reach fresh, sound fixing points. Keep the plate around 4 to 5 mm thick with counterbored screw holes, and consider a snap-on or slid-on cover in the same filament so no fixings show — that cover is what makes a print read as bathroom hardware.
3. Respect the towel load — and only the towel load
A wet bath towel is heavier than a dry one and gets tugged downward daily. Deep sockets, generous plate fixings into studs or rated anchors, and solid infill handle that easily. What a printed bracket must never be asked to do is support a person. It is not a grab bar, and nobody should ever pull up on it. Design and use it as towel hardware, honestly and only that.
4. Leave room for the towel and the wall
Check the bar’s standoff — the distance from wall to bar center — against the original bracket. Too close and a thick towel jams against the wall and dries badly; too far and the bracket flexes more under the same towel. Copying the surviving bracket’s standoff is the safe default, with 55 to 75 mm being typical for bath towels.
Step-by-Step: Printing and Assembly
- Measure the bar — diameter, insertion depth, and the center-to-center spacing of the two brackets on the wall.
- Measure the old hardware — plate size, screw positions, socket depth, and standoff — from the surviving bracket or fragments.
- Model the bracket — socket, plate, and cover — with the bar clearance and fixing positions from your measurements.
- Print one test bracket and fit it to the bar end. It should push on firmly and seat against its stop without force.
- Dry-fit on the wall using the existing holes, hang the bar between the test bracket and the survivor, and check level and standoff.
- Adjust socket clearance or plate size as needed, in small steps.
- Print the final pair in PETG — replacing both sides together gives matching age, color, and grip.
Step-by-Step: Using the Towel Bar Brackets
- Remove the bar and old brackets, keeping screws and noting which wall holes are sound.
- Offer up the new brackets and mark any new fixing positions, checking spacing against the bar’s length before drilling anything.
- Fit anchors suited to the wall where needed — rated plasterboard anchors, masonry plugs, and careful drilling on tile.
- Fix the first bracket firmly, then seat the bar in its socket.
- Fit the second bracket over the bar’s other end and fix it, checking the bar is level before the final tightening.
- Fit the covers, seat any grub screws if your design uses them, and give the bar a firm downward test with a wet towel’s worth of pressure — towels only.
- Hang towels and confirm they clear the wall and dry without bunching.
If the bar’s neighbor on the wall needs the same rescue, our related guide, “3D Printed Toilet Paper Holder: A Wall-Mounted Holder That Matches Your Bath,” follows the same measure-the-original, match-the-room approach.
Tips for Better Results
- Replace both brackets as a pair, even if only one broke. The survivor is the same age and has earned its retirement; a pair also matches perfectly.
- Print a third spare bracket while the file is open and keep it in the bathroom cabinet. The next failure becomes a five-minute swap.
- Match filament across the room. Brackets, holder, and hooks from the same spool read as a designed set, not a series of repairs.
- Test the socket on a bar offcut if you have one, rather than forcing the installed bar repeatedly during fitting.
- Photograph the surviving bracket next to a ruler before you start. If it later crumbles during removal, your measurements survive.
Common Mistakes to Avoid
- Measuring the bar roughly. A socket 1 mm loose rattles forever; 1 mm tight will not assemble. Calipers, not guesses.
- Reusing torn wall holes because they are convenient. A bracket that pulls out once takes tile glaze or plaster with it. Move to sound fixings.
- Forgetting the standoff. A bar too close to the wall makes every thick towel a wrestling match.
- Treating the bar as a support. Never lean or pull up on a towel bar — printed or bought. It is towel hardware only.
- Printing in PLA for a steamy bathroom. It will serve briefly, then dull and weaken. PETG is the same effort for far longer service.
Care, Storage, and When to Choose an Alternative
Clean brackets with ordinary bathroom cleaner and a soft cloth; PETG tolerates it well. Check fixings yearly, or sooner if the bar develops any movement — movement enlarges holes, so early tightening is cheap insurance. If a bracket cracks, reprint it; keep the model and your bar measurements with the file name so the next print is a click, not a project.
Choose manufactured hardware when the job exceeds towels. A bar that doubles as accessibility support, or any fitting someone will pull on to stand, must be a rated metal grab bar fixed to structure — never a printed part. In rentals or commercial washrooms with constant heavy use, quality metal sets also earn their cost. For a home bathroom bar that only lost its bracket, printing the bracket is the proportionate, tidy fix.
FAQ
My broken bracket is in pieces. Can I still copy it?
Yes. The fragments give you the socket diameter and plate shape, the surviving bar gives you its diameter and spacing, and the wall shows the fixing positions. Between those three sources, every measurement you need still exists.
Will the printed brackets hold a heavy wet towel?
Yes, comfortably — that is the design load. Deep sockets, solid infill, and sound wall fixings handle wet towels with a wide margin. What they must never carry is a person’s weight.
The bar still turns in its sockets. How do I stop it?
That is normal on many original bars too. A small grub screw replicated from the original design, or a tiny printed shim inside the socket, locks rotation without changing the look.
Can I match brackets for a bar of an unusual shape?
Square and oval bars print just as well — measure the profile carefully and shape the socket to it with the same small clearance. Our related guide, “3D Printed Curtain Rod Brackets and End Caps for a Clean, Sturdy Window Upgrade,” shows the same socket-and-plate thinking applied to round curtain rods, and “Towel Hooks, Robe Hooks and Key Hooks: 3D Print a Matching Hook Set for Bath and Entryway” completes the bathroom set.
Conclusion
A broken towel bar bracket should not cost you a whole new bar, new tile holes, and a mismatched room. A measured, well-printed pair of brackets keeps the bar you have, covers the wall’s history, and matches everything around it.
Measure the bar and the old footprint, print the pair in PETG, and hang the towels back up the same evening — level, firm, and looking like nothing ever broke.