Introduction
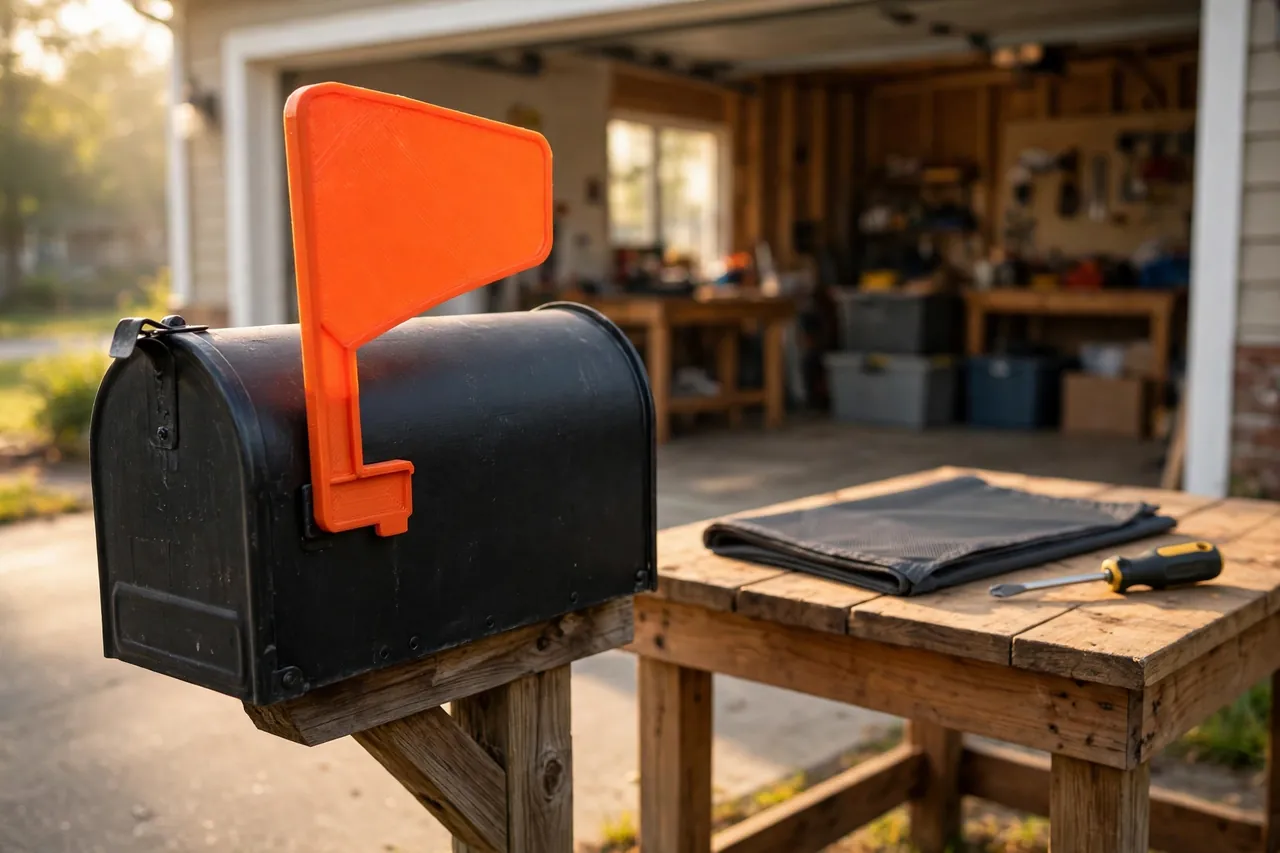
The mailbox flag is a small part with an outsized job. It is the signal your mail carrier watches for, and on most boxes it is also the first part to fail. Years of sun bleach it from bright red to pale pink, the plastic goes brittle, and one winter morning the flag cracks at the pivot or snaps off in your hand.
Replacement flags exist, but they are oddly specific. Mailboxes differ in pivot position, screw size, flag length, and which side of the box the flag mounts on. The universal replacement at the hardware store often almost fits — which means it wobbles, binds, or points a few degrees off vertical forever.
A printed flag solves the fit problem completely, because you design it around the box you actually own. Measure the old flag (or the mounting point it left behind), print a fresh one in a bright, weather-tough filament, and the repair takes less time than driving to the store.
This guide covers measuring, designing, and printing a flag that pivots smoothly and stands out clearly, plus honest notes on materials for outdoor life. The flag is a simple signaling accessory — it carries no load beyond its own weight and replaces only the flag itself, never any part of the mailbox door latch or lock.
What You Need
The flag is a flat, quick print — usually well under two hours even at sturdy settings.
Materials and tools
- A home 3D printer with a build area of roughly 180 mm in at least one direction
- PETG filament in a bright, visible color — classic red, orange, or another bold shade
- The old flag, if you still have it, or careful measurements of the mounting point
- Calipers or a ruler, and the original pivot screw, bolt, or rivet
- A screwdriver or wrench to suit the existing fastener
- A drill bit or reamer for cleaning up the pivot hole after printing
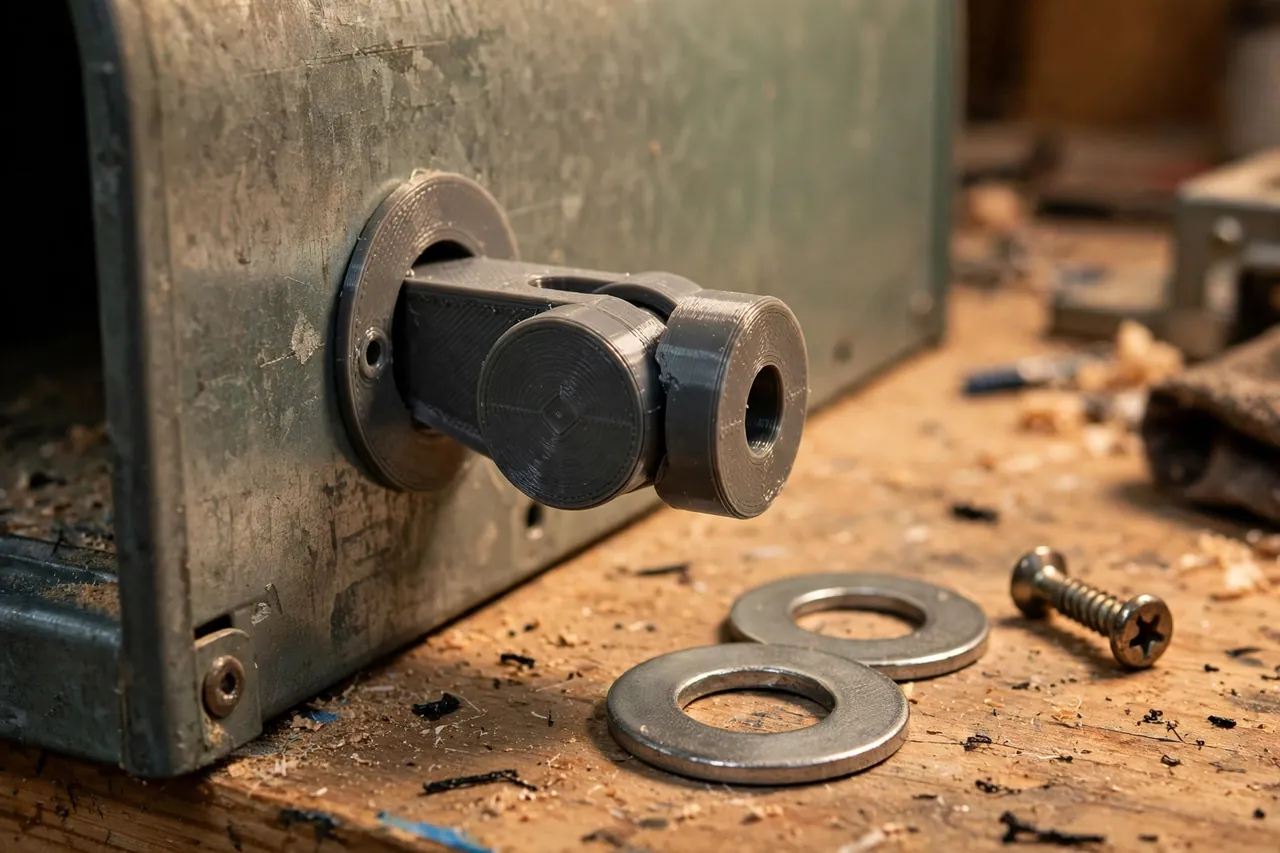
- Optional: a stainless washer and a dab of silicone lubricant for the pivot
PETG is the right material for this job. It shrugs off sun, rain, and frost far better than PLA, which can soften on a hot summer afternoon and warp on a dark mailbox. ASA is even more weather-resistant if your printer handles it, but PETG is the sweet spot of easy printing and outdoor toughness.
Suggested print settings
- Layer height: 0.20 mm is plenty; the flag is a simple flat shape.
- Walls: At least 4 perimeters, so the pivot area prints nearly solid and strong.
- Infill: 40 percent or more, grid or gyroid. The arm flexes thousands of times in its life.
- Top and bottom layers: 5 or more for a smooth, weather-shedding face.
- Orientation: Print flat on its largest face — strongest layer direction for a part that gets flicked up and down daily.
- Supports: None for a flat design; keep any decorative ribbing on the top face.
Print a quick test of just the pivot end first if your printer allows partial prints, and check the hole fit before committing to the full flag.
Design Considerations
A mailbox flag is a lever with a paddle on one end and a pivot on the other. Getting three dimensions right makes it work like the original.
1. The pivot position and hole
Measure from the pivot center to the old flag’s tip and to its paddle edges, and copy those dimensions. The pivot hole needs a slip fit on the existing screw or bolt: about 0.3 to 0.5 mm of clearance so the flag swings freely without slop.
2. The paddle size and shape
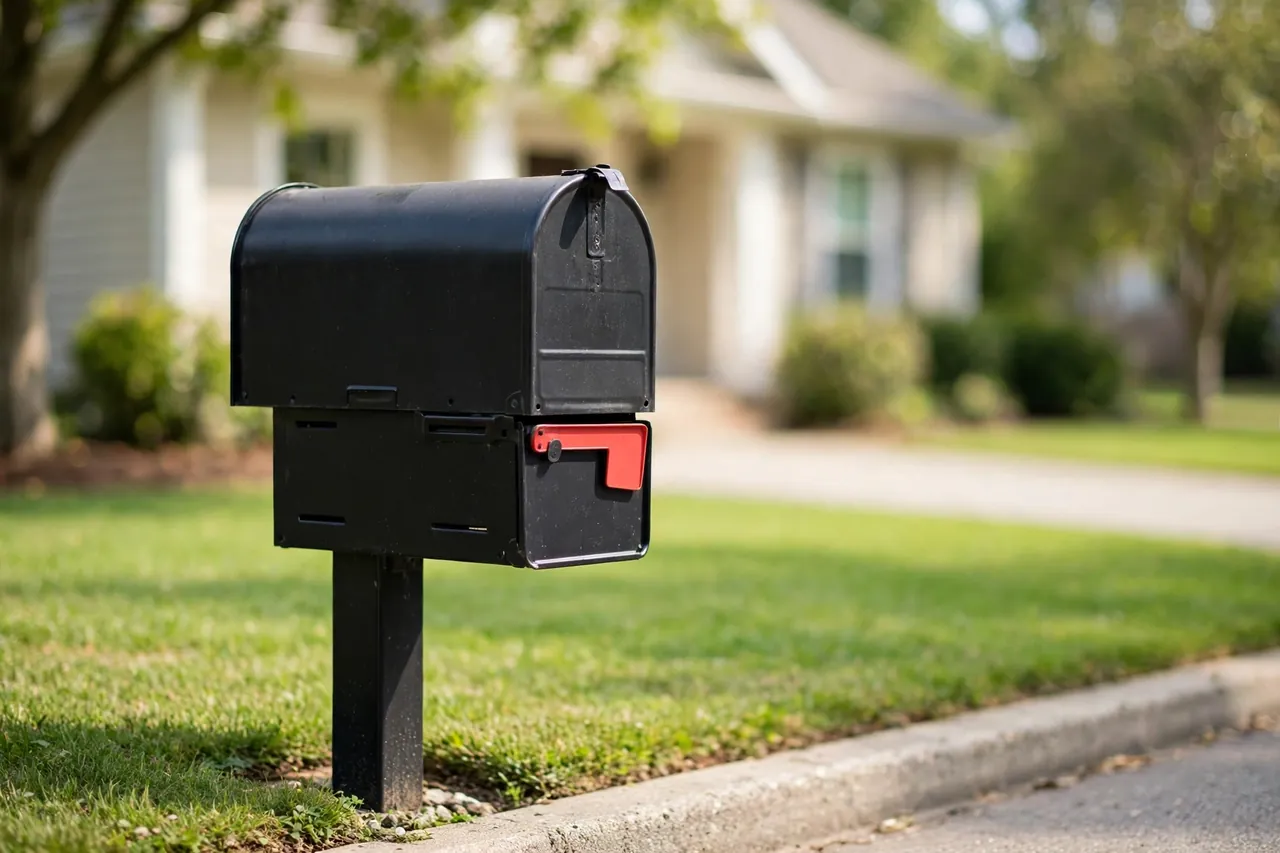
The paddle is what the carrier sees, so make it generous — roughly the size of the original or a little larger, since a bigger target reads better from a moving vehicle.
3. A stop so it stands properly
Most flags rely on a small tab or shoulder that stops the flag at vertical when raised and flat against the box when lowered. Study how your original stopped — often a little ear on the flag meets an edge of the mounting bracket. Copy that geometry, even approximately. A flag that flops past vertical or droops when lowered looks broken even when it is new, and a carrier may miss a drooping raised flag entirely.
4. Ribs beat thickness for stiffness
A flag printed from a flat 3 mm sheet can feel floppy in wind. Rather than printing it thick and heavy, add a shallow rib — 1 to 2 mm tall — running along the arm and around the paddle edge on the back face. The rib adds real stiffness for almost no weight, and a lighter flag pivots more crisply and stresses its screw less on a windy day.
Step-by-Step: Printing and Assembly
- Remove what is left of the old flag and keep its screw, bolt, or bracket — you will reuse the hardware if it is sound.
- Measure everything: pivot hole diameter, pivot-to-tip length, paddle size, and the stop geometry.
- Model the flag flat, with the pivot hole, stop tab, rounded paddle, and back rib.
- Print in PETG at the settings above and let it cool fully before removing it from the bed.
- Clean the pivot hole with a drill bit turned by hand until the fastener passes through with a smooth slip fit.
- Deburr the edges lightly so the flag will not catch on the box when it swings.
- Assemble dry on the bench first — flag, washer, bracket — and swing it through its full travel before going outside.
If the original bracket on the box is bent, straighten it now. A new flag on a crooked bracket will never sit right.
Step-by-Step: Fitting the New Flag
- Clean the mounting area on the mailbox — grit and rust under the pivot make any flag bind.
- Offer the flag up with its fastener and washer, and start the screw or bolt by hand.
- Tighten gradually, swinging the flag after each small turn. Stop tightening at the point where it still swings freely; the fastener holds the pivot, it should not clamp the flag solid.
- Check both stops: raised, the flag should stand close to vertical and stay there; lowered, it should rest flat and tidy against the box.
- Add a tiny dab of silicone lubricant on the pivot if it feels dry or squeaky — a little goes a long way outdoors.
- Test from the street. Stand where a carrier approaches and confirm the raised flag is clearly visible against the box and background.
- Recheck after a week. Outdoor prints settle; a quarter-turn on the fastener usually restores the perfect swing.
While you are improving the front of the house, you may also enjoy our related guide, “House Number Plaque: 3D Print a Modern Address Plaque and Frame for Your Front Wall,” which gives the same tired frontage a fresh, matched look.
Tips for Better Results
- Choose color for contrast, not just tradition. Red is classic, but bright orange reads better against green hedges and weathered wood.
- Print two flags. The second costs little, and a spare in the garage turns the next failure into a two-minute fix.
- Use stainless hardware outdoors. A rusty pivot screw stains the box and eventually seizes the flag.
- Photograph the old flag’s stop tab before you discard it — that little ear is the detail everyone forgets.
Common Mistakes to Avoid
- Printing in PLA for a sunny curb. It may last a season, then warp or go brittle; PETG costs the same effort and lasts years.
- Making the pivot hole exact-size. Printed holes shrink slightly; without clearance the flag binds and the pivot wears oval.
- Overtightening the fastener. A flag that needs force to raise will simply stop being raised.
- Forgetting the stop geometry. Without it, the flag droops — and a missed pickup is the usual result.
- Copying a flag from a photo of a different box. Pivot positions vary by brand; measure your own mailbox.
Care, Storage, and When to Choose an Alternative
Wash the flag when you wash the box, check the pivot swing each spring, and re-lubricate if it stiffens. A PETG flag should serve for years; if it eventually fades, the spare from your original print run swaps straight on.
Be honest about the limits: if the mailbox door, latch, or the box body itself is damaged, a new flag is lipstick on a bigger problem, and a complete replacement box is the sensible spend. Likewise, if your box is a locking or parcel design with a proprietary flag mechanism, order the maker’s part. For the common curbside box with a cracked or faded flag, though, printing is faster, cheaper, and a better fit than the universal part on a store peg.
FAQ
What color should a mailbox flag be?
Tradition and many local guidelines favor a bright, contrasting color — signal red is the classic — so the carrier can spot it instantly. The practical rule is contrast: pick a bold color that stands out against your box and planting, and check any local postal requirements in your area.
How long will a PETG flag last outside?
Typically several years. PETG resists UV and moisture well, though any plastic slowly fades. A flag printed with generous walls, kept clean, and pivoting freely will usually outlast the cheap molded flag it replaced.
My old flag was held by a rivet. What do I do?
Drill the rivet out carefully, then use a short stainless bolt, two washers, and a locknut as the new pivot. Model your printed flag’s hole to suit the bolt. This also makes future replacement a hand-tool job.
Can I print a flag for a wall-mounted house mailbox?
Yes — the same process applies. Wall boxes usually have shorter flags with the pivot near the top of the box. Measure your mounting point, scale the paddle sensibly, and copy the stop arrangement you find.
Conclusion
A faded, cracked mailbox flag is one of those small failures that makes a whole house front look tired, and it is one of the easiest to put right. One measured print in tough PETG, a reused screw, and ten minutes at the curb restore a flag that swings cleanly and signals clearly.
While the printer is set up for outdoor parts, you may also enjoy our related guide, “Fence Post Caps: 3D Print Protective Caps to Stop Rot and Finish Your Fence Cleanly,” another small print that quietly protects the front of the property for years.
Print a spare while you are at it — future you, standing at the curb on a frosty morning, will be grateful.