Introduction
Curtain tiebacks are one of those details nobody notices when they work — and everybody notices when they do not. The curtain slumps, the fabric bunches unevenly, or the holdback is a bent piece of wire, a stray ribbon, or a hook in a finish that matches nothing else in the room.
Store-bought holdbacks make matching harder than it should be. Rods come in one range of finishes, tiebacks in another, and if your rod is an unusual diameter or an older style, the curve of a bought hook may hold the curtain too tight, crushing the fabric, or too loose, letting it slip out by lunchtime.
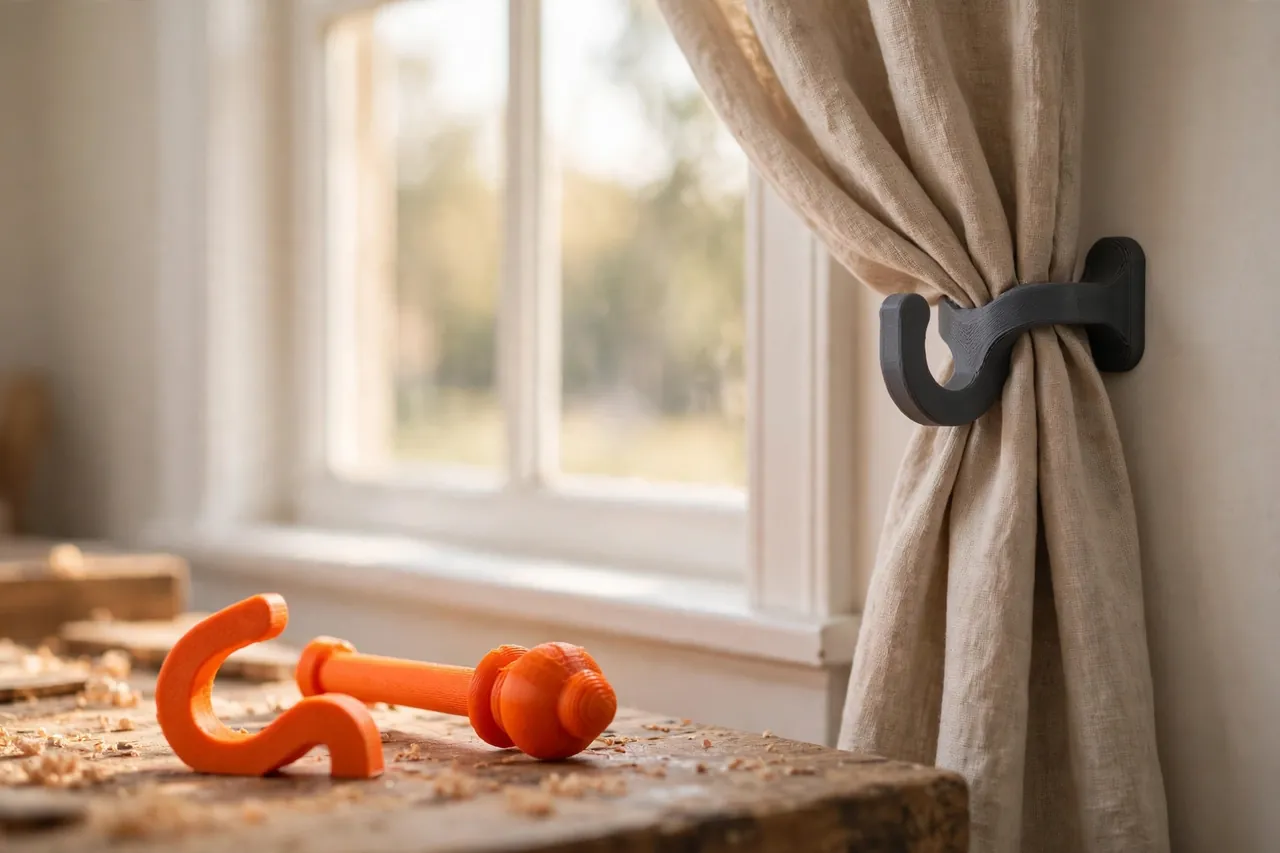
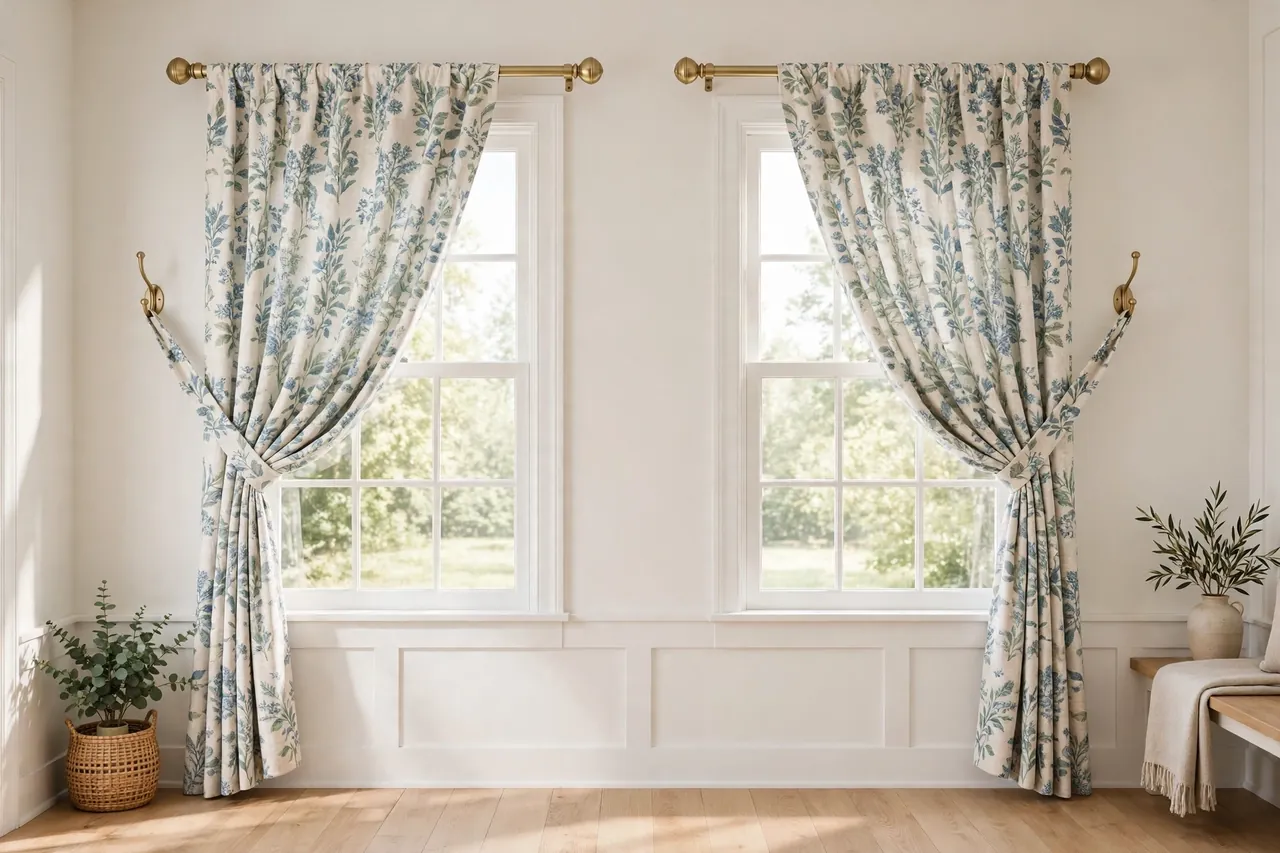
A printed tieback hook fixes both problems at once. You size the curve to the actual bundle of fabric your curtain makes, and you print the hook in a color and style that echo your rod and finials. A matched set across a room looks intentional — like the hardware was chosen together, because it was.
This guide covers measuring your curtains, designing a simple, strong wall hook, and fitting a matched set. These are light-duty decorative holdbacks for fabric only — they hold curtains, nothing heavier, and they are not grab points or supports of any kind.
What You Need
Each hook is a small print, so a full room’s worth fits on one build plate and prints in an evening.
Materials and tools
- A home 3D printer with a build area of roughly 120 mm in at least one direction
- PLA filament for most rooms, in a color to match or complement your rods
- Your curtain rod and one curtain panel, for measuring the gathered bundle
- A tape measure and calipers
- A drill, wall plugs suited to your wall type, and short wood screws
- A screwdriver, a pencil, and a spirit level for marking fixing positions
- Sandpaper and, optionally, paint or metallic finish to match existing hardware
PLA is ideal indoors: it is stiff, prints crisp curves, and takes paint and metallic wax finishes beautifully if you want a bronze or nickel look. For a steamy bathroom window, PETG is the safer pick. Either way, the load is a bundle of fabric — gentle by hardware standards.
Suggested print settings
- Layer height: 0.20 mm; use 0.16 mm on a decorative face if you want a finer finish.
- Walls: At least 4 perimeters — the hook’s curve is nearly all wall, and walls give it strength.
- Infill: 35 to 50 percent, gyroid or grid. The hook should feel solid, not hollow, when the curtain tugs.
- Top and bottom layers: 5 or more for a smooth face that will sit visibly on the wall.
- Orientation: Print on its side, flat against the bed, so layer lines run along the curve rather than across it.
- Supports: A well-designed hook printed on its side needs none.
Print one hook first, fit it, and live with it for a day before printing the rest of the set.
Design Considerations
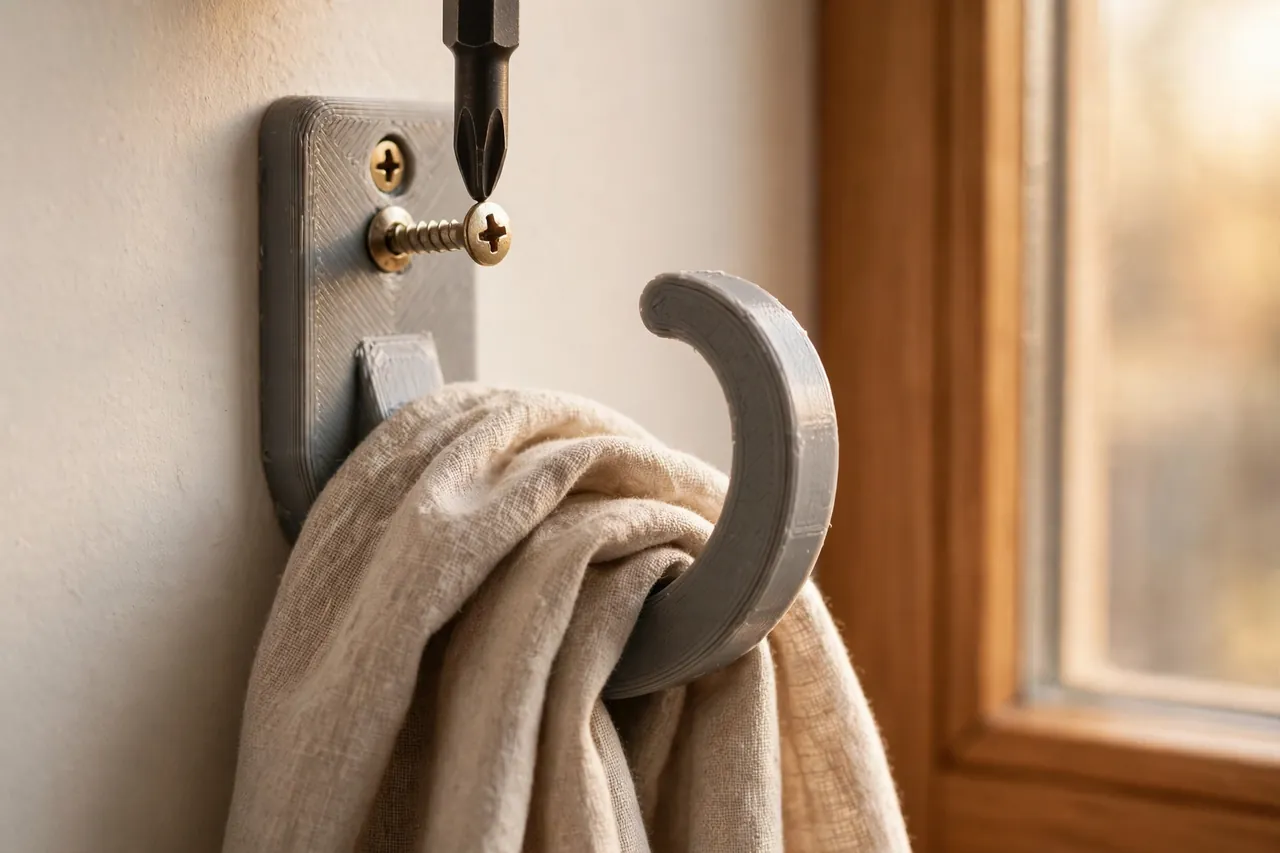
The classic holdback is a wall plate with a curved arm ending in a knob or upturned tip. Three decisions make it work.
1. Size the curve to the gathered fabric
Pull your curtain to one side exactly as you want it to hang, and measure the bundle’s diameter at tieback height. The hook’s inner curve should cradle that bundle with about 10 to 15 mm to spare — room for the fabric to sit softly rather than be pinched. Too tight crushes folds and strains the hook; too loose lets the curtain slump out.
2. Projection from the wall
The hook must hold the curtain clear of the wall and any radiator or sill below, but a curtain held too far out looks strained. A projection of roughly 80 to 120 mm from wall to the center of the curve suits most windows.
3. A tip that keeps fabric in, and a plate that spreads load
End the arm with a gentle upturn or a small ball — enough that the fabric bundle settles in and stays, but smooth enough that delicate fabric slides over it without snagging. Round every edge the fabric touches. On the wall side, give the hook a flat plate about 25 to 35 mm across with two screw holes, not one: two fixings stop the hook rotating when the curtain is pulled in and out daily, and they spread the modest load across the plaster.
4. Style echoes
Repeat one simple detail from your rod — a ball end like your finial, a flat modern arm, a slight ring groove — and the hook reads as part of the set.
Step-by-Step: Printing and Assembly
- Measure the gathered bundle of each curtain at the height you want the tiebacks.
- Decide the height — usually about one-third up from the bottom of the curtain, or level with the sill for long drapes — and keep it consistent across the room.
- Model the hook: wall plate with two countersunk holes, curved arm, upturned or ball tip, all fabric edges rounded.
- Print one test hook in your chosen color and sand any rough spots on the curve smooth.
- Check the cradle by gathering the real curtain into the printed curve on the bench; adjust the opening if it pinches or spills.
- Print the full set once the test hook earns its place, plus one spare.
- Finish if desired — a coat of paint or metallic wax now, before fitting, is far easier than around a hung curtain.
If your rods need support work too, you may also enjoy our related guide, “3D Printed Curtain Rod Brackets and End Caps for a Clean, Sturdy Window Upgrade,” which covers the matching hardware at the top of the window.
Step-by-Step: Fitting the Tieback Hooks
- Mark the position on the wall beside each window, at your chosen height and far enough from the frame that the gathered curtain clears it.
- Check the mark with the real curtain pulled across and held by a helper’s hand or a temporary loop of string — confirm the swag looks right before drilling.
- Drill and plug the wall to suit its construction; printed hooks deserve proper plugs, not screws into bare plaster.
- Fix the hook with both screws, snug but not forced — overtightening can crack a printed plate.
- Gather the curtain into the hook, arranging the folds evenly so the bundle sits in the curve, not on the tip.
- Step back and compare sides. Both curtains should swag at the same height and depth; adjust folds, not the hook, to even them up.
- Repeat around the room, using a measured string line or level to keep every hook at the same height.
Tips for Better Results
- Print hooks and finials in the same filament batch. Color varies subtly between spools, and a matched set should match.
- Round, then round again. Any edge that touches fabric should pass the back-of-the-hand test without catching skin.
- Use two screws, always. A single-screw hook will rotate within a month of daily use.
- Mark heights from the floor, not the sill — sills vary, floors are consistent, and your eye reads height from the ground.
Common Mistakes to Avoid
- Sizing the curve from the curtain’s flat width. What matters is the gathered bundle, which is far smaller and rounder.
- Mounting too close to the frame. The bundle then crushes against the architrave and the swag looks pinched.
- Printing thin, elegant arms. A spindly hook flexes and eventually creeps under daily tugging; keep arms generously thick.
- Sharp decorative points. They snag linings and sheers — pretty in the model, destructive in the room.
- Forgetting lined curtains are heavy. Scale walls and infill up for winter drapes; the hook is small, the fabric is not.
Care, Storage, and When to Choose an Alternative
Dust the hooks with the window frames, and check screw snugness once a season — daily fabric movement can walk a loose screw out slowly. Spares and off-season hooks store flat in a drawer; PLA keeps indefinitely indoors away from radiators.
Be honest about the ceiling of the idea, though. Very heavy theatrical drapes, or tiebacks in a commercial setting that strangers will yank, deserve forged metal holdbacks anchored into studs. Printed hooks are for ordinary home curtains — which is to say, nearly every curtain in nearly every house — and for those, a sized-to-fit, finish-matched print beats the almost-right hook on a store rack.
FAQ
How high should tieback hooks be mounted?
A good starting point is one-third of the curtain’s drop up from the floor for full-length curtains, which gives a generous swag and lets in plenty of light. Shorter curtains often look better tied at sill level. Hold the curtain in place and judge the swag before drilling — the eye is the final tool.
Will a printed hook hold heavy lined curtains?
Yes, with sensible sizing: a thick arm, four or more walls, healthy infill, and two screws into proper wall plugs. Test with the real bundle for a day. If the hook flexes visibly, print a chunkier version rather than hoping — the model takes minutes to beef up.
Can I match a metallic rod finish with plastic hooks?
Surprisingly well. Print in a neutral gray or black, sand smooth, then use metallic paint or rub-on wax finishes made for craft and furniture work. Under room light, a smooth printed hook in a bronze finish reads as metal to everyone but the person who fitted it.
What about tiebacks for sheer curtains?
Sheers need a shallower bundle measurement and an especially smooth hook, since the fabric shows every pressure point and snags easily. Size the curve closely, polish the cradle with fine sandpaper, and the sheer will drape in a soft, even gather.
Conclusion
Tieback hooks are a tiny project with a room-sized effect: curtains that swag evenly, hardware that matches the rods, and no more ribbons or bent wire doing a hook’s job. An evening of printing gives you a matched set sized to your actual fabric — something no store shelf can offer.
To complete the set, you may also enjoy our related guide, “3D Printed Curtain Rod Finials: Decorative End Caps for Plain Rods,” and for hooks elsewhere in the house, our related guide, “Towel Hooks, Robe Hooks and Key Hooks: 3D Print a Matching Hook Set for Bath and Entryway,” applies the same print-once, match-everything thinking.
Measure one bundle tonight, print one hook, and see how much tidier a window can look.