Introduction
A deck railing is the perfect place for a line of solar lights — right at the edge where steps, seating, and the drop to the garden need a gentle glow. It is also a place manufacturers seem to ignore. Most small solar lights come with a ground stake or a flat screw plate, neither of which suits a handrail. So the lights end up screwed through the top of the rail, leaving holes, rust stains, and lights that lean a little more each winter.
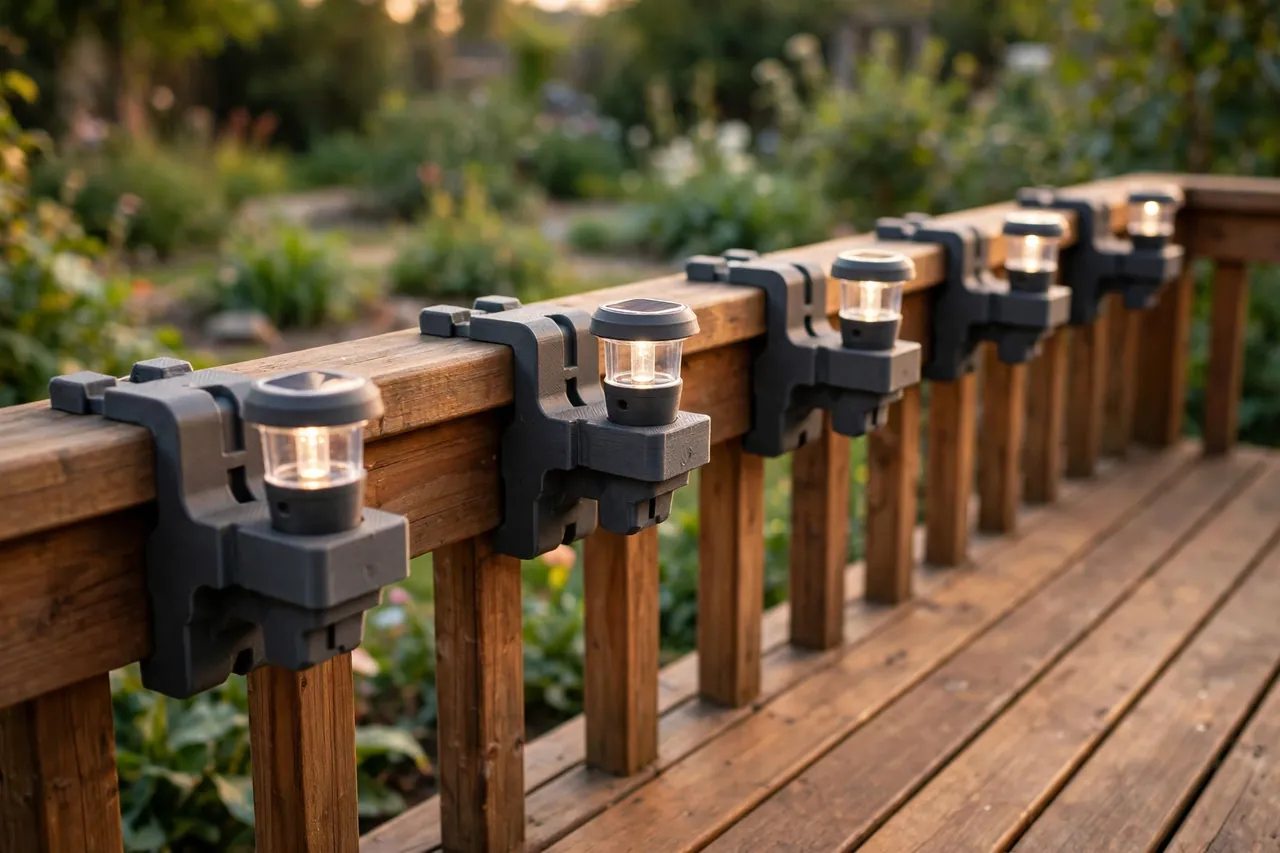
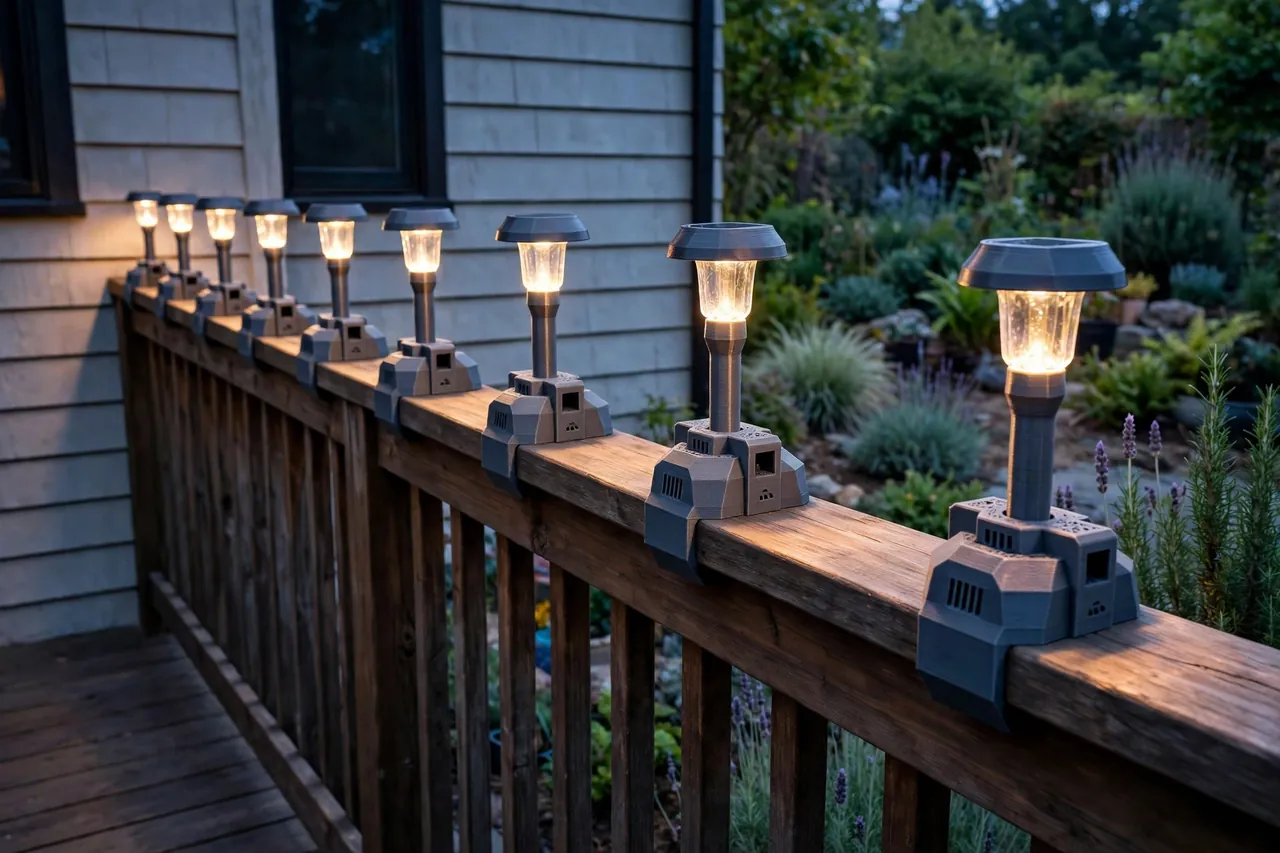
3D printed deck rail mounts are sized to your rail and your lights. You measure the rail profile once, print a clip that hugs it exactly, and drop your existing sealed solar light into the socket on top. Lights can be spaced evenly, lifted off for winter or cleaning, and moved when you rearrange the deck — all without a single new hole in the railing.
This guide covers designing, printing, and using those mounts. The framing is important and simple: the printed part is a clip-on holder for a sealed, finished light. The light itself is never opened, rewired, or altered — it sits in the mount as a complete product, and you lift it out again just as complete.
What You Need
Each mount is a small print, so a full railing’s worth is an afternoon of printing once the design fits.
Materials and tools
- A home 3D printer with a build area of roughly 120 mm in at least one direction
- PETG filament for outdoor durability
- The actual solar lights you plan to mount, measured, plus the railing itself
- A tape measure or calipers, and a contour check — a short offcut of your rail profile helps
- Fine sandpaper or a small file for easing clip edges
- A length of string or a long level, for spacing lights evenly along the rail
- Optional short stainless screws, only if you choose a permanent screwed variant
PETG is the outdoor default again: rain-proof, tolerant of sun and warm decking, and springy enough for a clip that flexes over a rail thousands of times less often than it simply sits there. PLA prototypes are fine on the bench, but a PLA clip left on a sunny rail will creep, loosen, and eventually let go. Print keepers in PETG, or ASA if your setup handles it and the deck bakes all summer.
Suggested print settings
- Layer height: 0.20 mm gives clean profiles and good clip strength.
- Walls: At least 4 to 5 perimeters — the clip arms are the part, so make them solid and springy.
- Infill: 40 to 60 percent, grid or gyroid, in the body under the light socket.
- Top and bottom layers: 4 or more for closed, weather-shedding surfaces.
- Orientation: Print the clip opening sideways or down so layer lines wrap around the clip arms rather than splitting across them.
- Supports: Design the rail profile with flat or gently angled undersides so supports stay minimal.
Print one test mount first and clip it onto the real rail before producing the full run.
Design Considerations
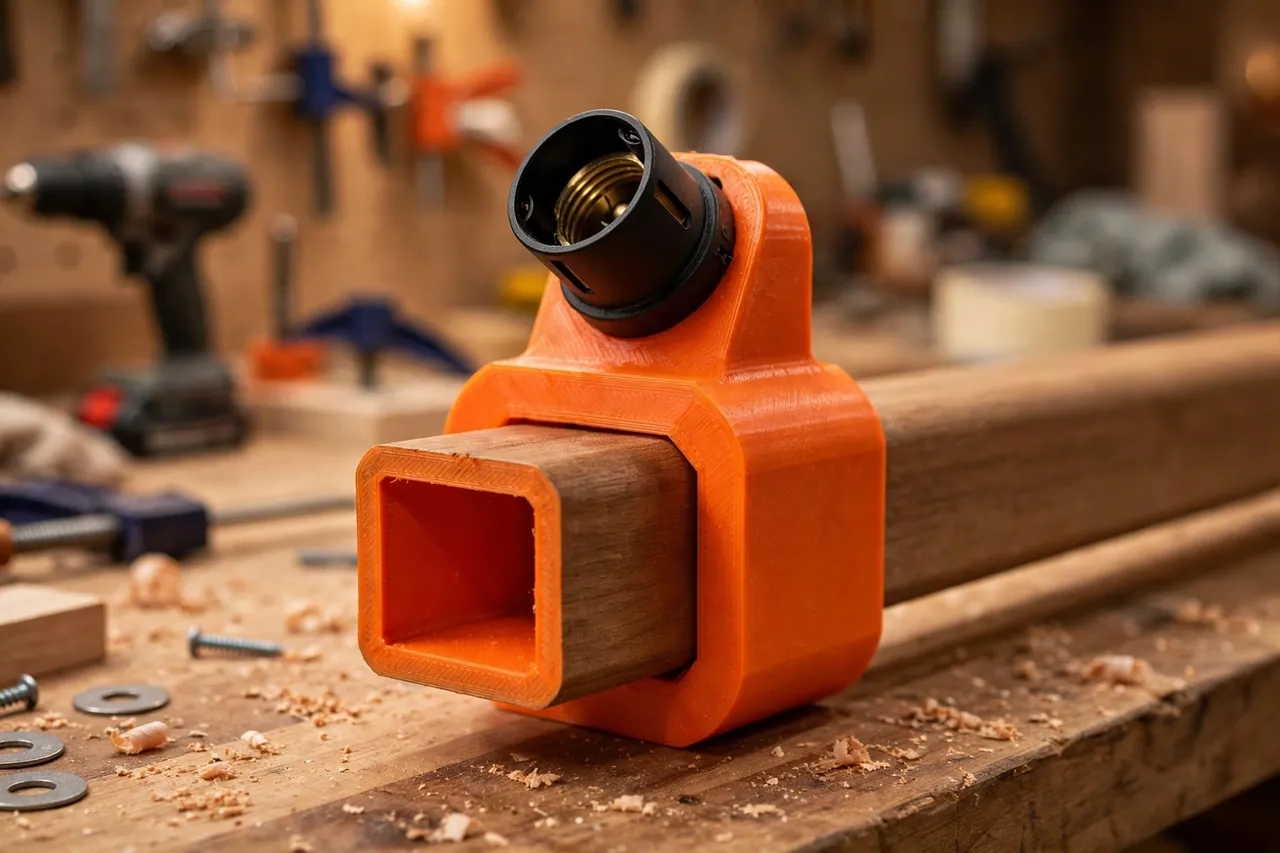
You can model this mount in any basic CAD program. It is a clip shaped to your rail underneath, with a socket or flat pad for the light on top.
1. Capture your rail profile honestly
Measure the rail’s width and depth, and note its shape: flat top with square edges, a rounded bullnose, or a shaped handrail profile. Trace the end of the rail onto card if the profile is curved — decks often expose a cut end at a gate or step. Design the clip’s inner shape to match with about 0.3 to 0.5 mm of clearance, plus a small lead-in chamfer so it slides on without shaving the wood or the print. A clip that matches the profile spreads its grip and will not rock; a generic rectangle on a rounded rail contacts at two points and always works loose.
2. Give the clip a positive grip
A deck light should survive a knocked elbow, a curious dog, and a storm. Three grip strategies work well, alone or combined: spring arms that flex over the rail and hook slightly under its edges; a wedge pad underneath tightened by the clip’s own spring; or, for a permanent install, one small screw through a tab into the underside of the rail where it never shows and never holds water. Avoid any design that depends on the light’s weight to stay put — wind lifts, and a light that can lift off in a gale will.
3. Copy the light’s base, untouched
Measure your light’s base: its diameter or footprint, and whether it normally pushes onto a stake, twists onto a plate, or simply stands flat. Reproduce that interface on top of your mount — a short socket it pushes into, a flat pad it stands on within a low retaining lip, or a copy of its stake socket. The light stays a sealed, finished product throughout: no opening it, no trimming its base, no touching anything electrical. If a light does not suit the mount, the mount changes — the light never does.
Step-by-Step: Printing and Assembly
- Measure the rail profile and trace it if curved; note width, depth, and edge shape.
- Measure your light’s base and choose the top interface — socket, lipped pad, or stake copy.
- Model the clip with spring arms matched to the profile, plus clearance and lead-in chamfers.
- Print one test mount and clip it onto the real rail; it should snap on firmly and resist a firm upward tug.
- Seat the real light in the test mount on the rail and check it sits level and does not rock.
- Adjust once. Tighten a loose clip by 0.3 mm, or ease a shaving-tight one, and reprint the test.
- Print the full run in PETG, plus one or two spares for the inevitable knock or drop.
- Clean each clip — clear stringing from the inner profile and sand any sharp edge that meets the wood.
Step-by-Step: Using the Rail Mounts
- Mark the spacing along the rail with a string line or painter’s tape, working from the steps outward.
- Clip each mount on at its mark, pushing it fully home so both arms seat under the rail edges.
- Check each mount for rock before adding lights; a clip that moves now will move more in a storm.
- Drop each sealed light into its mount, using its own normal fitting, and confirm it sits level.
- Set each light’s own switch or mode as its maker intends, before the first evening.
- Walk the deck at dusk and check the line: even glow, no light aimed into seated eye level, steps clearly lit.
- Nudge spacing if one stretch looks dark — clips make repositioning a two-minute job.
Tips for Better Results
- Fit mounts on a dry rail. Wood swells when wet; a clip fitted to a swollen rail can be loose all summer.
- Print a contrasting test colour. A bright test clip shows contact points and gaps against the wood far better than black on shadow.
- Number the spares box. If two light models share the rail, mark which mount fits which light.
- Lift lights off before pressure-washing or sanding the deck — mounts make removal easy, so take advantage.
Common Mistakes to Avoid
- Copying a rail size from the internet. Deck rails vary enormously; measure yours, including the profile shape.
- Printing keepers in PLA. Sun and heat creep will loosen clips within a season.
- Altering a light to fit a mount. Trimming a base or opening a housing ruins a sealed product; redesign the printed part instead.
- Spacing by eye alone. Small spacing errors shout at dusk when the lights come on. Measure the run.
Care, Storage, and When to Choose an Alternative
Lift the lights out and wash mounts in place with a brush a couple of times a year, checking clip arms for whitening or fine cracks. In harsh winters, unclip the whole run and store lights and mounts together in a labelled box — the deck gets a rest and everything returns in spring in minutes. PETG mounts treated this way last for seasons.
Sometimes metal wins: a commercial stainless rail bracket suits very heavy lights, public or rental decks where parts must be tamper-resistant, or slim metal balustrades where a chunky printed clip looks out of place. For typical home decks and standard sealed solar lights, printed mounts are neater, kinder to the wood, and endlessly replaceable.
FAQ
Will clip mounts damage or mark my railing?
Far less than screws do. A profile-matched clip spreads its grip over a wide area and lifts off cleanly, leaving at most a faint polish line. Ease all inner edges with sandpaper before first fitting, and never force a tight clip across painted wood — adjust the design instead.
Do I need to modify my solar lights at all?
No. Each light stays sealed and complete, sitting in the mount by its own normal base fitting. You are printing a holder, not altering a product: nothing is opened, no wiring is touched, and the light can go back on its original stake in the garden any time.
What if my rail is metal rather than wood?
The same approach works. Measure the metal profile exactly — metal rails are often slimmer and perfectly uniform, which makes for an especially crisp clip fit. Keep the same PETG settings, and check grip carefully, because smooth powder-coated metal is slipperier than timber.
How many lights should I put along a rail?
Enough for even, gentle coverage rather than brightness contests. One light per rail section between posts is a good starting rhythm, with an extra near steps. If the line looks spotty at dusk, add a light; if pools of light overlap heavily, widen the spacing — the clips make both changes trivial.
Conclusion
A railing lined with evenly spaced, level solar lights looks like it was planned with the deck — and with printed mounts, it can be, whatever shape your rail happens to be. The clips fit your profile, spare your wood, and let the whole run come off and go back like it was always meant to.
Print one test clip, prove the fit, and then run the set. If you like lights at the posts themselves, you may also enjoy our related guide, “Solar Post Cap Light Adapters: 3D Print Fittings to Mount Solar Caps on Any Fence Post,” which handles the post tops while these mounts handle the runs between.
For flat surfaces nearby, our guide “Solar Light Wall Mounts: 3D Print Brackets for Patios, Fences and Pathways” covers the wall version of the same holder idea, and for festive runs along the edge, “Solar String Light Clips: 3D Print Gutter and Eave Clips for a Clean Patio Setup” shows how printed clips keep a whole string tidy above the deck.