Introduction
Most solar pathway lights are too short for the gardens they end up in. The stake in the box puts the light barely above the soil, which works on a bare new path in spring. By midsummer the planting has grown, the light heads are hiding inside foliage, and the pools of light that used to meet along the path have shrunk to a few bright leaves.
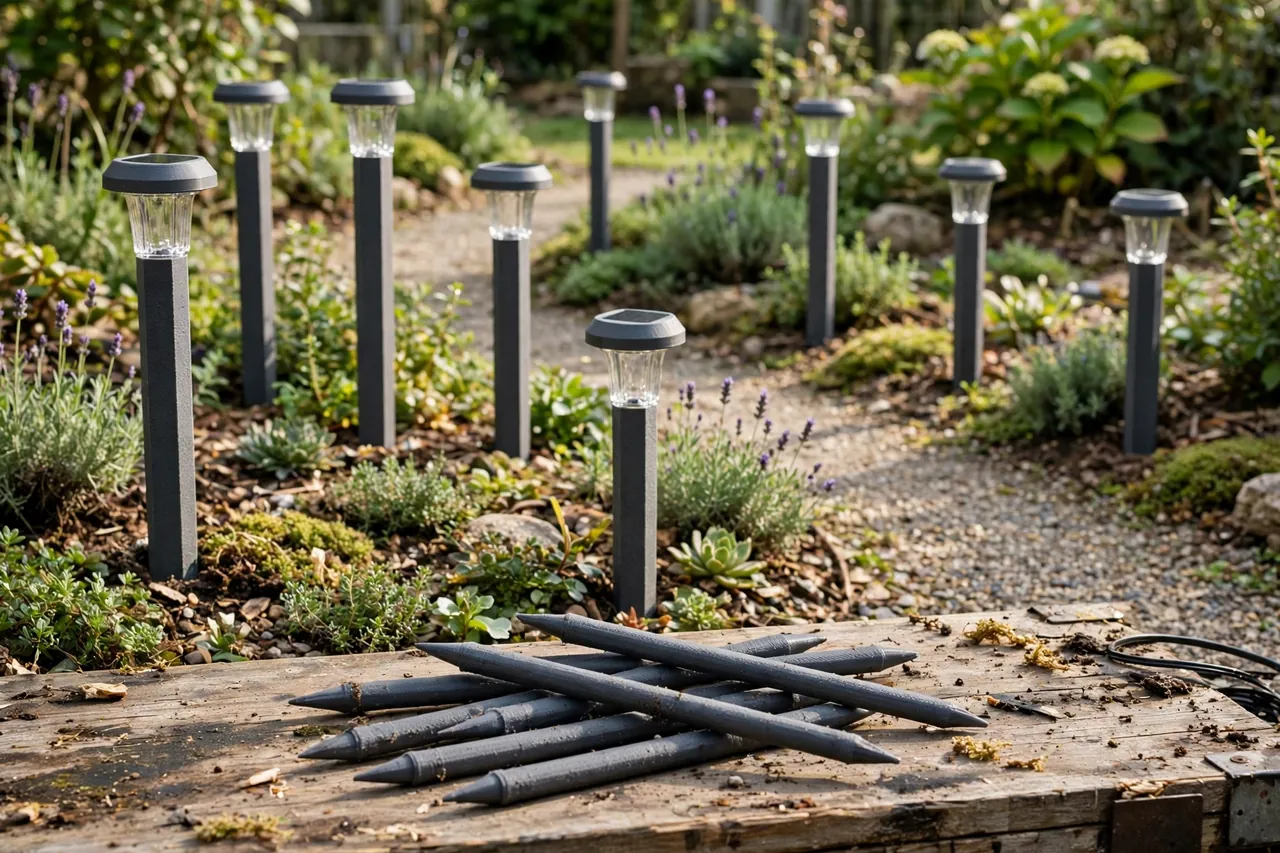
Solar light riser stakes you print yourself solve the fit problem at the source. You copy the socket your own lights already use — the fitting they push onto in normal use — and put it on top of a taller, sturdier printed stake. The light lifts straight off its short stake and onto your riser, unchanged, and you choose exactly how tall each position along the path needs to be.
This guide covers designing, printing, and using riser stakes. The key honesty point: a riser is a holder for a sealed, finished light. The light is never opened, extended electrically, or modified in any way — it separates from its original stake at the joint its maker designed, and joins yours the same way.
What You Need
Risers are longer prints than most small solar accessories, so plan filament and print time accordingly.
Materials and tools
- A home 3D printer able to print the riser height you want in one piece, or a design that joins sections
- PETG filament for strength and outdoor life
- The actual pathway lights and at least one original stake, for copying the socket exactly
- A tape measure or calipers, and a ruler for planning heights along the path
- A mallet or the heel of your hand for setting stakes in firm soil
- A spare bucket of water or a watering can to soften very hard ground before pushing stakes in
- Fine sandpaper for cleaning the socket fit
PETG is the right material here on two counts. Outdoors it ignores rain and copes with sun far better than PLA, which can soften and lean on a hot afternoon. PETG also flexes slightly as you push a stake into soil, where a stiff PLA stake of the same size is more likely to snap at a layer line. That flex is your friend every time the ground is harder than expected.
Suggested print settings
- Layer height: 0.20 to 0.24 mm — risers are long prints, and fine layers add time without adding useful strength.
- Walls: At least 4 to 5 perimeters along the shaft, so the stake is mostly solid wall, not infill.
- Infill: 40 to 60 percent, gyroid or grid, in any wider sections such as the head and ground fins.
- Top and bottom layers: 4 or more, especially around the socket that carries the light.
- Orientation: Print upright, point down or socket up as the design suits, so layer lines run around the shaft rather than across its bending direction.
- Supports: A well-shaped point and fins print without supports; avoid overhanging barbs.
Print one test riser first and fit your real light to it before committing to a full set at final height.
Design Considerations
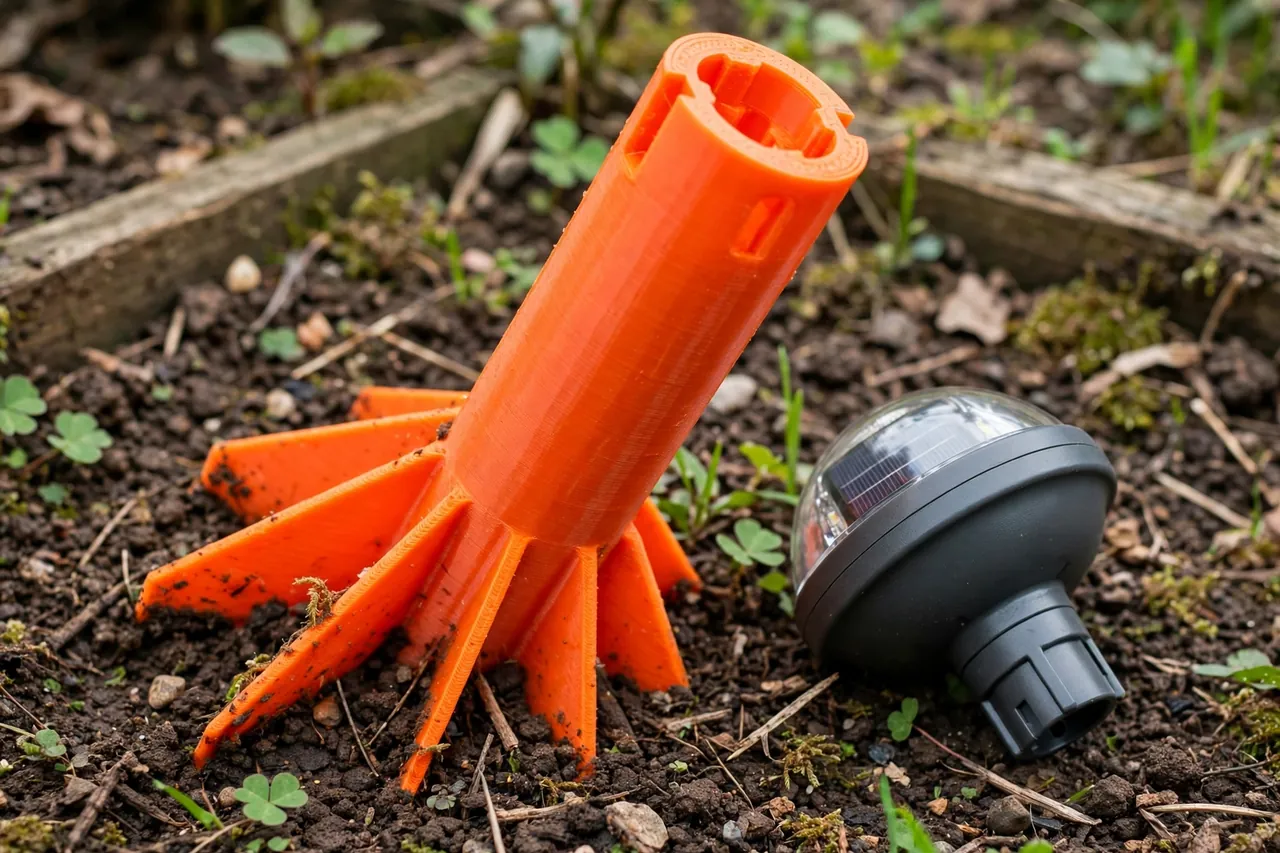
You can model a riser in any basic CAD program. It is a ground point and shaft below, and a faithful copy of your light’s own socket on top.
1. Copy the original socket exactly
Remove one light from its original stake — the parts separate by hand, as designed — and measure the socket or spigot carefully: diameter or shape, depth, and any ribs, flats, or twist features. Reproduce it with about 0.3 to 0.4 mm of clearance. Too tight and you will strain the light’s own fitting pushing it on; too loose and the head will rock and eventually walk off in wind. Keep the original stake safe: it is your pattern, your spare, and your guarantee that the light can go back to standard form any time.
2. Choose height with the garden, not the catalogue
Extra height spreads light wider and lifts heads clear of plants, but every extra centimetre adds leverage in wind and wobble in soft soil. As a guide, total light heights of 40 to 60 cm suit most paths — roughly double the stubby originals. Go taller only where plants demand it, and vary heights deliberately: a little taller beside steps and gates, standard along open path. If your printer’s height limits you, design the riser in two stacking sections with a snug overlap joint and the same clearance rules; a joined riser printed well is far better than a one-piece riser printed badly.
3. Design the ground end for real soil
A simple spike works in soft borders and fails everywhere else. A slightly tapered point with two or three low fins resists twisting and leaning, and a wider collar at ground level stops the stake sinking over a wet winter. In stony ground, a blunter, stronger point survives pushing past gravel where a needle point folds. Match the ground end to your soil honestly, and never hammer a printed stake — soften hard ground with water, work the stake in with steady pressure, and stop if you meet a stone and try a few centimetres to the side.
Step-by-Step: Printing and Assembly
- Remove one light from its original stake and measure the socket fitting precisely.
- Decide the riser heights position by position along the path, and note them down.
- Model the riser — ground point and fins, shaft, and the copied socket on top.
- Print one test riser at the most common height in your plan.
- Fit the real light onto the test riser and check the joint: firm, level, and removable by hand.
- Set the test riser in the ground at its intended spot and check stability with a firm sideways nudge.
- Adjust once. Open a tight socket by 0.2 mm, thicken a flexy shaft, or add a fin where soil is soft.
- Print the full set in PETG, keeping each height’s file clearly named for reprints.
Step-by-Step: Using the Riser Stakes
- Lay the lights out along the path first, on their original stakes, and mark each position.
- Lift each light off its original stake by hand, exactly as you would for cleaning, and keep the originals together in a labelled box.
- Push each riser into its marked spot, watering hard ground first, until the ground collar sits at soil level.
- Check each riser is vertical from two directions before mounting lights — a leaning empty stake is easy to correct, a leaning lit one at dusk is not.
- Seat each sealed light onto its riser using its normal fitting, and confirm it sits level and firm.
- Leave the lights a full sunny day to charge in their new positions, since taller heads may catch sun differently.
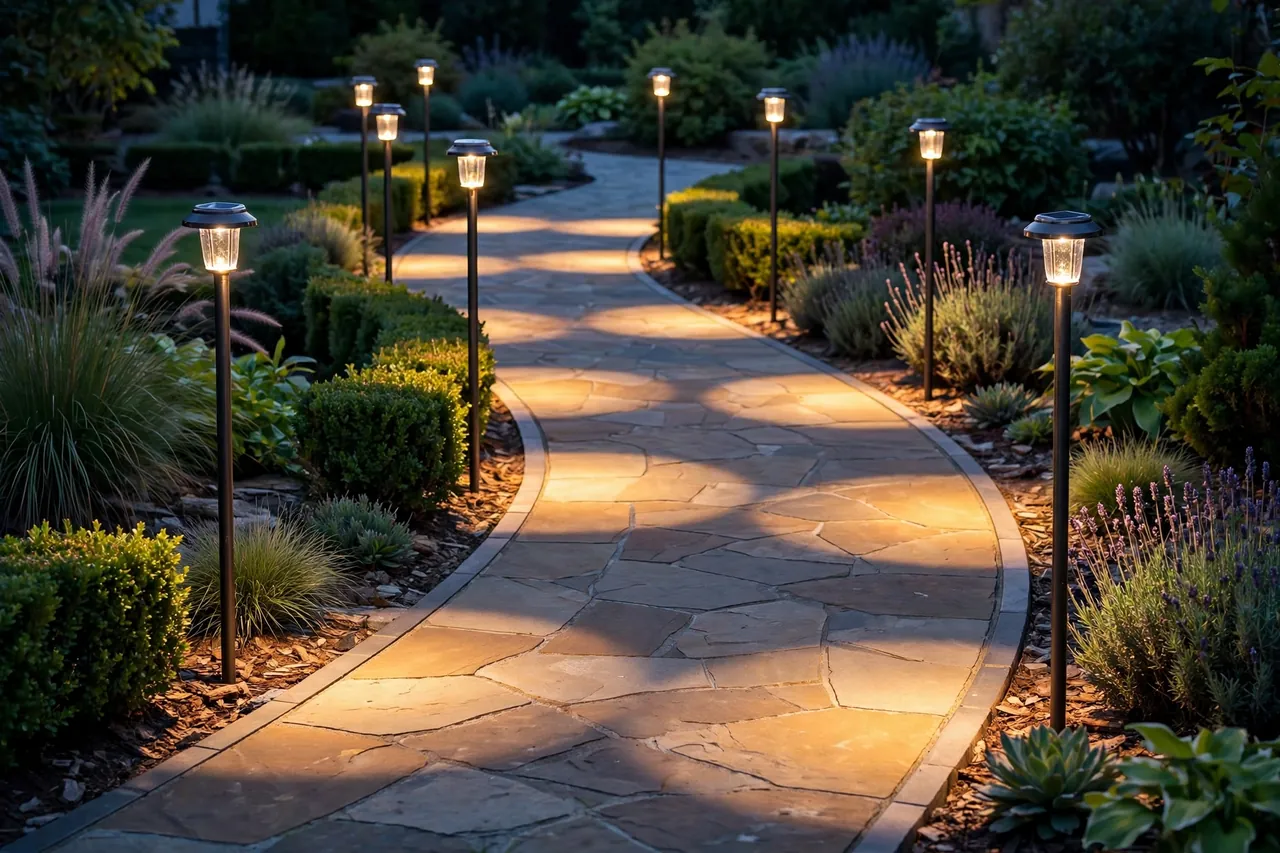
- Walk the path at night and check the spread: pools should overlap gently with no dark gaps at gates or steps.
Tips for Better Results
- Raise lights in stages. Lifting the whole path by a modest amount first shows you where extra height is actually needed.
- Keep the socket copy honest. Measure after printing and before the big run; filament shrinkage varies by brand and colour.
- Mark heights on the shaft with a paint pen before installation, so seasonal removal and refitting stays simple.
- Store original stakes with the lights’ paperwork. The day you change light models, the originals make the old set complete again.
Common Mistakes to Avoid
- Guessing the socket size. Brand fittings look alike and differ by a millimetre. Measure the fitting in your hand.
- Going as tall as possible everywhere. Excess height wobbles, leans, and looks odd. Height is a tool, not a goal.
- Altering a light to fit a riser. If the light does not push onto your socket as designed, the socket is wrong — never trim, open, or adapt the sealed light.
- Hammering stakes into hard ground. Printed points break under impact. Soften, press, and relocate around stones.
Care, Storage, and When to Choose an Alternative
Pull risers at the end of the season if your garden gets a hard winter, wash off soil, and check sockets and points for cracks. Store them bundled by height. In mild gardens they can stay in place year-round with a spring check. A cracked socket reprints quickly because you kept the file and the original pattern stake.
Sometimes a commercial metal stake or a different light altogether is the better answer: very heavy lantern-style lights, exposed coastal paths with serious wind, or soil so stony that any plastic point will fail. For the standard sealed pathway light in a typical garden, though, a printed riser is the only taller stake guaranteed to fit — because you copied the fitting yourself.
FAQ
Will my lights still charge properly on taller stakes?
Yes — often better. The panel sits higher, clearer of plant shade and fence shadow, and nothing about the light itself changes.
How tall can I safely go?
For most lights and soils, doubling the original height is the comfortable zone — total head heights around 40 to 60 cm.
What if my printer is not tall enough for the riser I want?
Print the riser in two stacking sections with a deep overlap joint, as described above.
Can risers work for lights with twist-lock stakes?
Yes, if you copy the twist feature faithfully. Measure the locking lugs and their spacing, reproduce them with the same small clearance, and test the twist action on one light repeatedly before printing the set.
Conclusion
Short stakes are a packaging decision, not a law of gardening. By copying the fitting your lights already use and putting it on a taller, sturdier printed stake, you set each light at the height your path and planting actually need — and the lights themselves stay sealed, standard, and ready to return to their original stakes whenever you wish.
Prove the socket on one light, raise that one position, and judge it at dusk before printing the rest. If the raised heads still dazzle at eye level, you may also enjoy our related guide, “3D Printed Glare Shields for Solar Pathway Lights: Aim Light Down, Not at Eyes,” which completes the job these risers start.
When the original stakes themselves break rather than merely disappoint, our guide “3D Printed Brackets for Solar Garden Lights: Repair Broken Stakes and Mounts the DIY Way” covers faithful replacements, and for pots and planters where no stake can go into soil at all, “3D Printed Planter Stakes for Solar Lights: Put Lights in Pots and Beds” shows the planter version of the same idea.