Introduction
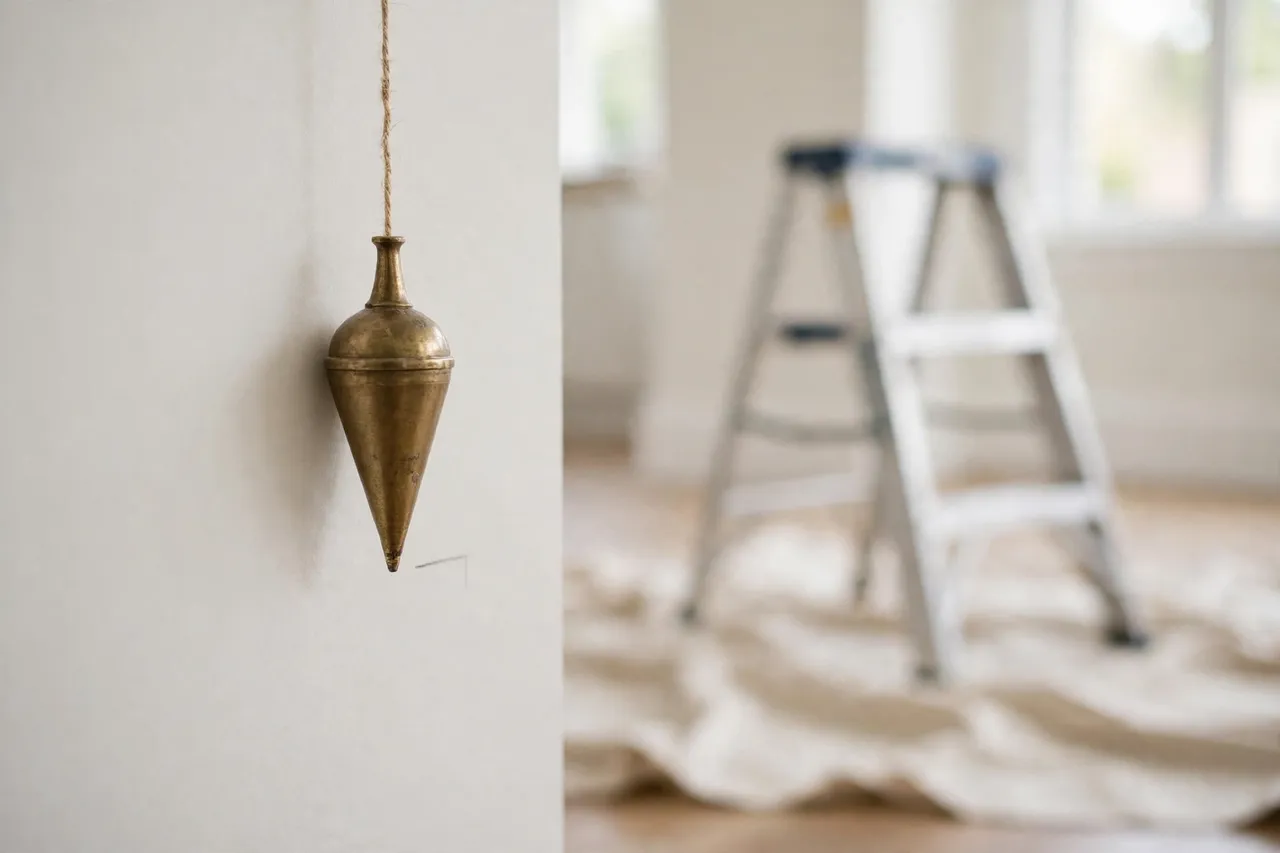
Long before laser levels, builders found vertical with a weight on a string. A plumb bob still works for the same reason it always has: gravity does not need batteries, calibration, or a clear line of sight. Hang the bob, let it settle, and the line points straight down. That is all there is to it, and for many home repairs that is all you need.
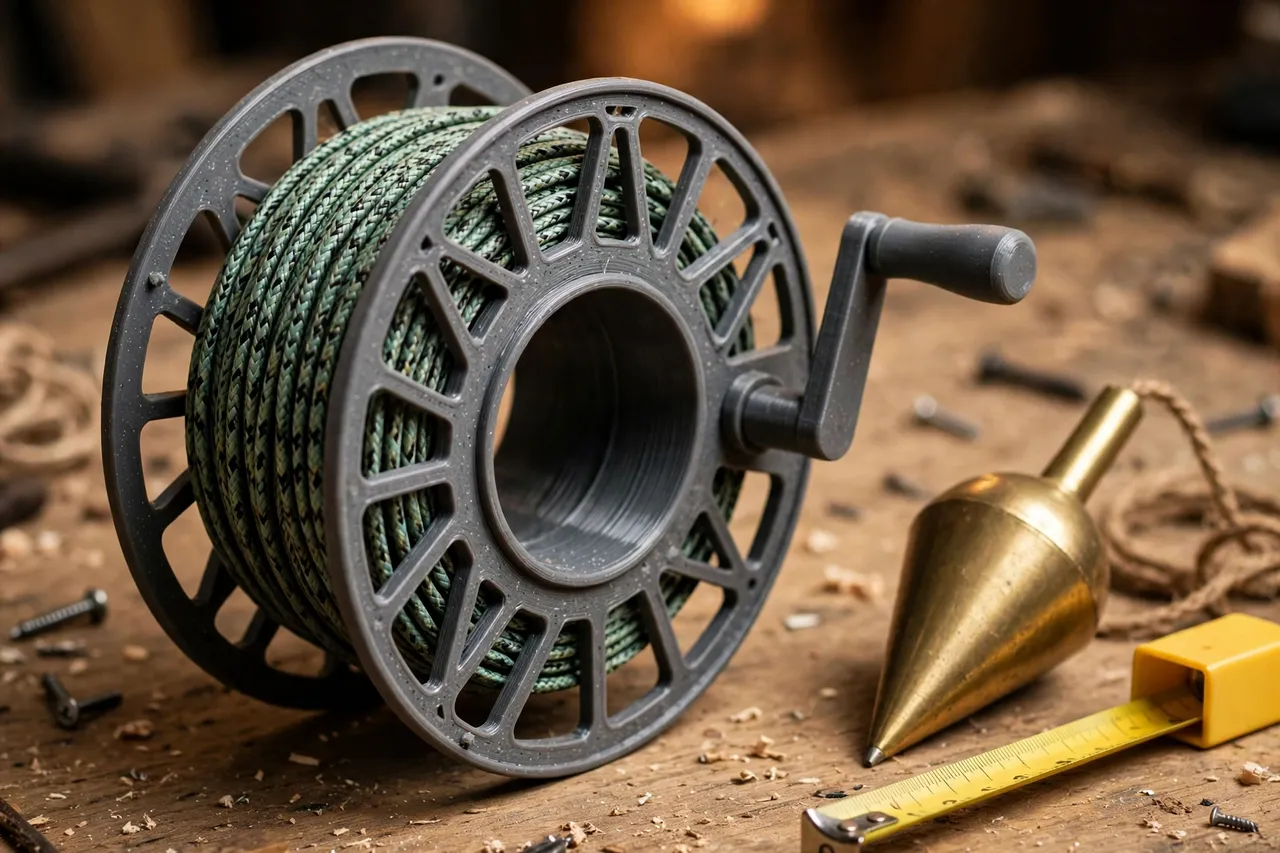
A 3D printed plumb bob and line reel makes this old tool easy to keep in a workshop drawer. The bob is a small, pointed weight that screws or clips onto a line, and the reel stores the line neatly, winds it back in, and keeps it from tangling. Printed together, they form a compact layout kit for marking verticals on walls, checking whether a post or cabinet is upright, and transferring a point from a ceiling to a floor.
What You Need
The bob needs enough weight to hang steady and a point that reads clearly against a mark. The reel needs to wind smoothly and lock the line when you are not using it.
Materials and tools
- A home 3D printer with a modest build area
- PLA or PETG filament; PETG is the tougher choice for a tool that gets dropped
- Braided nylon or cotton line, roughly 1 to 1.5 mm thick, about 3 to 5 metres long
- A metal point or small screw for the bob tip, plus a nut or washer for weight if your design uses one
- A small drill, a screwdriver, sandpaper, and a pencil
- A tape measure and a spirit level for cross-checking your first marks
Weight matters more than size. A bob that is too light swings in every draught and takes forever to settle. Aim for a finished bob weight of roughly 100 to 200 grams. You can reach that with a dense print, a metal insert, or a combination of both.
Suggested print settings
- Layer height: 0.20 mm for general parts; 0.16 mm for the bob’s pointed section if you want a crisper tip.
- Walls: 4 to 5 perimeters, especially on the bob, where density and durability count.
- Infill: 60 to 100 percent for the bob, so it carries real weight; 30 to 40 percent for the reel body.
- Top and bottom layers: 4 or more.
- Orientation: Print the bob point-down or point-up depending on your design, with the line attachment at the top; print the reel flat.
- Supports: Only for overhanging crank arms or reel flanges, if your design includes them.
Print the bob first and weigh it. If it feels too light, add a metal washer or nut inside the design before you print the final version.
Design Considerations
A plumb bob looks simple, and it is, but a few details separate a tool that settles quickly from one that wobbles and frustrates you.
1. Shape and balance
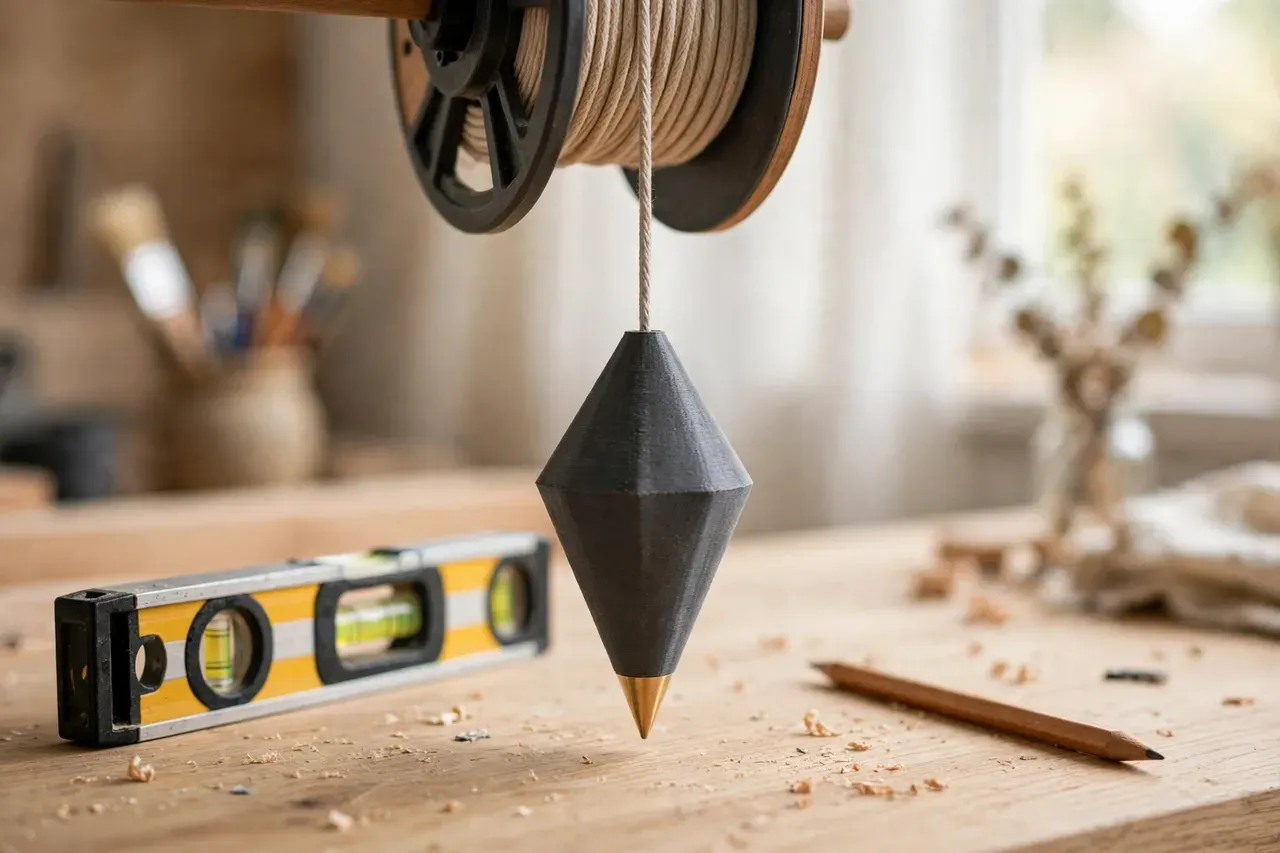
A classic bob is a tapered cone or a teardrop with the point at the bottom and the line attached exactly at the top centre. That symmetry matters: if the line attaches off-centre, the bob hangs at an angle and the point no longer sits under the line. Design the attachment as a centred eyelet, hole, or screw cap, and check the balance by hanging the finished bob and watching whether the point stays under the line.
2. The point
The point is what you read against a mark, so it should be sharp enough to see clearly but not so fragile that it snaps the first time the bob bumps a wall. A printed point works for light use, but a small metal screw tip, filed to a point, lasts much longer and reads more crisply. Design the bob with a threaded or press-fit socket for the tip so it can be replaced.
3. The reel
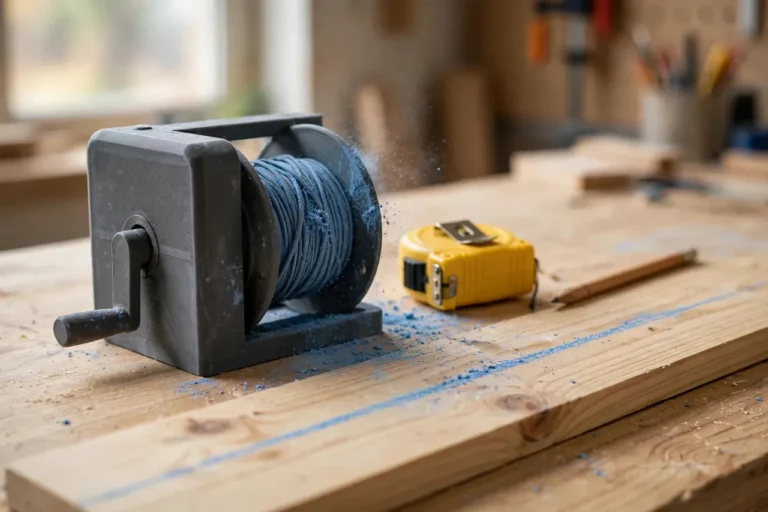
The reel has three jobs: store line, pay it out smoothly, and hold it when you stop. A simple spool with two flanges, a small crank handle, and a notch or clip to trap the line covers all three. Make the flanges wide enough that line cannot slip off the sides, and add a centre hole or hook so the reel can hang from a nail or a ceiling point while the bob hangs below. A line guide slot on one flange also helps the line wind evenly instead of bunching at one end.
4. Line choice and length
Braided line twists less than twisted twine, which matters because a twisting line makes the bob spin and takes longer to settle. For indoor home repair, 3 to 5 metres is plenty: enough to drop from a ceiling to a floor in most rooms. Mark the line at one-metre intervals with a permanent marker if you want rough height references, but remember that the line is for vertical alignment, not for measuring heights accurately.
Step-by-Step: Printing and Assembly
- Model the bob. Build a tapered body with a centred top attachment and a socket for the tip.
- Add weight. Include a cavity for a washer or nut, or simply print the bob solid, and weigh the result.
- Print a test bob. Hang it from a short length of line and check that it hangs straight and the point sits under the line.
- Fit the tip. Press or screw in the metal point and file it smooth if needed.
- Model the reel. Build a spool with flanges, a crank, and a line-trapping notch.
- Print the reel and clean it up. Sand any rough edges that could catch the line.
- Wind the line. Tie one end to the spool centre, wind it on evenly, and tie the free end to the bob.
- Test the whole kit. Hang the bob from a ceiling point, let it settle, and mark the point on the floor or wall.
If the bob spins for a long time, try a different line or a slightly heavier bob. Spinning is usually a line-twist problem, not a bob-shape problem.
Step-by-Step: Using the Plumb Bob
- Fix the top point. Hold the reel, hook it over a nail, or tape the line at the ceiling mark you want to transfer.
- Let the bob hang free. Make sure it does not touch the wall, the floor, or anything else.
- Wait for it to settle. Be patient: a swinging bob gives a moving answer. Shield it from draughts if you can.
- Mark the point. When the bob is still, mark the floor or wall exactly at the tip.
- Double-check from another angle. Look at the bob from two sides to confirm it is not leaning against anything.
- Wind the line back in. Use the crank to rewind evenly, and trap the line in the notch so it does not unwind in storage.
For checking whether something is upright, hold the line beside the object and compare the gap between line and object at top and bottom. A constant gap means the object is plumb; a gap that grows means it leans.
Tips for Better Results
- Work in still air. Close doors and windows for a minute while the bob settles; even a light draught moves a light bob.
- Use a longer drop when you can. A longer line magnifies small leans, making them easier to see.
- Cross-check with a level. Use the plumb bob for marking and transferring, and a spirit level for a quick sanity check.
- Keep the line clean. Dust and dried compound on the line make it stiff and twisty.
- Store the bob on the reel. Wrapping the line around the bob in storage tangles it; keep the bob clipped to the reel instead.
Common Mistakes to Avoid
- Printing a bob that is too light. A featherweight bob is a toy, not a tool. Add weight until it hangs steady.
- Attaching the line off-centre. Even a millimetre of offset tilts the bob and moves the point.
- Marking while the bob still swings. Wait for stillness, every time, even when you are in a hurry.
- Letting the bob touch the surface. Contact bends the line and ruins the reading.
- Expecting survey accuracy. A printed plumb bob is a layout aid for home repair. For structural alignment, use the right professional tools.
Care, Storage, and Alternatives
Keep the reel and bob together, wound and clipped, in a dry drawer. Replace the line when it frays or kinks, and replace a bent tip rather than straightening it repeatedly. A metal tip that has been bent several times is weaker than a fresh one.
A laser level or a long spirit level is faster for many indoor jobs, and if you already own one, it may be the better tool for checking a whole wall. The plumb bob still earns its place for transferring a single point vertically, for working in bright light where a laser is hard to see, and for jobs where you simply do not want to set up a larger tool. It is also a handy companion to other layout tools: for straight lines on a flat surface, you may also enjoy our related guide, “3D Printed Chalk Line Reel: A Printed Reel That Lays a Straight Line,” which covers the horizontal counterpart to the vertical work in this article. And for keeping boards steady while you cut to those lines, “3D Printed Bench Hook for Sawing: Hold Boards Steady for Hand Sawing” is a natural next read.
FAQ
How accurate is a printed plumb bob?
For everyday home repair, it is accurate enough to mark verticals, check uprights, and transfer ceiling points to floors. It is a layout tool, not a precision instrument, so do not rely on it for structural alignment or for work where a small error would be costly.
Can I print the bob in PLA?
Yes, for indoor use. PLA is easy to print and fine for a bob that lives in a drawer. PETG is tougher if the bob will be dropped or used in a warm garage. Either way, add enough weight for the bob to hang steady.
Why does my bob keep spinning?
Usually the line is twisted. Braided line twists less than twisted twine. Unwind the line fully, let it hang free for a minute, and rewind it evenly. A heavier bob also settles faster.
You can, but wind makes it hard to get a still reading. Work in calm conditions, shield the bob with your body or a board, and be patient. In strong wind, a different measuring method will serve you better.
Can I use the plumb bob outdoors?
Yes, in calm conditions. Wind moves a light bob, so shield it, wait for stillness, and use a different method in strong wind.
Conclusion
Print it solid, fit a proper tip, wind the line neatly, and let it settle before you mark. Do that, and this small printed kit will quietly handle a surprising number of home repair layout jobs.