Introduction
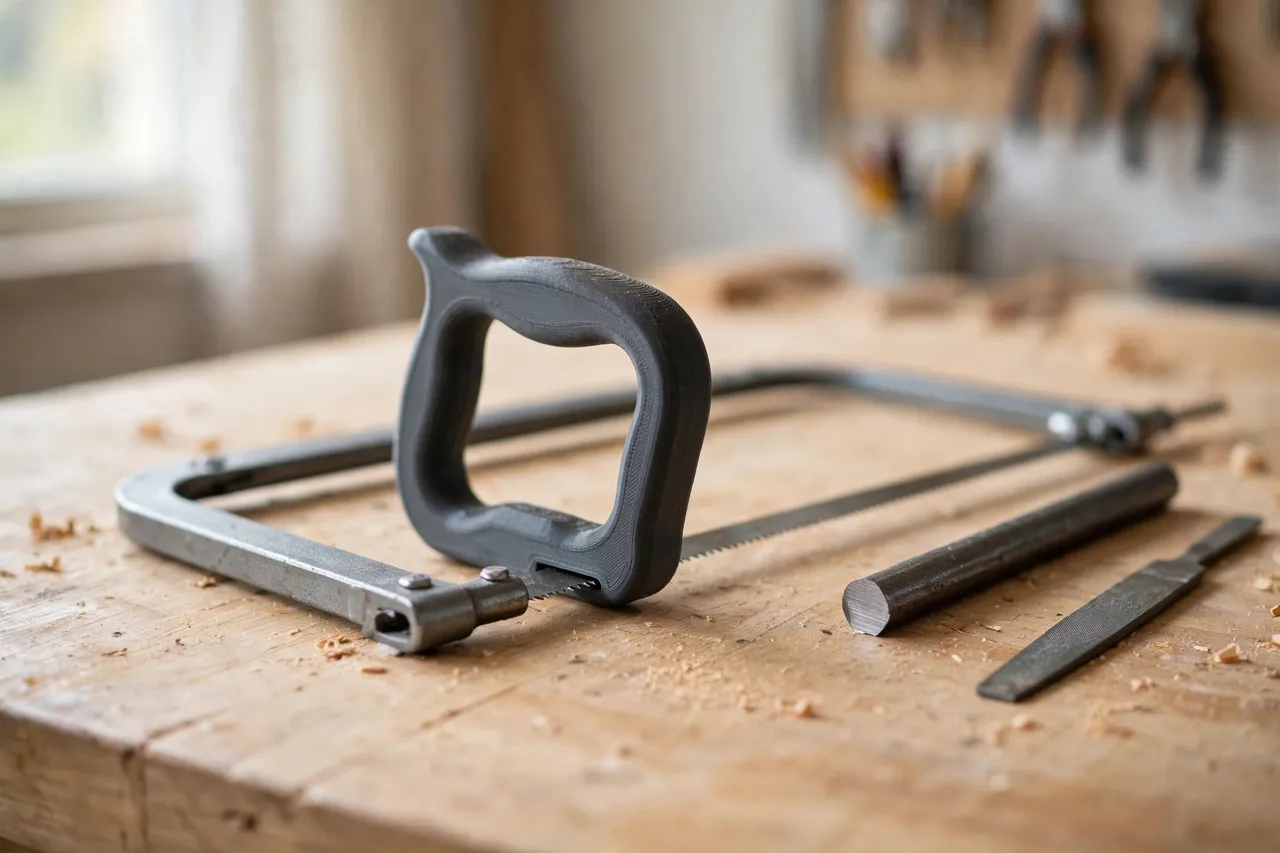
A hacksaw is one of the most-used tools in a home workshop, and one of the most uncomfortable when its handle is wrong. Cutting metal takes force and repetition, and a handle that is too thin, too hard, or cracked from years of use turns a short cut into a hand-aching chore. Many hacksaw frames come with basic plastic grips that split, loosen, or simply never fitted the owner’s hand in the first place.
A 3D printed handle offers a straightforward fix. You model it around your frame’s mounting, shape it to the grip you actually use for metal cutting, and print it in an evening. It is a grip for a hand tool, not a structural or load-bearing part, and it should be tested on scrap before it is used for serious cutting. But for bringing a good frame back into comfortable service, it is hard to beat.
This guide covers designing, printing, and fitting a replacement handle for a hacksaw frame, with an honest look at the forces involved and the limits of a printed grip.
What You Need
Hacksaw frames vary more than people expect. Some have a closed D-shaped handle, others a pistol grip, and the mounting can be a tang, a bolted plate, or a moulded socket. Measure your frame before you model anything.
Materials and tools
- A home 3D printer with a build area of roughly 150 mm in at least one direction
- PETG filament for a tougher handle, or PLA for a first test version
- The hacksaw frame, with its old handle removed and its mounting measured
- Calipers or a ruler, a pencil, and sandpaper
- A drill and small bits, a screwdriver, and stainless screws, bolts, and nuts to suit your frame
- Optional: a thin rubber or cork liner for extra grip
PETG is the better keeper for a hacksaw handle. Metal cutting involves repeated pushing force and vibration, and PETG flexes slightly instead of cracking under that load. Print a test in PLA first if you want to check the shape cheaply, then print the keeper in PETG.
Suggested print settings
- Layer height: 0.20 mm for general parts.
- Walls: 5 to 6 perimeters, since the handle takes the full force of every cutting stroke.
- Infill: 50 to 70 percent, gyroid or grid, for a solid, reassuring feel.
- Top and bottom layers: 5 or more.
- Orientation: Print the handle flat on its side, so layer lines run along the grip rather than across it, which is stronger in use.
- Supports: Only for overhanging grip shapes or closed loops, if your design includes them.
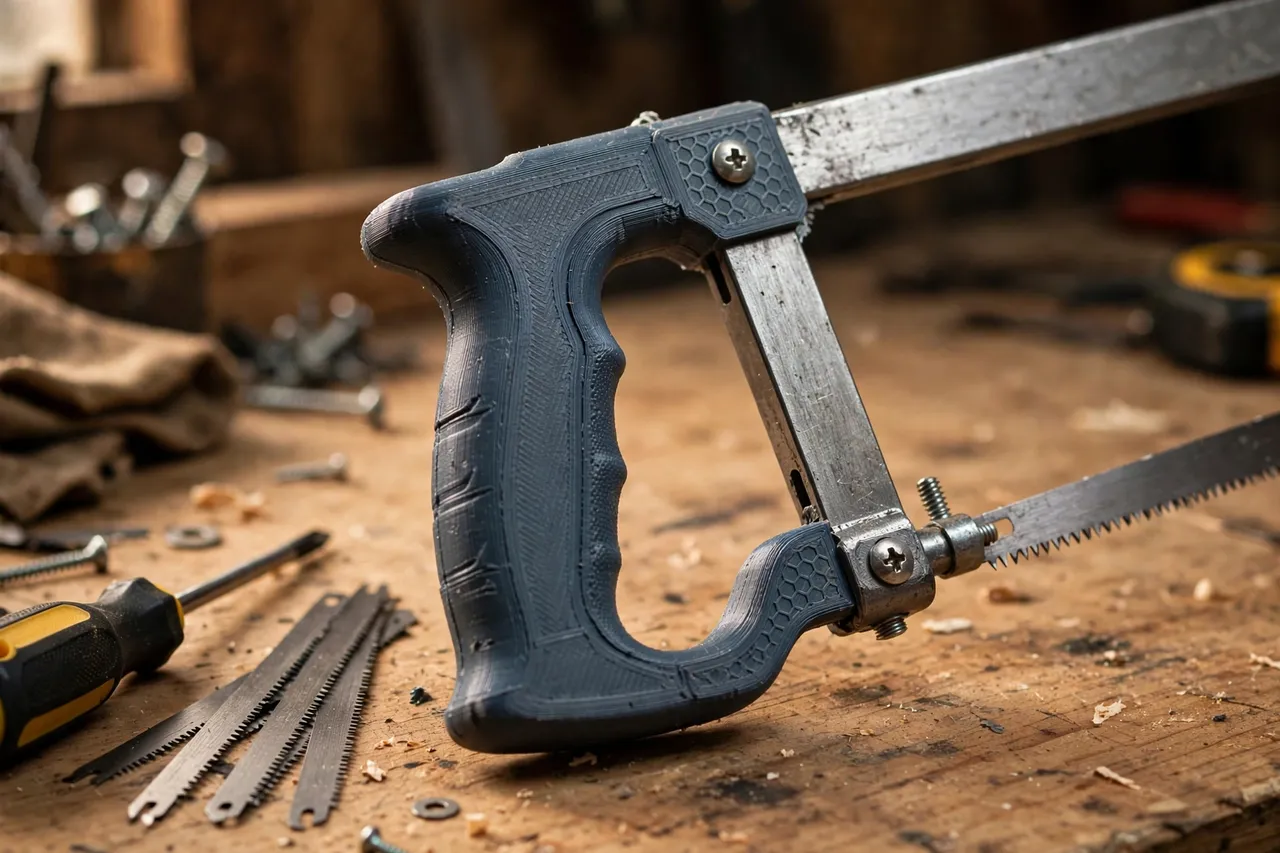
Printing in two halves is often the easiest route for a pistol grip: it avoids supports, lets you sandwich the frame mounting between the halves, and makes it simple to replace one half if it cracks.
Design Considerations
A hacksaw handle has to handle push, pull, and vibration, all while staying comfortable over a long cut. That combination shapes every design decision.
1. Measure the frame mounting
Record the mounting type, the position and diameter of any holes, and the shape of the frame end where the handle attaches. Some frames have a flat tang with two holes, others a round socket or a shaped plate. Design the handle’s mounting slot to match, with about 0.3 to 0.5 mm of clearance, and align screw holes exactly with the frame holes. A handle that fits loosely on the frame will rock with every stroke and wear quickly.
2. Shape the grip for metal cutting
Hacksawing uses a firm, forward-pushing grip, so the handle should fill the hand without forcing the fingers into a cramped position. A pistol-grip shape, with a slight forward rake, gives good control and keeps the wrist in a comfortable position during long strokes. Keep the grip long enough for all four fingers, and round the top and bottom edges so they do not dig into the hand. A closed D-handle, if your frame uses one, should be generous enough for a gloved hand.
3. Strength at the frame junction
The highest stress in a hacksaw handle is where it meets the frame. Make this area thick, with generous fillets rather than sharp corners, and use at least two fasteners through the frame mounting. A single screw at this junction will work loose under vibration. If your design uses two halves, add screws along the grip as well, so the halves cannot separate under load.
4. Vibration and comfort
Metal cutting vibrates, and that vibration travels straight into the hand. A slightly softer grip surface helps: a thin rubber or cork liner glued into a shallow recess, or a grip texture of shallow ribs, reduces the buzz without making the handle slippery. Avoid very hard, smooth grips for hacksaws, since they transmit vibration and slip when hands are sweaty or oily.
Step-by-Step: Printing and Fitting the Handle
- Remove the old handle. Unscrew or unbolt the old grip carefully, and keep the fasteners as a size reference.
- Measure the frame mounting. Record its shape, hole positions, and diameters.
- Model the handle. Build a pistol-grip or D-handle around those measurements, with screw holes aligned to the frame.
- Print a test version. Check the fit on the frame and the feel in your hand before printing the keeper.
- Clean up the print. Sand the grip smooth, round sharp edges, and clear the screw holes.
- Test the grip. Hold the saw as if cutting metal, and check that your hand fits comfortably and the frame feels rigid.
- Adjust and reprint if needed. Small changes to grip thickness or rake angle make a big difference over a long cut.
- Assemble the keeper. Fit the handle to the frame, add stainless screws or bolts, and tighten snugly without crushing the print.
- Check for movement. The frame should not rock, twist, or shift in the handle. If it does, shim the slot or tighten the fit and reprint.
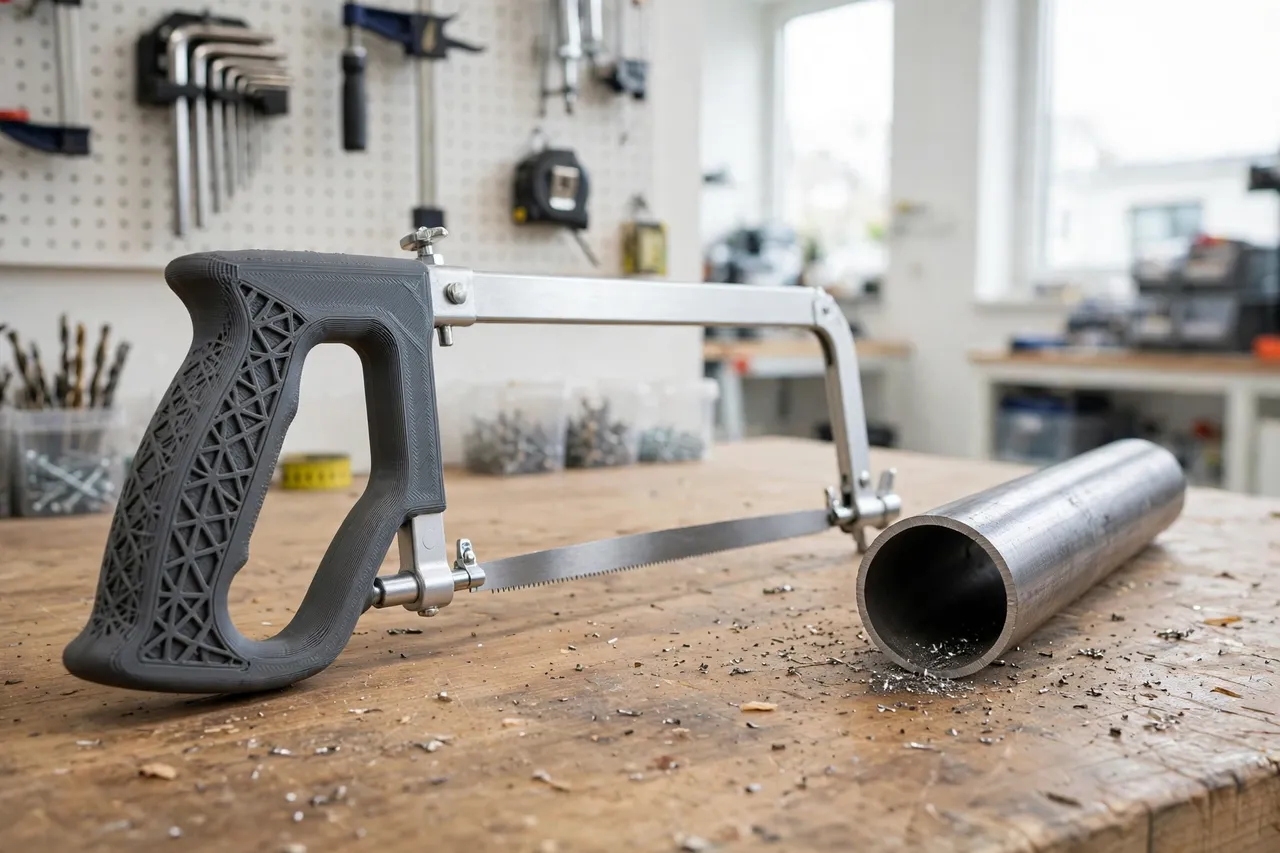
- Test on scrap. Cut a piece of scrap metal rod or pipe, checking comfort and control, before using the saw on a real job.
A dab of thread-locking compound on the screws, or nylon-insert nuts where your design allows, keeps fasteners from loosening under cutting vibration.
Tips for Better Results
- Print in two halves. It avoids supports, makes frame fitting easier, and lets you replace one half if it cracks.
- Round every edge that touches skin. A sharp printed edge becomes painful after many strokes.
- Add a hang hole. A small hole in the handle end lets you hang the saw on a wall hook.
- Test with gloves on. If you cut metal with work gloves, check the grip size with gloves, not just bare hands.
- Keep the blade sharp and tensioned. A sharp, properly tensioned blade needs less force, which means less stress on a printed handle and less vibration in the hand.
- Label the handle. If you print handles for several saws, mark the saw type on the handle end.
Common Mistakes to Avoid
- Designing from a photo instead of your frame. Hacksaw frames vary, and a handle modelled on a different frame will not fit yours.
- Printing walls too thin. A hacksaw handle takes real force and vibration. Thin walls crack at the frame junction.
- Using a single fastener at the frame. One screw lets the frame rotate and works loose. Use two or more.
- Making the grip too smooth or too hard. A slick, hard grip slips and transmits vibration. Add shallow texture or a soft liner.
- Over-tightening screws. Crushing the printed walls around a bolt creates cracks that grow with use.
- Fitting a handle to a failing frame. A bent, cracked, or badly worn frame is not saved by a new handle. Replace the frame.
Care, Storage, and Alternatives
Wipe the handle clean after use, store the saw hung by its handle hole or in a tool roll, and keep it out of direct heat. Check screws occasionally, since cutting vibration loosens fasteners over time. If a handle cracks at a screw hole, reprint it with thicker walls around the fasteners rather than gluing a cracked grip.
Sometimes a manufactured handle is the better choice. If you cut metal professionally every day, a factory handle with a metal core will outlast any print, and the cost is easy to justify. For a good frame with a broken grip, a saw you use for home repairs, or a hand size that standard handles do not suit, a printed handle is a fast, cheap, and genuinely comfortable fix. It also pairs well with other handle guides: for a woodworking saw with a similar problem, you may also enjoy our related guide, “3D Printed Hand Saw Handle Replacement: A New Handle for an Old Saw,” which covers the same fitting approach for timber saws. And for a smaller, finer saw, “3D Printed Coping Saw Handle: A Grip That Fits Your Coping Saw” shows the same ideas at a smaller scale.
FAQ
Will a printed handle fit any hacksaw frame?
Not automatically. Handles are sized to a specific frame mounting, so you need to measure the frame you own. Once you have a model for one frame, adapting it to a similar frame is usually a small edit.
Is PLA strong enough for a hacksaw handle?
For testing the shape, yes. For a keeper that will see regular metal cutting, PETG is the better choice because it flexes instead of cracking and handles vibration better. Generous walls and infill matter more than the filament brand either way.
Can I print a closed D-handle in one piece?
Yes, with supports inside the loop, but printing in two halves is usually easier and stronger. Two halves also make it simpler to sandwich the frame mounting and to replace a damaged half later.
How do I stop the frame rocking in the handle?
Check the slot fit first, then the fasteners. The slot should be snug, and at least two screws or bolts should pass through the frame mounting. A shim of thin card or plastic in the slot can take up small amounts of play, but a large gap means the model needs adjusting.
Conclusion
A hacksaw with a broken or uncomfortable handle is not a dead tool. It is a good frame waiting for a grip, and a printed handle is one of the most practical small projects a workshop printer can take on: measure the frame, shape the grip to your hand, print it, and bring the saw back to comfortable work.
Fit it properly, test it on scrap, and keep the screws tight. The next time a metal rod, pipe, or bolt needs cutting, that old hacksaw will be the one you reach for — and your hands will still feel fine when the cut is done.