Introduction
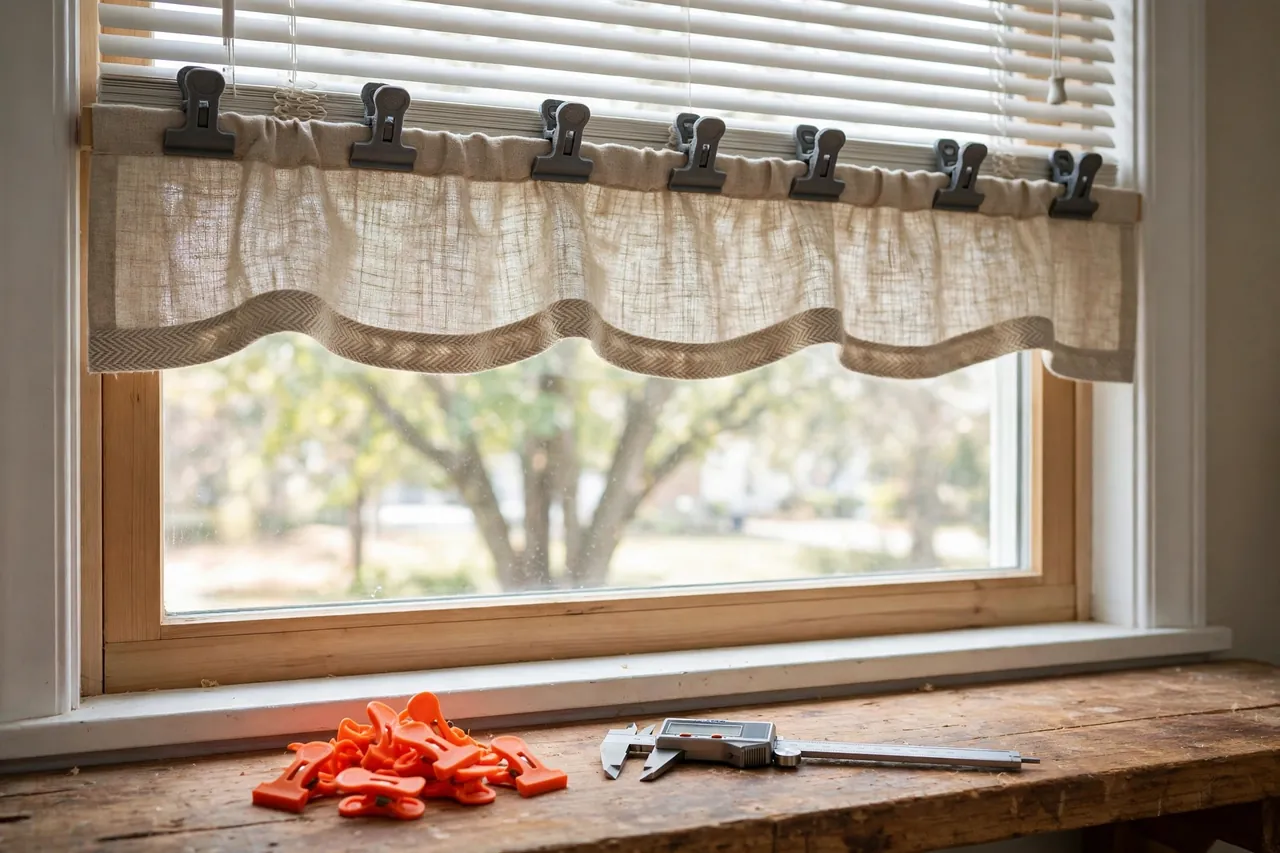
Every horizontal blind hides a small betrayal at the top: the valance, that neat strip meant to cover the headrail, is held on by a few thin plastic clips. They work for years — until the day you dust the blind, catch the valance with a sleeve, or simply look at it firmly, and one clip snaps. Then the valance droops at one end like a tired eyelid.
The clips snap because they are designed to be cheap, not durable. They are molded thin, they flex every time the valance is removed for cleaning, and sunlight through the window slowly makes the plastic brittle. Replacement clips should be easy to buy, but headrail profiles differ between brands and change between model years, so the bag of clips from the store is often close-but-not-right.
Printing your own clips ends the guessing. You measure the headrail channel on your actual blind, model a clip that hooks it exactly, and print a handful in flexible, sun-tolerant PETG. One afternoon’s work replaces every clip on every blind in the house — and leaves you with spares for the next decade.
This guide covers measuring the rail, designing a clip that flexes without fatiguing, and fitting a full set. These clips hold only the light decorative valance strip; they are not part of the blind’s lifting mechanism, and nothing about this repair touches cords, ladders, or the blind’s mounting brackets.
What You Need
Valance clips are tiny prints — a full set for a wide blind uses less filament than a phone case.
Materials and tools
- A home 3D printer with a build area of roughly 100 mm in at least one direction
- PETG filament — flexibility and sunlight resistance are the whole point here
- One surviving original clip, if any remain, to copy dimensions from
- Calipers for measuring the headrail channel and the valance strip
- The blind itself, lowered or removed, with the valance taken down
- A small file or sandpaper for fine-tuning the hook fit
- A step stool and a screwdriver, in case the blind needs to come down for measuring
PETG is non-negotiable for this part. PLA clips will work on day one and quietly turn brittle in the sunny window, snapping exactly like the originals did. PETG flexes thousands of times, tolerates warmth behind glass, and keeps its spring for years. Print in white or a color close to your headrail so the clips disappear.
Suggested print settings
- Layer height: 0.20 mm; clips are small, and thinner layers add nothing here.
- Walls: 3 to 4 perimeters — on a part this thin, walls are most of the structure.
- Infill: 100 percent in the spring section if your slicer allows modifiers, or 60 percent overall; small parts use little material, so be generous.
- Top and bottom layers: 4 or more, so no infill texture telegraphs through the thin arms.
- Orientation: Print on its side so the flexing arm bends across layers, not between them — layer direction decides whether a clip springs or snaps.
- Supports: A good clip design needs none; add a small brim if the part rocks on the bed.
Print two test clips first and fit them to the actual rail before printing a full set for the house.
Design Considerations
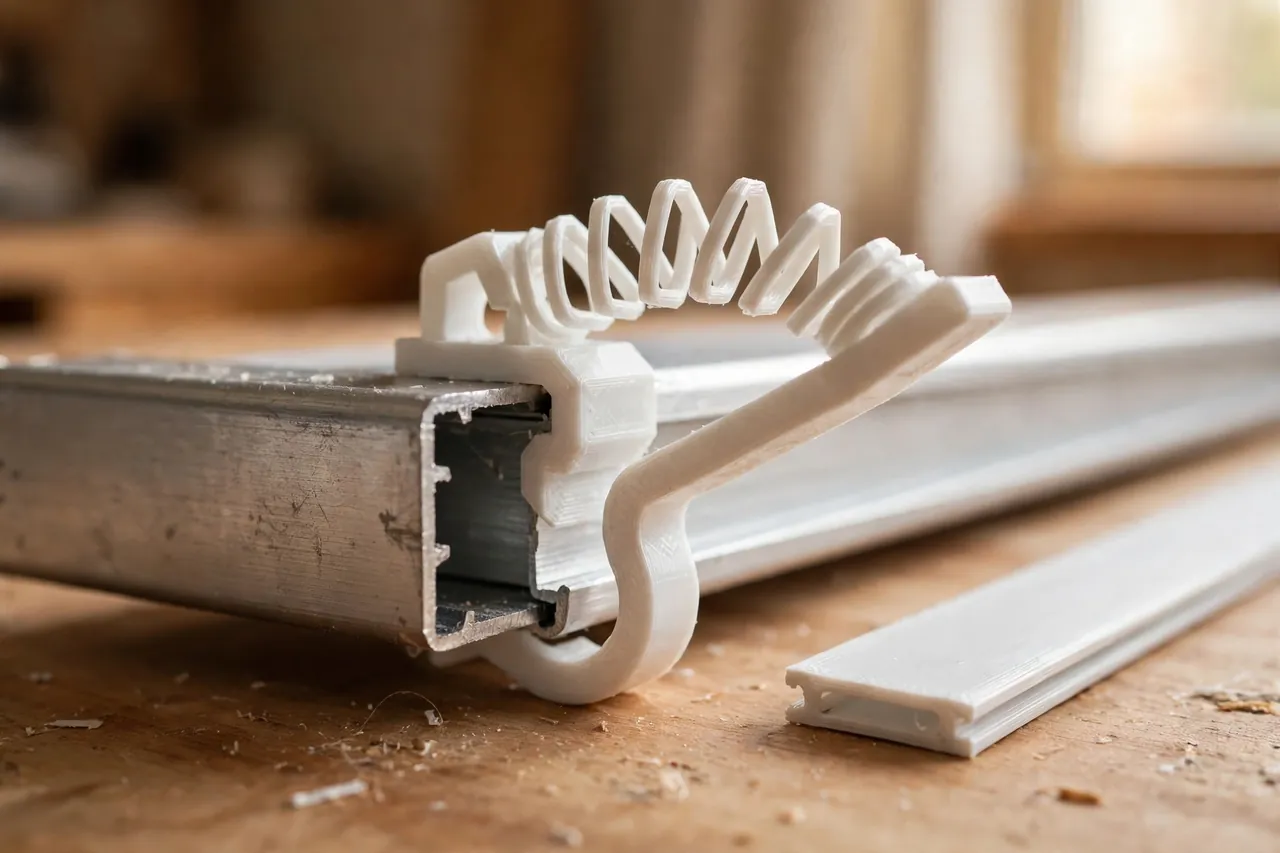
A valance clip does two jobs: it grips the headrail, and it grips the valance. Measure both, then design the spring that joins them.
1. The headrail channel
Most headrails have a front channel or lip the clip hooks over. Measure its width, the depth of the lip, and where the clip’s hook must reach to lock on. Copy these dimensions closely — this interface decides fit. Allow about 0.3 mm of clearance so the clip slides and seats without force, but not so much that it rattles. If your rail is a simple rolled edge rather than a channel, the clip becomes a C-shape that wraps it; measure the edge thickness and the room behind it.
2. The valance grip
The valance strip usually slides into the clip’s front face, pushes over a small barb, or is gripped between two fingers. Study the original clip’s method and copy it — the valance itself dictates this end.
3. The spring section
Between rail hook and valance grip, the clip needs a section that flexes for fitting and removal. Keep this section around 1.6 to 2.4 mm thick in PETG: thinner feels flimsy and fatigues, thicker refuses to flex and transfers the strain to the hook, which is where cheap clips break. A gentle curve in the spring spreads bending along its length instead of concentrating it at one crease — curved springs outlive hinged ones many times over.
4. Spacing and count
Plan two clips for narrow blinds and roughly one clip every 400 to 500 mm on wide ones, with a clip near each end. The valance is light, but it is also long and slightly springy; too few clips let it bow away from the rail in the middle, and the shadow line gives it away instantly. Printing extras costs pennies, so err on the side of one more clip.
Step-by-Step: Printing and Assembly
- Take the valance down and remove every old clip — mixing old brittle clips with new ones just schedules the next failure.
- Measure the headrail channel and the valance thickness with calipers, in three places, and design to the average.
- Model the clip: rail hook, curved spring, valance grip, copied from the original if you have one.
- Print two test clips in PETG, on their sides, at the settings above.
- Fit the tests to the empty rail. They should hook on with a gentle push and a soft click, and resist a firm straight pull.
- Adjust in small steps — 0.2 mm on the hook if it is loose or stubborn — then print the full set plus spares.
- Flex each printed clip a few times by hand before fitting; a clip that feels wrong on the bench will not improve on the rail.
Step-by-Step: Fitting the New Clips
- Clean the headrail channel with a dry cloth; dust and old adhesive pads stop clips seating home.
- Hook the clips onto the rail at your planned spacing, ends first, then middles, checking each one clicks fully into place.
- Slide or press the valance into the clips, working along its length so no single clip takes the whole strain.
- Check the line from across the room. The valance should sit straight, flush, and level with the rail along its whole length.
- Nudge clip positions sideways if a bow remains — a clip moved 30 mm often cures a wave.
- Test removal once. Take the valance off and refit it, the way you will for cleaning; every clip should flex and reseat without complaint.
- Bag the spares and store them with the blind’s paperwork or in the window’s room, labeled by blind location.
If your blinds need more than clips, you may also enjoy our related guide, “Blinds Accessories You Can 3D Print: Tilt Wands, Valance Clips and Cord Guides,” which covers the other small parts that blinds consume over the years.
Tips for Better Results
- Copy a survivor. One unbroken original clip is a perfect measuring template — photograph it from three sides before it joins its broken friends.
- Print the set in one batch. Same spool, same settings, same flex — consistency matters more than squeezing out the last gram.
- Orient for spring strength. If a test clip snaps instead of flexing, the layer direction is wrong before the dimensions are.
- Replace all the clips on a blind at once. The old ones are all the same age and equally brittle, even the ones that look fine.
Common Mistakes to Avoid
- Printing clips in PLA. Sunlight through glass embrittles it quickly; PETG is the whole trick.
- Making the spring section too thick. A rigid clip transfers fitting force to its hook, which then snaps — the original failure, recreated.
- Designing from a store photo of a similar blind. Rail profiles are brand-specific; measure your own headrail.
- Forcing a stubborn clip. If it needs real force, the hook is oversized; adjust the model instead of cracking the rail’s paint.
- Too few clips on a wide valance. The middle will bow and telegraph the shortcut in raking light.
Care, Storage, and When to Choose an Alternative
A PETG set should last many years; if one eventually cracks (usually after being stepped on during a deep clean, if we are honest), your spares cover it.
The honest limit: if the headrail itself is bent, the brackets are failing, or the blind’s lifting mechanism is worn, clips are not the repair — a new blind is. And for very wide, heavy wooden valances on premium blinds, the manufacturer’s metal clips are the right call. For the vast majority of blinds, though, the valance is a light strip that printed PETG clips hold perfectly well, at a fraction of the cost of hunting down original parts.

FAQ
My blind’s clips are a completely different shape. Will this still work?
Yes — the shape is supposed to be different, because it is copied from your rail, not from a catalog. The method is the constant: measure the channel, copy the grip, add a curved PETG spring, test two, print a set.
How many clips does one blind need?
Two for blinds under about 900 mm wide, then roughly one per additional 400 to 500 mm, always with one near each end. When in doubt, add one — the valance line only looks better for it.
Can I print clips in white PLA if the window faces north?
It will work for a while, but PETG is barely harder to print and removes the question entirely.
The valance still droops slightly in the middle. What now?
Add a clip at the droop, or check that the end clips are fully seated — a half-seated end clip shortens the supported span dramatically. If the valance strip itself is warped from sun, no clip count will straighten it, and replacing the strip is the honest fix.
Conclusion
A drooping valance makes a good blind look broken, and the cause is a part worth pennies. Measured to your own headrail and printed in springy PETG, replacement clips fit better than the universal bag ever did — and the file stays on your computer, ready to reprint a set whenever a clip anywhere in the house gives up.
For the windows nearby, you may also enjoy our related guide, “3D Printed Window Latch Handles: Replace Cracked Latches and Keep the Draft Out,” and our related guide, “3D Printed Replacement Window Crank Handle: Fix a Broken Crank in an Afternoon,” — together they cover most of the small plastic parts a window quietly consumes.
Take down one valance, measure one rail, and print your first pair of test clips tonight.