Introduction
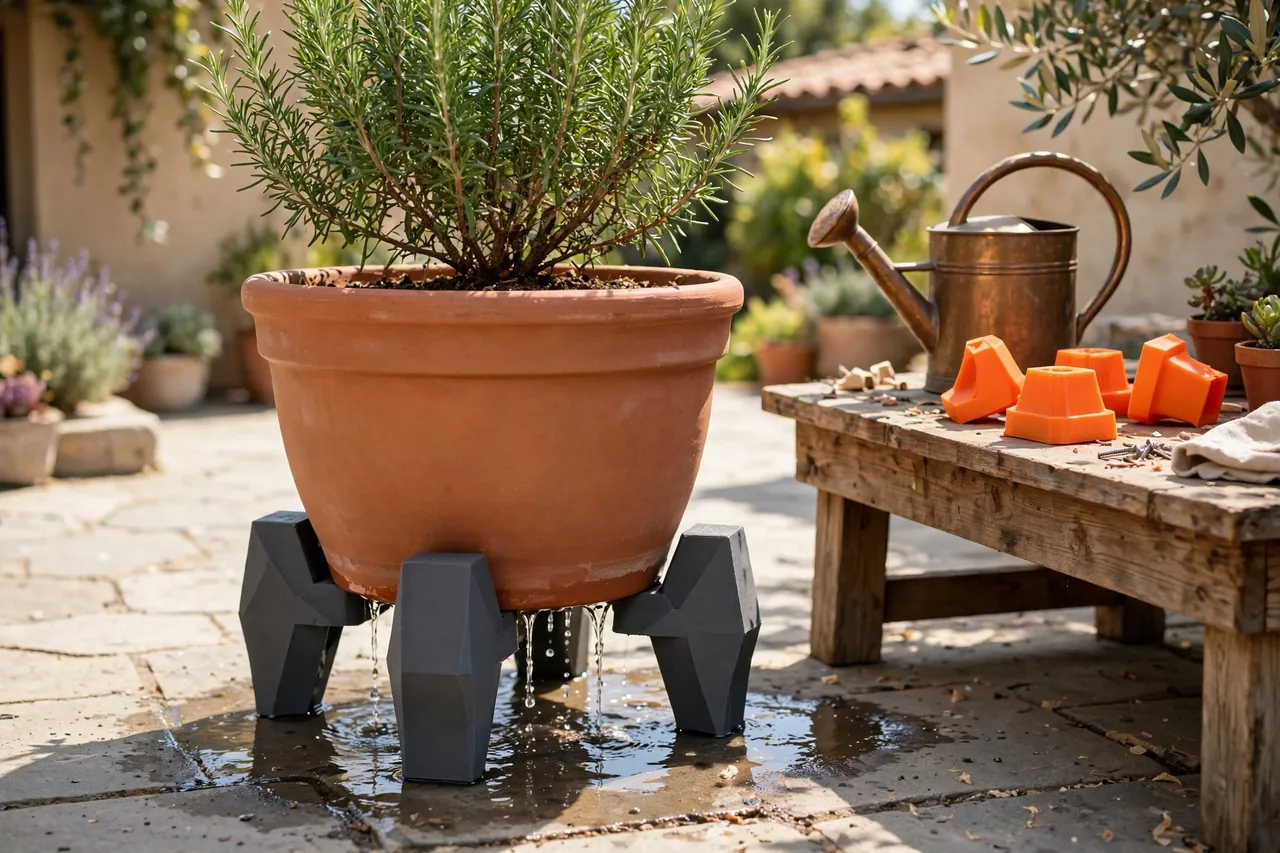
A pot sitting flat on a patio is quietly causing three problems at once. Water that drains from the pot has nowhere to go, so the plant sits in its own puddle. Air cannot circulate underneath, so the base stays damp and the surface below grows a pale ring of algae, mineral stain, or — on a wooden deck — the first soft hint of rot. And the pot itself, heavy and gritty, grinds against the surface every time it is nudged.
Pot feet are the old, simple cure: small lifts under the pot’s base that raise it a centimeter or two, letting water escape, air flow, and surfaces dry.
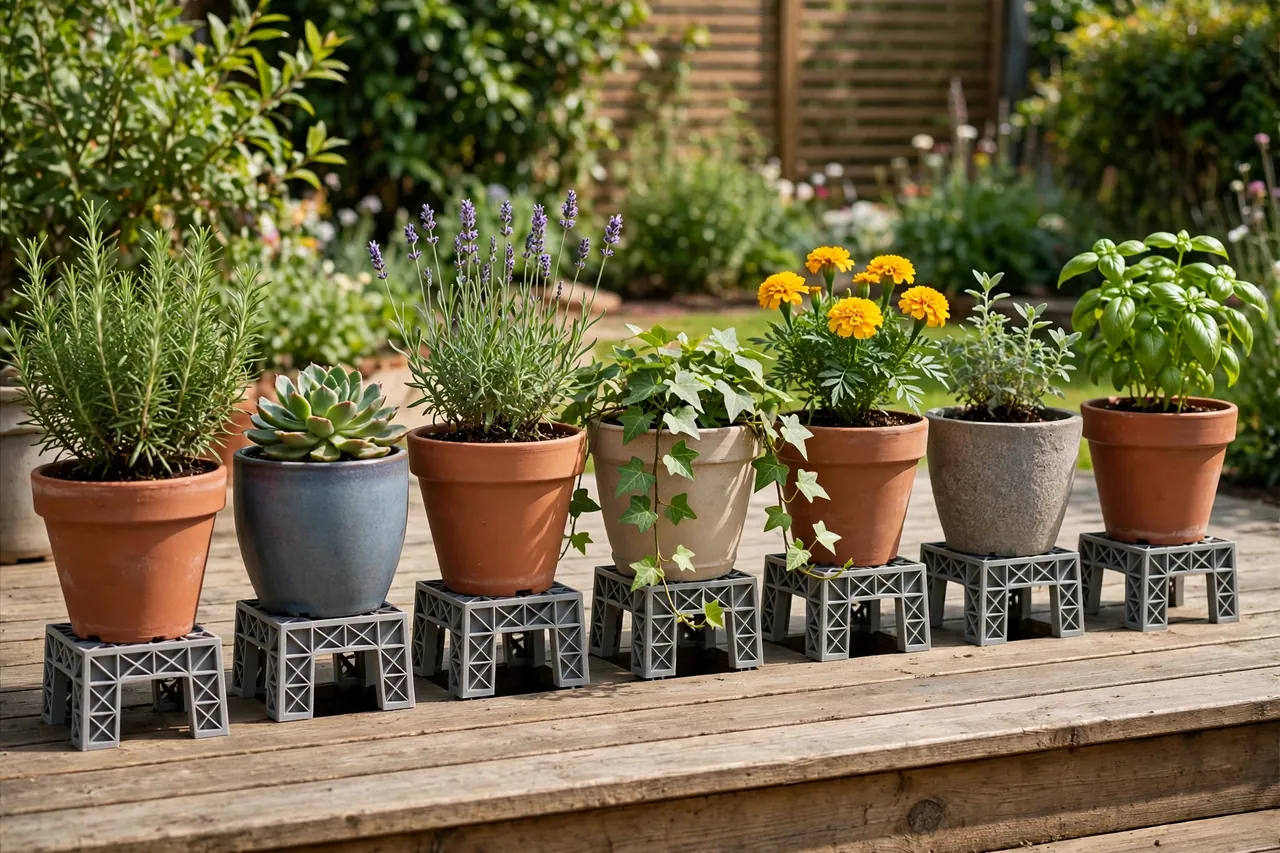
Printing your own feet makes the size a non-issue. Measure a pot’s base, print feet shaped to cradle it, and repeat across the whole collection — chunky feet for the big shrub tub, small neat ones for the herb pots, all in a color that suits the patio. An afternoon prints a patio’s worth.
This guide covers sizing feet to pot weight, designing a stable saddle, and placing feet so pots stand level and drain freely. The feet are simple load-spreading lifts for ordinary plant pots on flat ground — rated here honestly for garden pots, not for lifting anything people stand, sit, or build on.
What You Need
Pot feet are small, sturdy prints. A typical set of three or four for one pot uses very little filament, so you can afford to print them solid and strong.
Materials and tools
- A home 3D printer with a build area of roughly 100 mm in at least one direction
- PETG filament — the only sensible choice for a part that lives wet, outdoors, under load
- Your pots, to measure base diameter and estimate filled weight
- Calipers or a ruler, and a tape measure
- A spirit level or phone level app for checking pots after lifting
- Optional felt or rubber pads if feet will stand on a delicate sealed surface indoors
PETG is mandatory outdoors: it ignores rain, frost, and the constant damp under a watered pot, where PLA slowly embrittles in sunlight and can crack under a heavy pot on a cold morning. Print in a dark gray, terracotta tone, or whatever suits your pots — dark colors hide algae staining best.
Suggested print settings
- Layer height: 0.20 mm to 0.28 mm; feet are chunky utility parts, and speed is welcome.
- Walls: At least 5 perimeters — a pot foot is essentially a small load-bearing block, and walls carry it.
- Infill: 60 percent to solid, gyroid or grid. Under a big wet pot, treat infill as structure, because it is.
- Top and bottom layers: 5 or more, giving a broad, flat load pad that will not dish under weight.
- Orientation: Print exactly as it will stand — load should travel along the print, compressing layers, not shearing them.
- Supports: A simple block or saddle design needs none.
Print one foot, stand the heaviest pot on a set of test feet for a week outdoors, and inspect before printing feet for the whole collection.
Design Considerations
A pot foot seems like a doorstop with ambitions, but load, stability, and water decide whether it serves for years.
1. Size the foot to the filled, watered weight
A dry pot lies about its weight. Soil, water, and a growing plant can double it, and a big tub can pass 30 kg without trying. Give each foot a load pad at least 40 to 60 mm across for medium pots and more for tubs, and use three feet per round pot (three points never rock) or four on square pots and very large rounds. When in doubt, scale the whole foot up by a quarter — the filament cost is trivial against a cracked foot dropping a pot’s corner.
2. A saddle that cradles the base
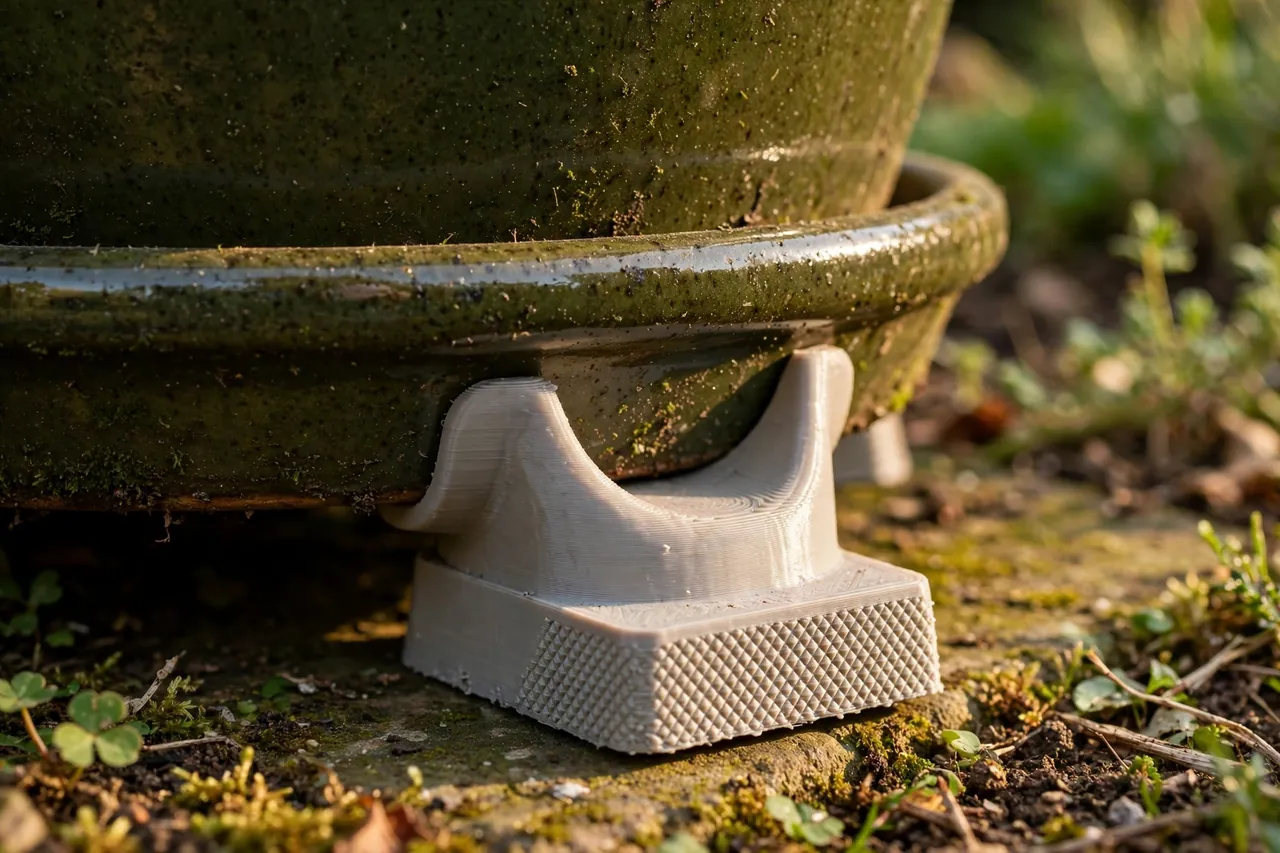
Many pots have a rim or a slightly domed base rather than a flat one. A shallow saddle — a dished or stepped top that matches the pot’s base profile — keeps the pot located on its feet when it is brushed by a broom or a dog. Measure the base rim’s height and diameter and model the step to suit, with about 0.5 mm of clearance.
3. Height: enough for air and a brush
A lift of 15 to 25 mm is the sweet spot: tall enough for drainage to escape, airflow to dry the underside, and a brush or hose to sweep beneath; short enough that the pot stays stable and the feet read as a detail, not stilts. Taller feet on a top-heavy plant invite tipping in wind — if a plant is already top-heavy, keep its feet low and wide rather than tall and neat.
4. Drainage through, not around, the foot
Shape feet so water is never trapped against the pot or the deck: a channel or arch through the foot’s base lets the last of the drainage escape instead of ponding inside the print.
Step-by-Step: Printing and Assembly
- Measure each pot’s base — diameter, rim profile, and where the base actually contacts the ground.
- Estimate the filled weight honestly: water the plant, then lift the pot; your back will give you a truthful number to design for.
- Model the foot with its load pad, saddle or step, drainage channel, and a slightly textured ground face.
- Print a test set for the heaviest pot at full strength settings.
- Fit and load the test set outdoors for a week, through at least one watering and one rain if the weather cooperates.
- Inspect the feet for cracking, creep, or sinking into soft ground; scale up if any appear.
- Print the collection’s sets, labeling each bag with its pot — saddles differ, and future you will not remember which is which.
Step-by-Step: Fitting Pot Feet
- Clean the pot’s base and the ground where it stands; grit under a foot concentrates load and marks surfaces.
- Tip the pot gently or lift it with a helper for big tubs — never lever a heavy pot by its rim alone.
- Place the feet evenly: three at triangle points for round pots, four at the corners for square ones, saddles aligned to the base rim.
- Lower the pot onto the feet and check each foot is seated in its saddle, not perched on an edge.
- Check level and stability with a firm two-handed rock test; the pot should feel planted, not perched.
- Water the plant and watch the drainage run clear beneath the pot — the visible proof the system works.
- Recheck after the first week. Feet can settle into soil or gravel; reposition on firm ground or add a small flat paver beneath each foot on soft beds.
For the pots’ leafy neighbors on the patio, you may also enjoy our related guide, “3D Printed Rain Gauge Holder and Garden Marker Set for a Tidy Yard,” which keeps the rest of the garden’s small hardware equally organized.
Tips for Better Results
- Three feet for round pots. Four points rock on uneven patios; three always sit true, and the pot is easier to level.
- Print a spare foot per set. Feet wander during repotting season; a spare keeps a pot level instead of propped on a brick.
- Dark colors near the soil line. Algae and splash marks are inevitable; dark gray feet keep them invisible.
Common Mistakes to Avoid
- Undersizing for the watered weight. The crack always happens at the heaviest moment — freshly watered, mid-summer, biggest plant.
- Tall, narrow feet under top-heavy plants. Wind plus a high center of gravity equals a fallen pot; go low and wide.
- Cup shapes that trap water. A foot must pass water through or shed it, never pond it against the pot.
- PLA feet outdoors. Sun and frost will embrittle them under load; PETG is the whole point.
- Feet on soft soil without a base. They sink at different rates and the pot ends up more crooked than flat on the ground.
Care, Storage, and When to Choose an Alternative
Hose feet down when you clean the patio, check them each spring for cracks before the watering season leans on them, and store spares stacked in the potting area. PETG feet should serve for many seasons; a foot that has taken a crack from a dropped pot is retired, not trusted again under the big tub.
Be sensible about scale: very large, heavy landscape tubs and tree pots — the kind that need two people and a trolley — deserve masonry or cast feet rated for the job, or a proper stand. Likewise, pots on balconies must follow whatever rules the building sets for weight and drainage. For the ordinary run of patio and indoor pots, printed feet sized to the pot are stronger than they need to be, and the price of a full set is a rounding error next to the deck boards they protect.
FAQ
How many feet does one pot need?
Three for round pots up to quite large sizes, placed as a triangle; four for square pots and for round tubs over about 400 mm across, where the base itself may flex between three points. Stability, not strength, usually decides — if the pot feels perched, add support.
Will feet stop the white ring on my deck?
They stop the cause: constant damp trapped under a flat base. With air flowing beneath and water escaping, the surface dries between waterings and the algae and mineral ring never form. Existing rings still need a scrub — the feet prevent the sequel, not erase the original.
Can I use pot feet indoors?
Yes — they protect wood floors and shelves from damp bases and let air reach the pot’s underside. Add felt pads under the feet indoors, keep a saucer strategy for overwatering, and choose a neat color, since house guests see indoor feet at eye level on shelves.
What height is best for very heavy pots?
Lower and wider as weight rises: 15 mm of height with a broad pad and saddle beats 25 mm of elegance.
Conclusion
Pot feet are garden infrastructure at its most satisfying: a small, strong print that keeps plants drained, decks dry, and surfaces unmarked, pot after pot, season after season. Sized to your own pots and printed in weatherproof PETG, they fit where shop-bought feet guess — and a whole patio’s worth costs less than one cast-iron set.
For other furniture that deserves the same lifted, level treatment indoors, you may also enjoy our related guide, “Replacement Furniture Feet and Levelers: 3D Print Custom Feet for Cabinets and Tables,” and for the sunny side of the patio, our related guide, “3D Printed Planter Stakes for Solar Lights: Put Lights in Pots and Beds,” puts those same pots to work after dark.
Measure your biggest pot’s base today, print its test set, and water it — watching drainage run free underneath never gets old.